

How to Import and Segment an Existing Customer List
This guide explains how to upload an existing customer list into Useful Customers and add those customers to a segment.
Prerequisites
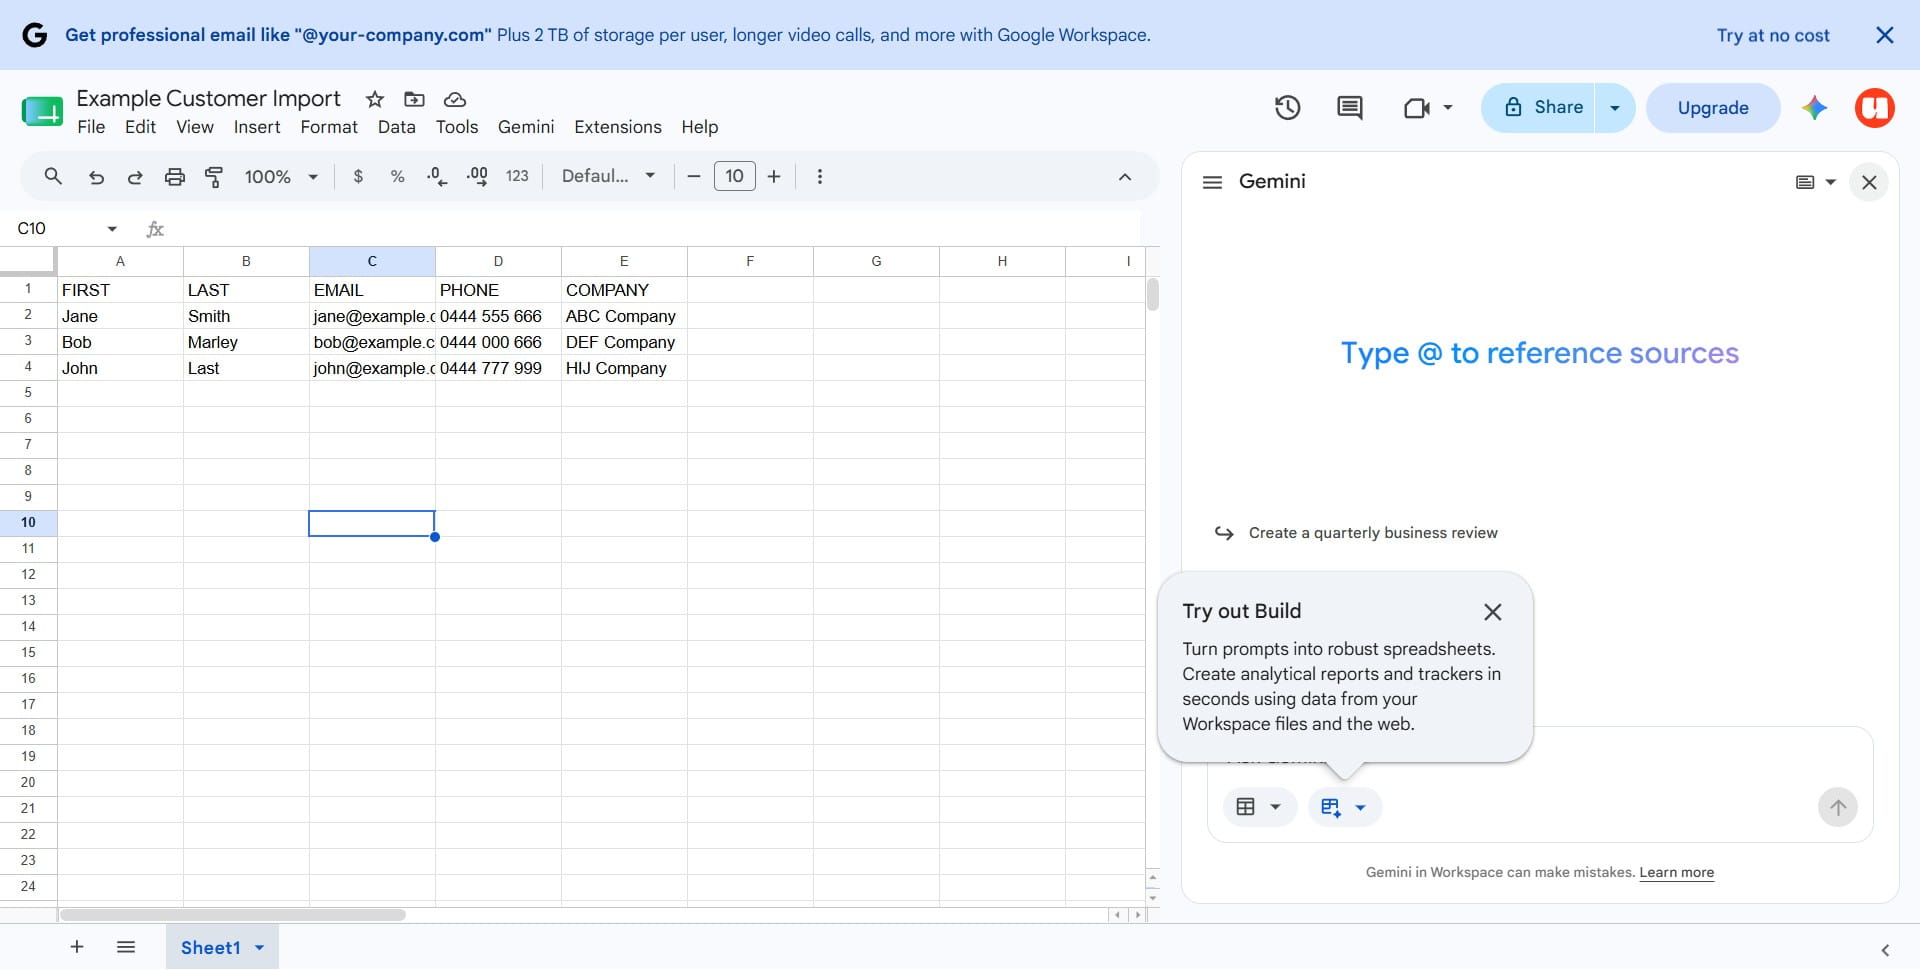
Before you begin, you’ll need an Excel spreadsheet containing your customer details in the required format. For this example, the spreadsheet should include the following columns:
- First Name
- Last Name
- Phone
- Company You do not need to have data in every field, but the column placeholders should still be included in the spreadsheet.
Step 1: Open the Uploads Page.
From the main menu, click the profile icon in the top-right corner. Select Settings.
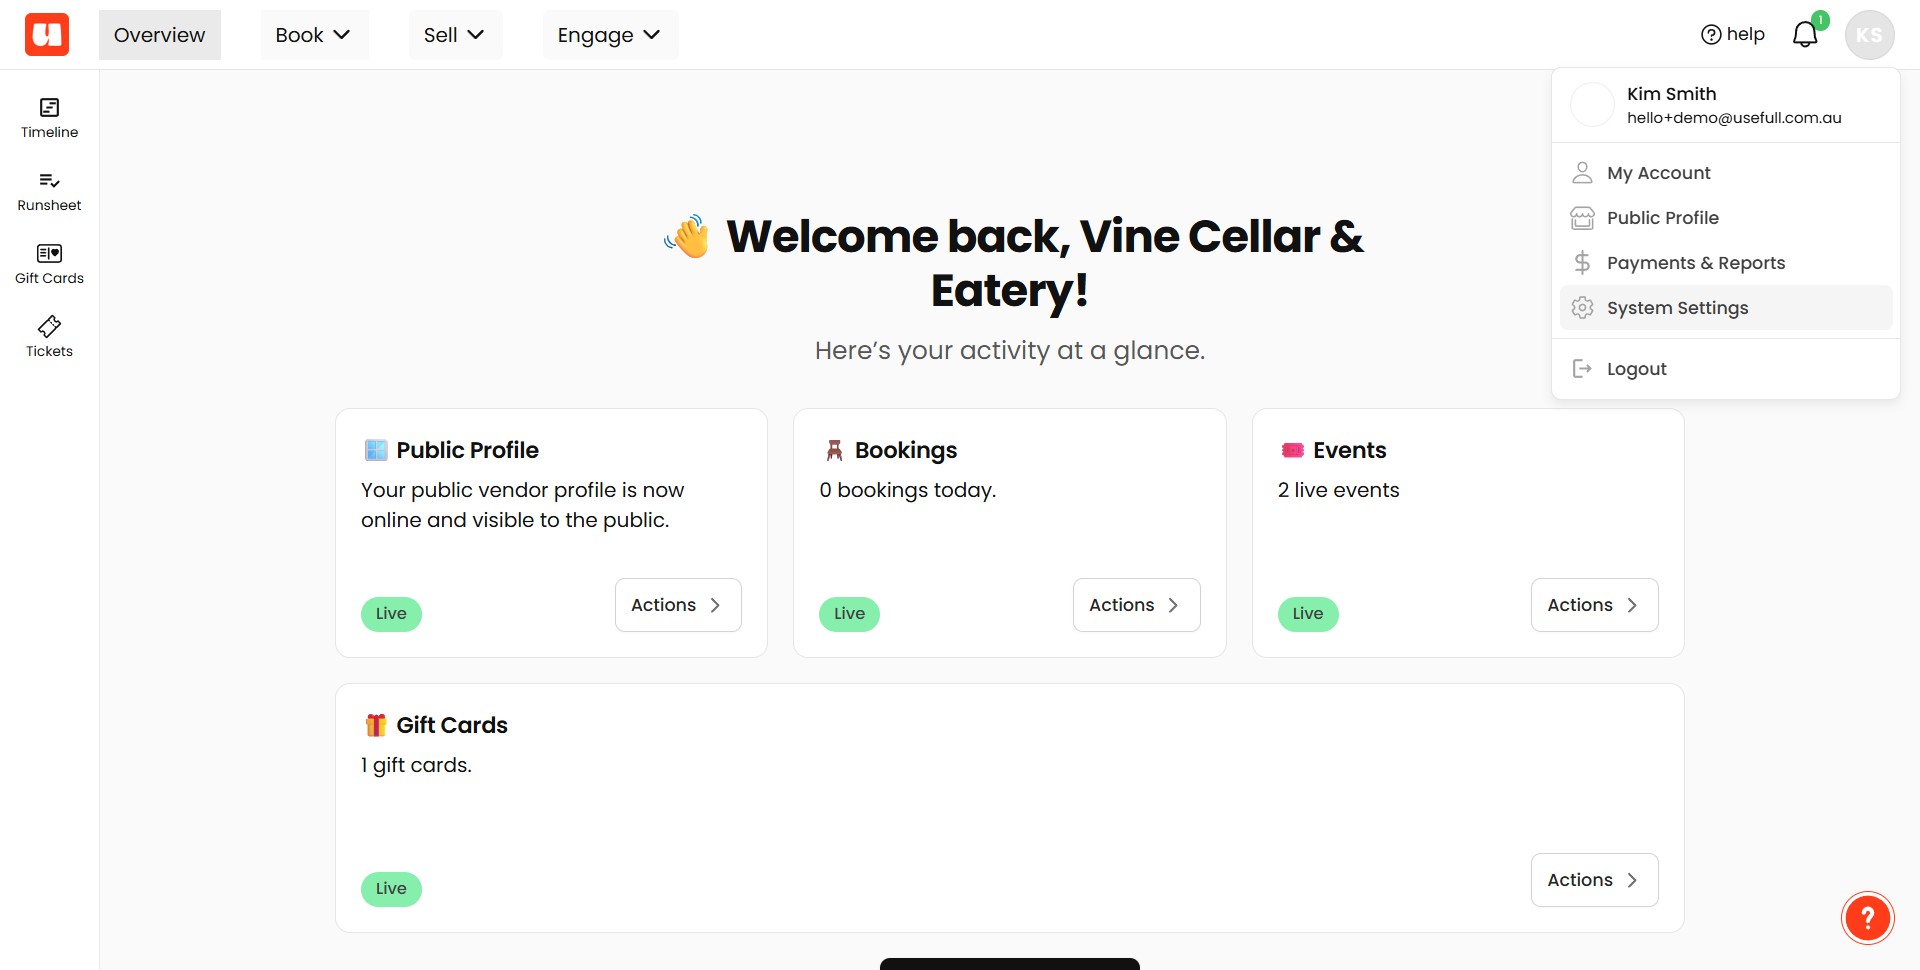
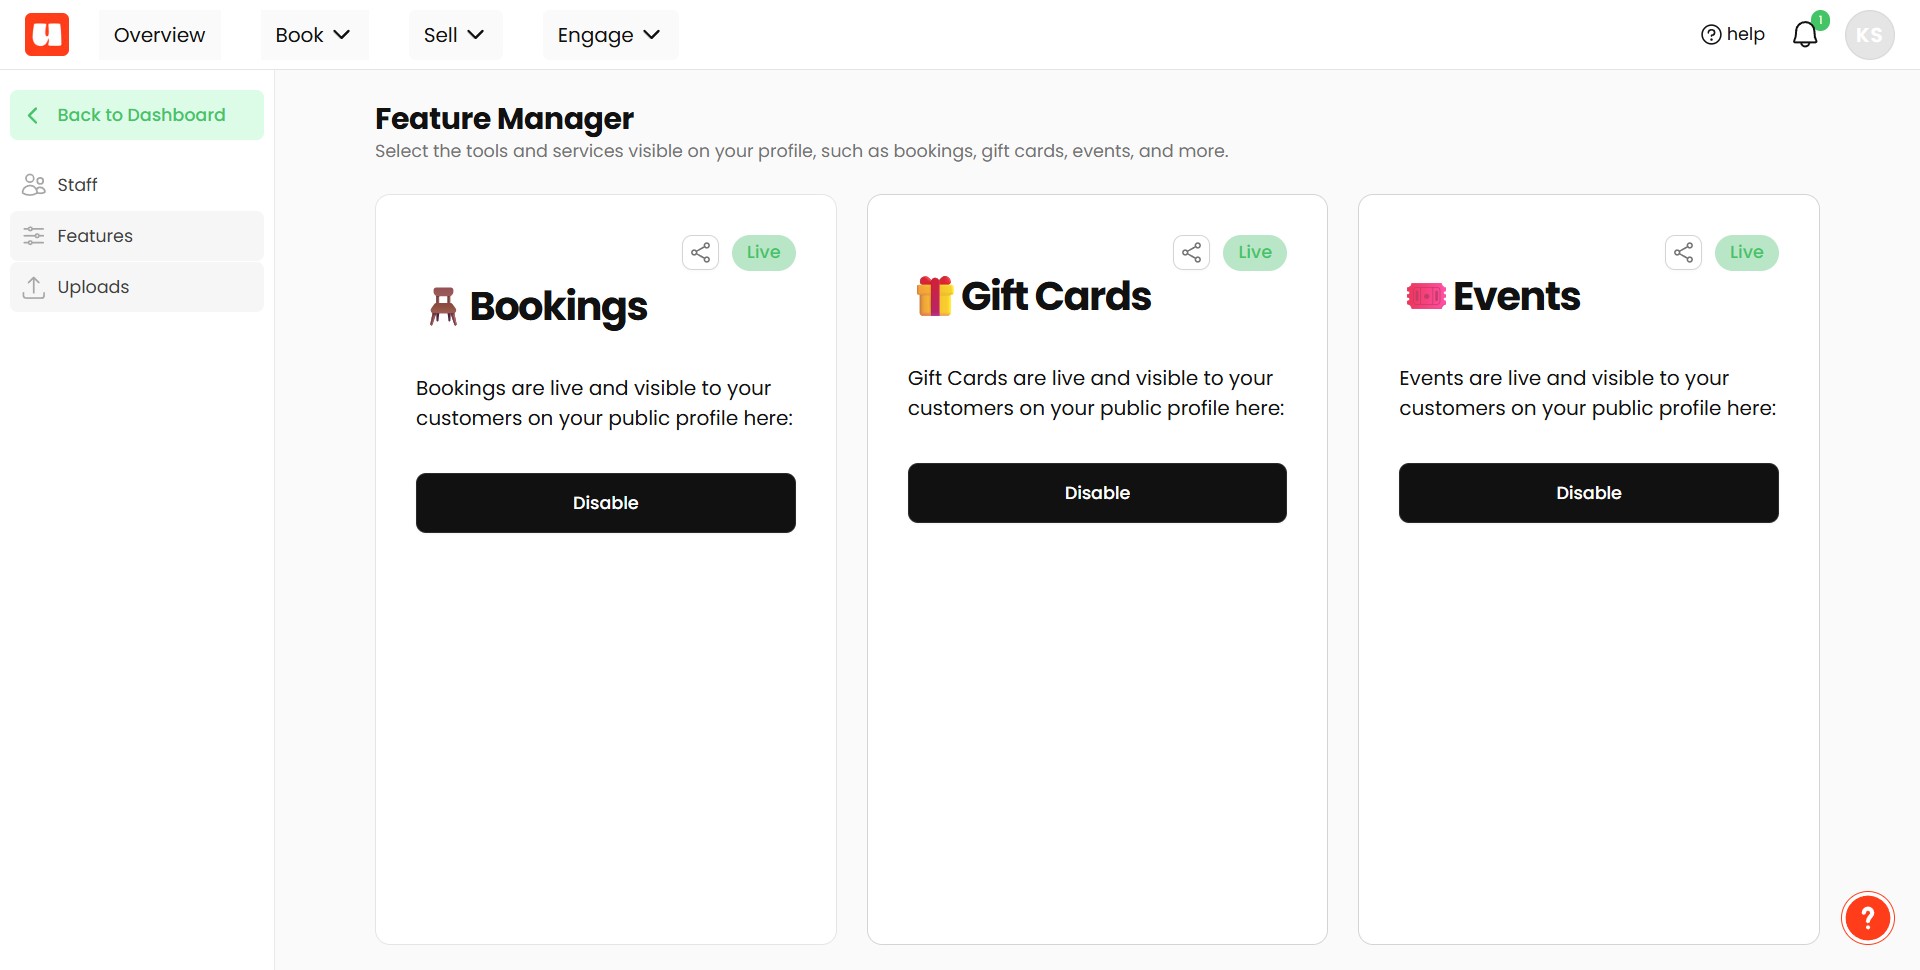
Click on "Uploads"
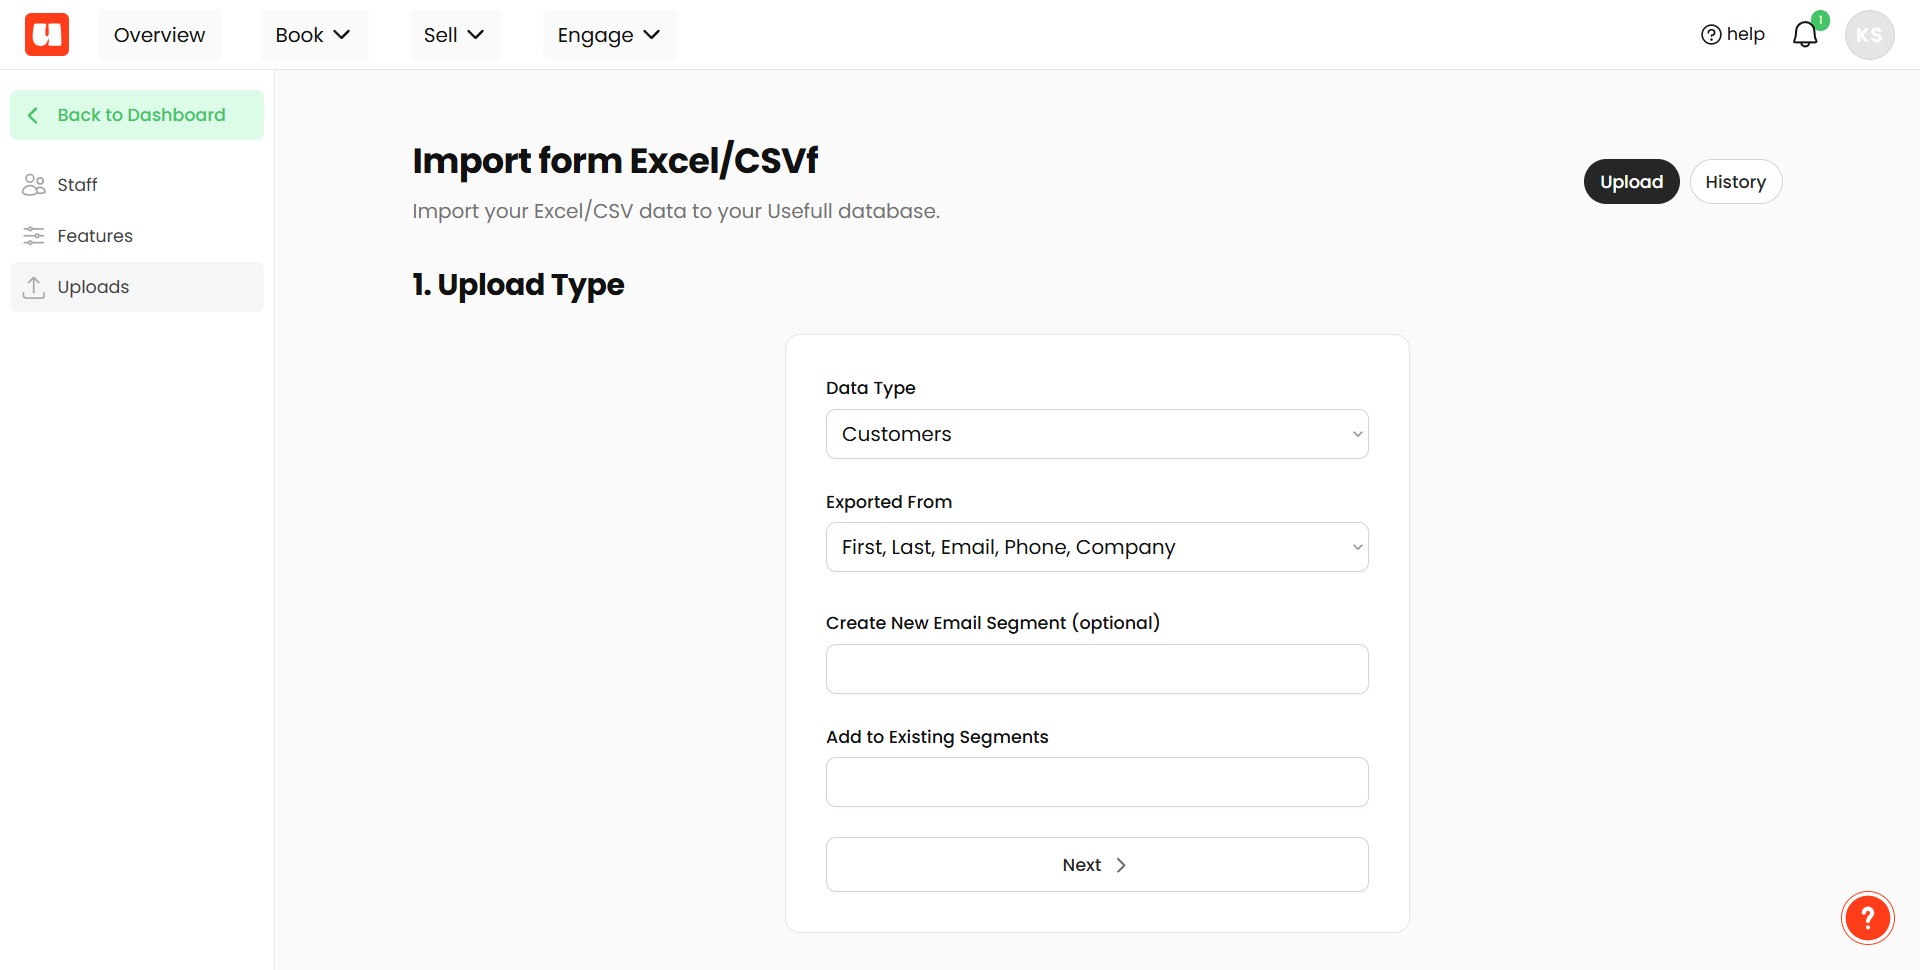
- Under Data Type, select Customers.
- Under Exported From, select the option that matches your file format, for example: First, Last, Email, Phone, Company
- Click Next.
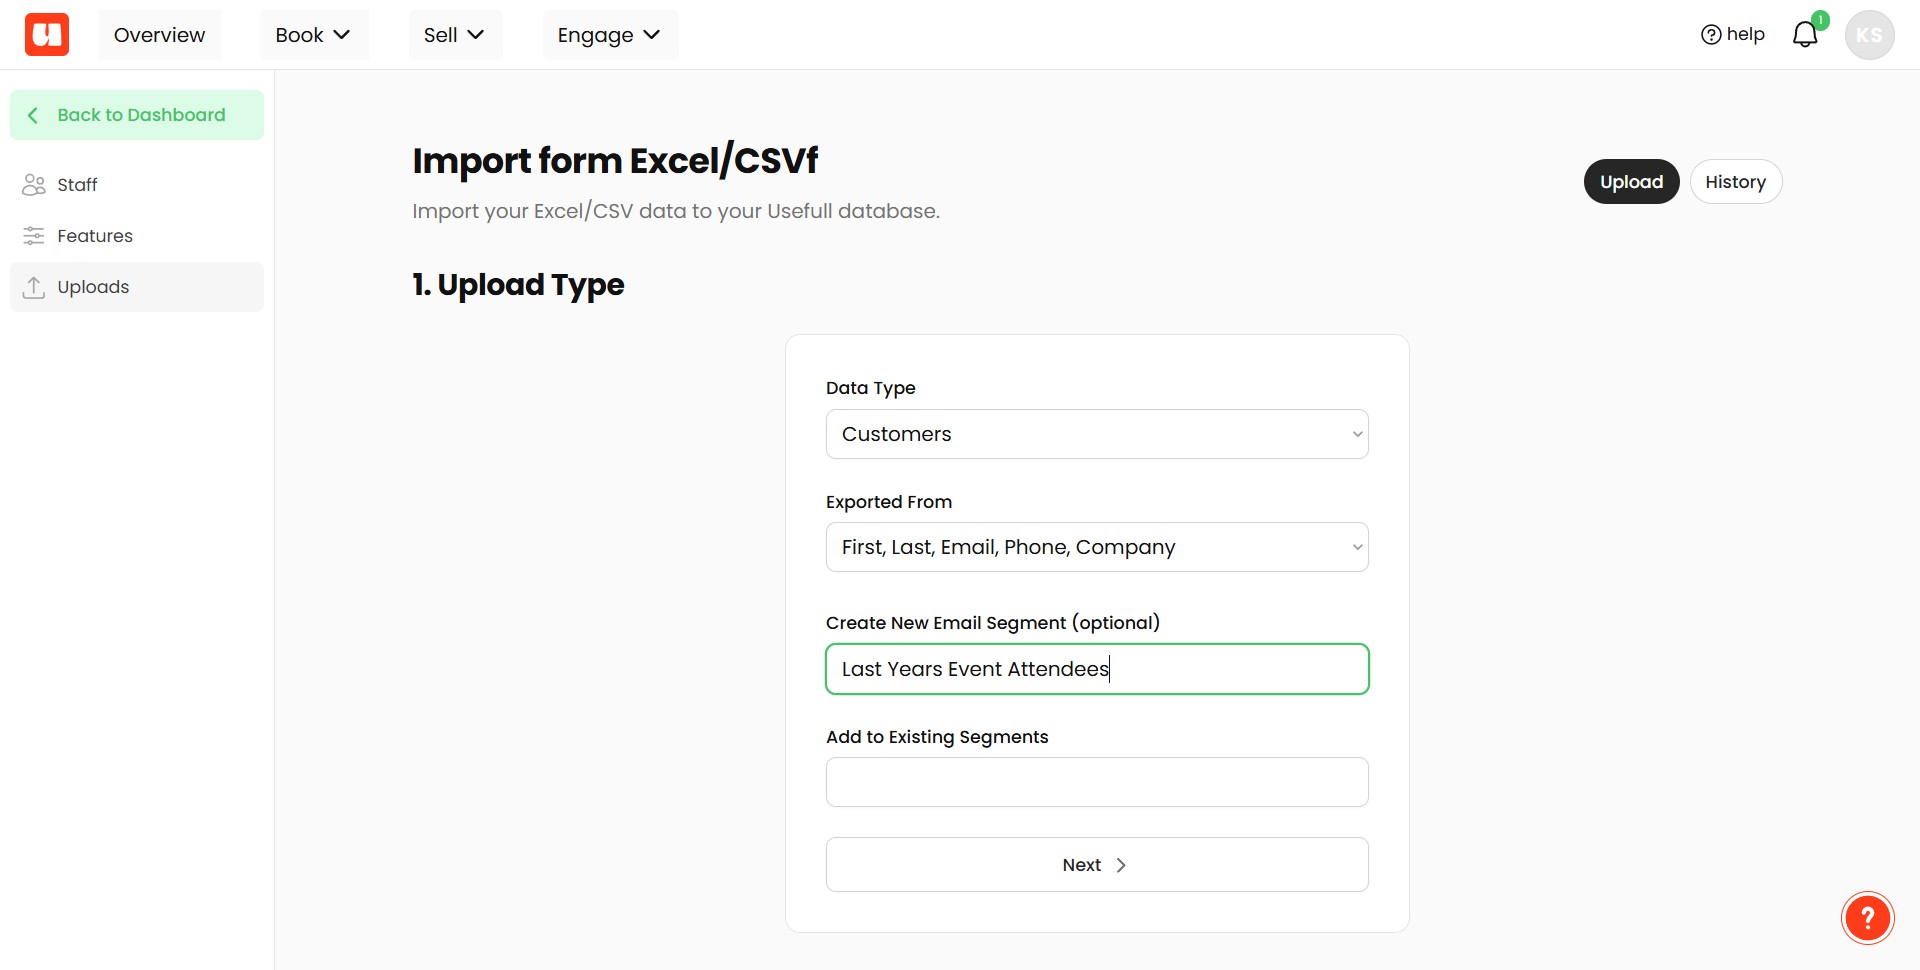
You can now choose how you want to segment the uploaded customers. To create a new segment
- Type the name of the new segment into the box provided.
- Click Next. To add customers to an existing segment
- Select an existing segment from the dropdown list.
- Click Next.
Make sure your upload file follows the correct format. Note you don't need all the data in each column but you will need these columns.
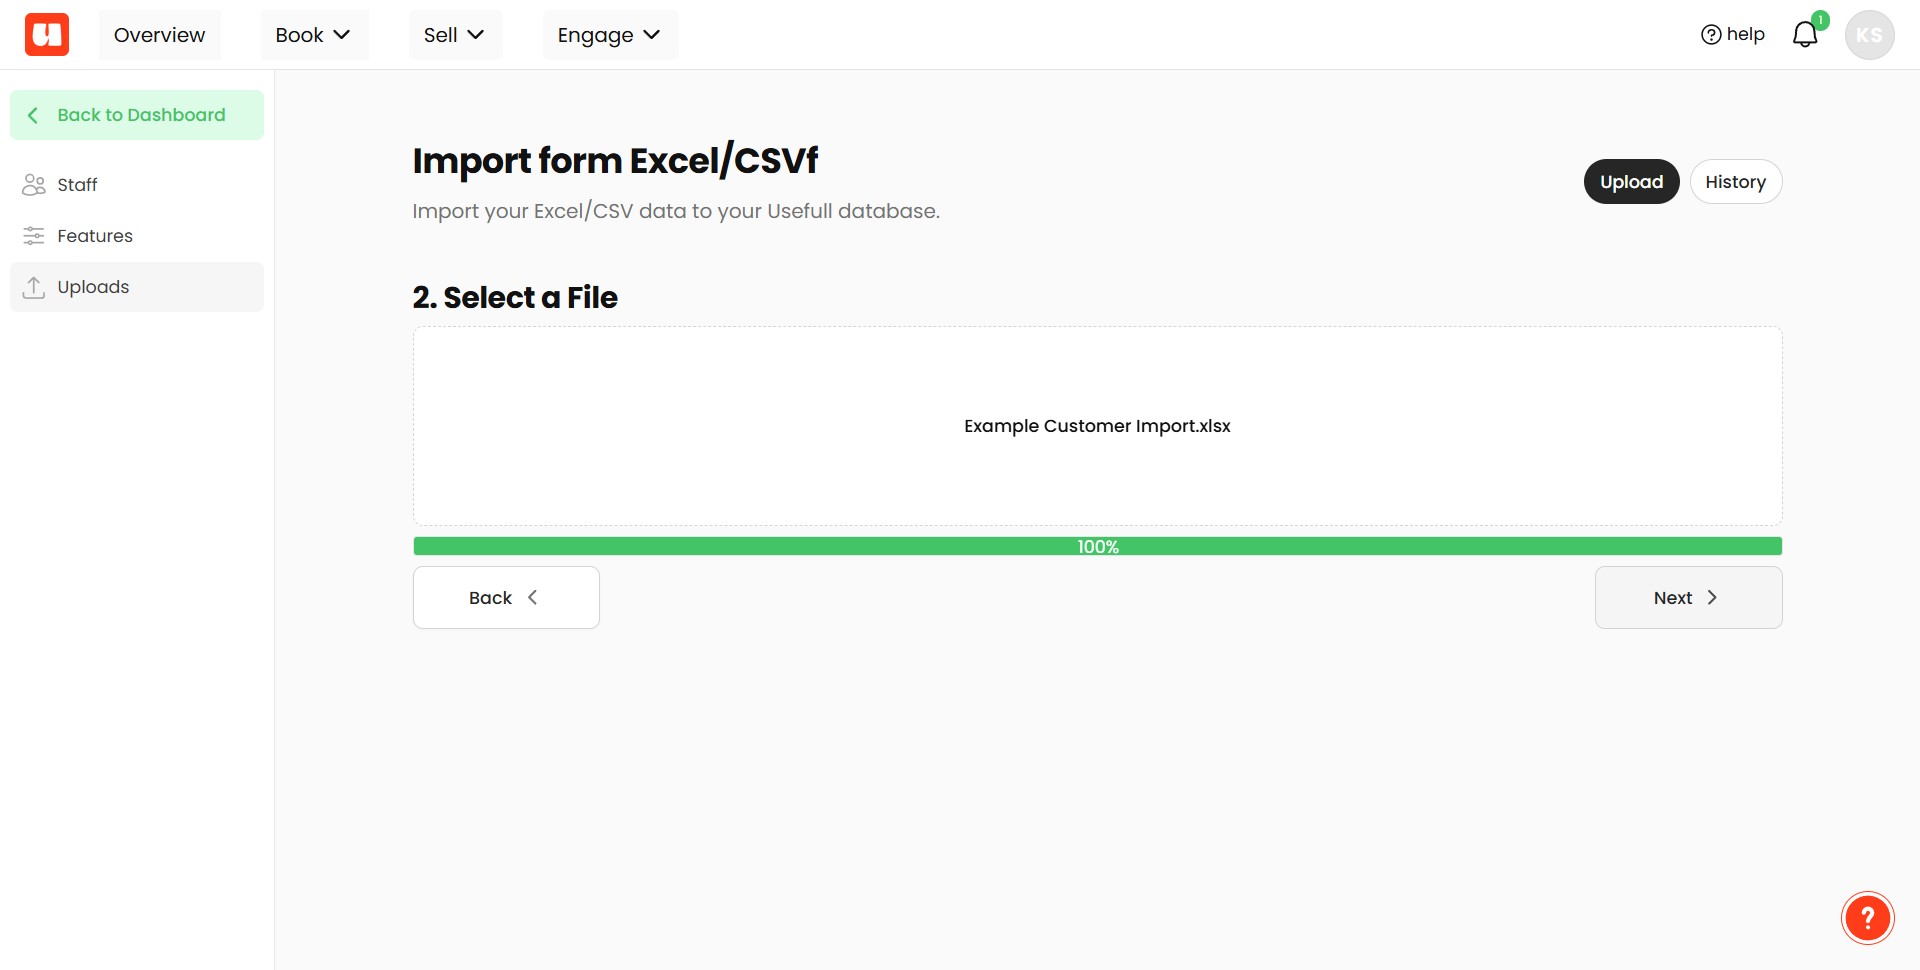
- You will be prompted to upload your customer list.
- Click to select your file, or drag and drop it into the upload area.
- Wait for the upload to reach 100%.
- Click Next.
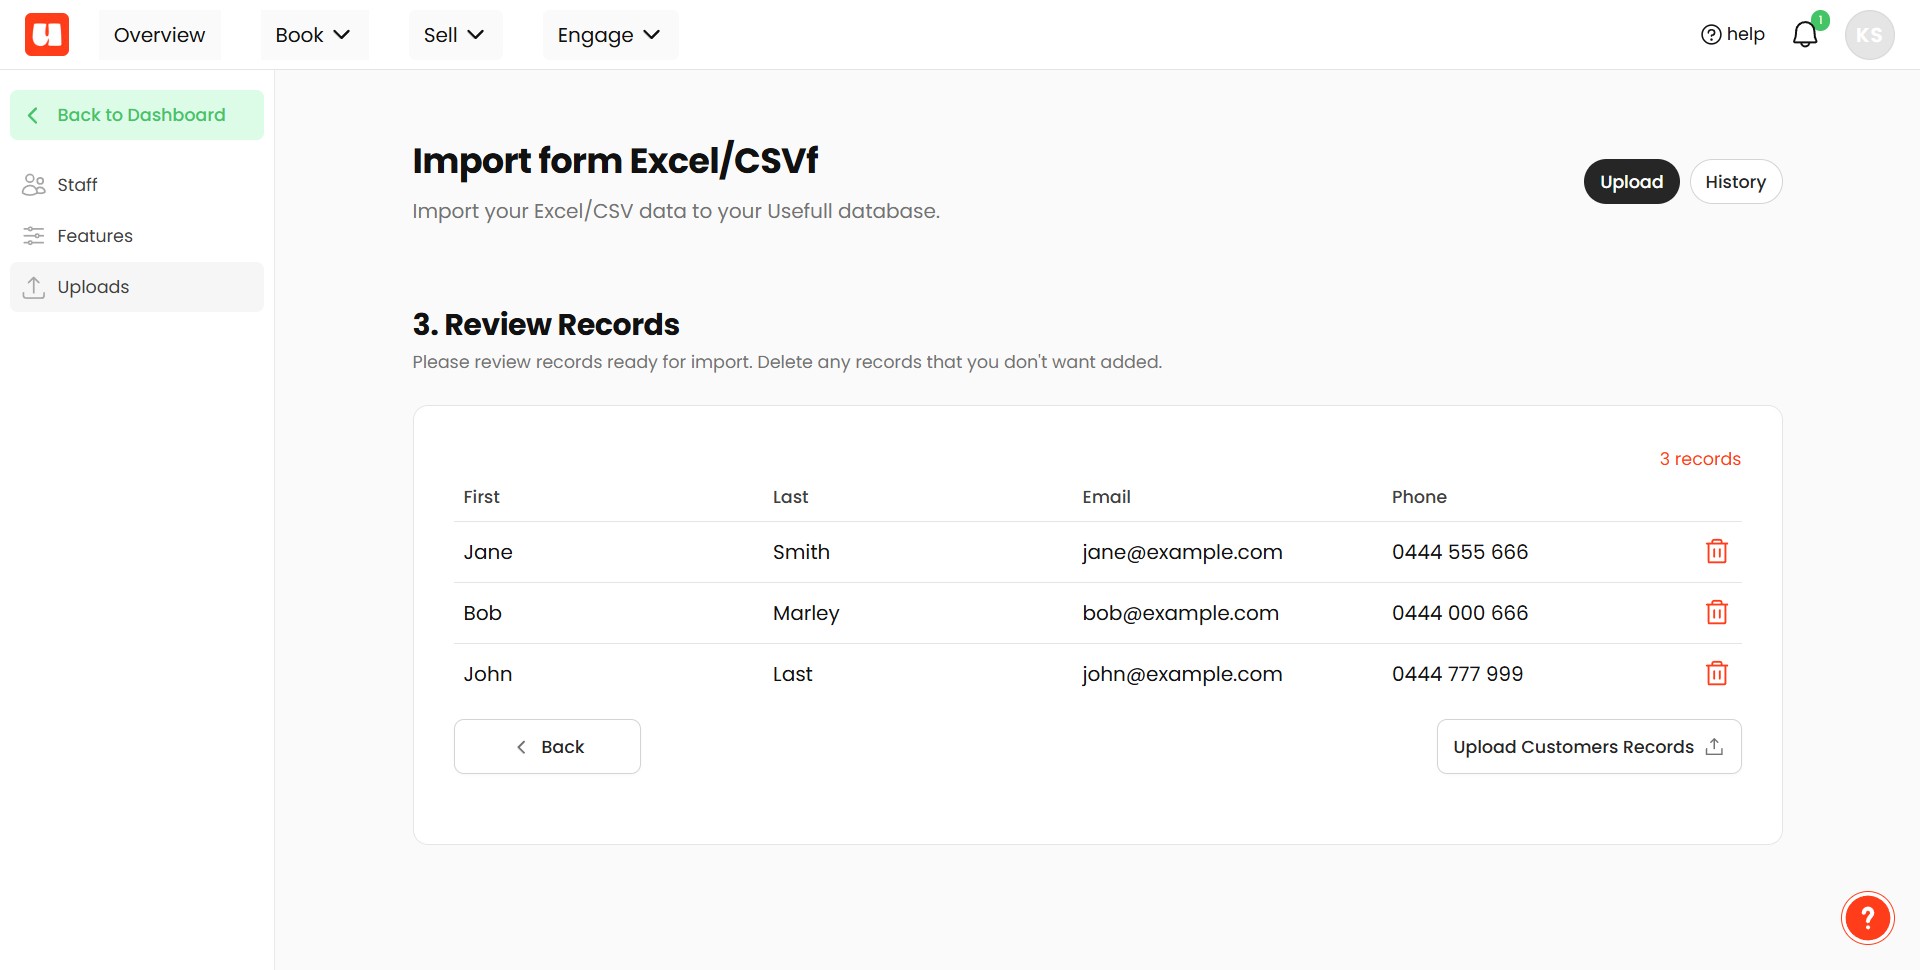
- Review the uploaded file details to make sure everything looks correct.
- Click Upload.
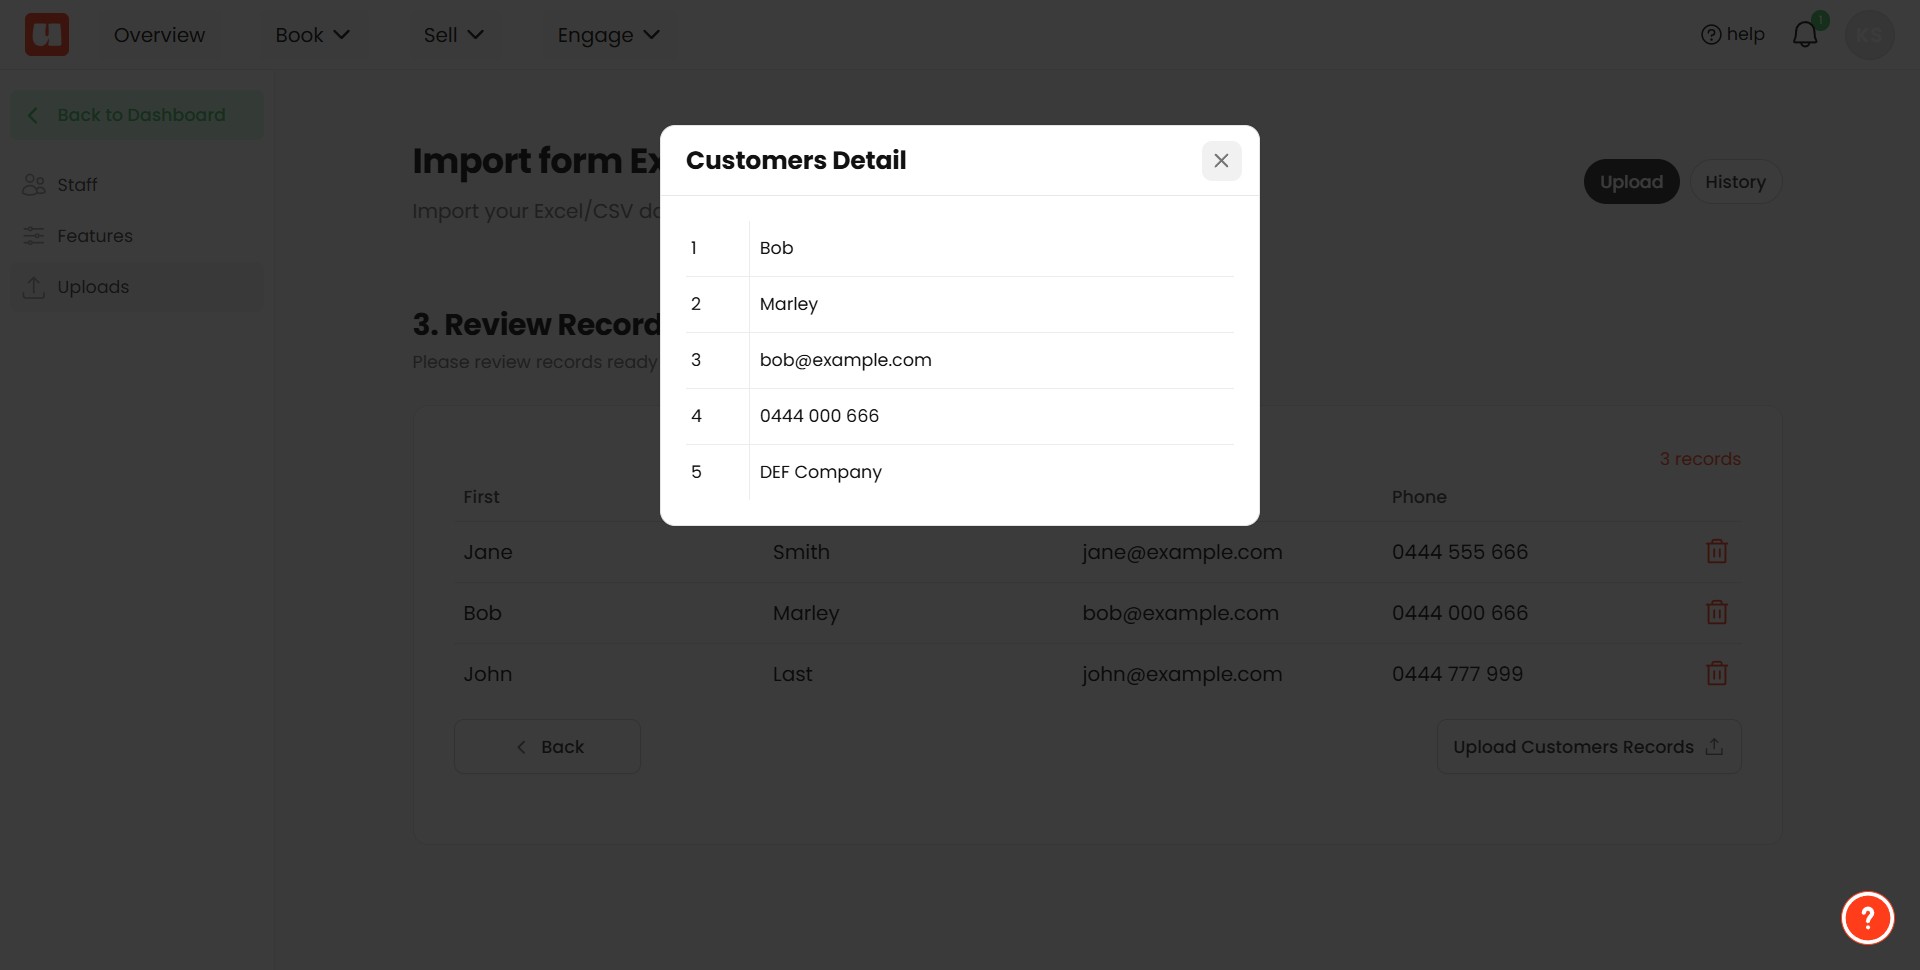
Click on a row to see more detail.
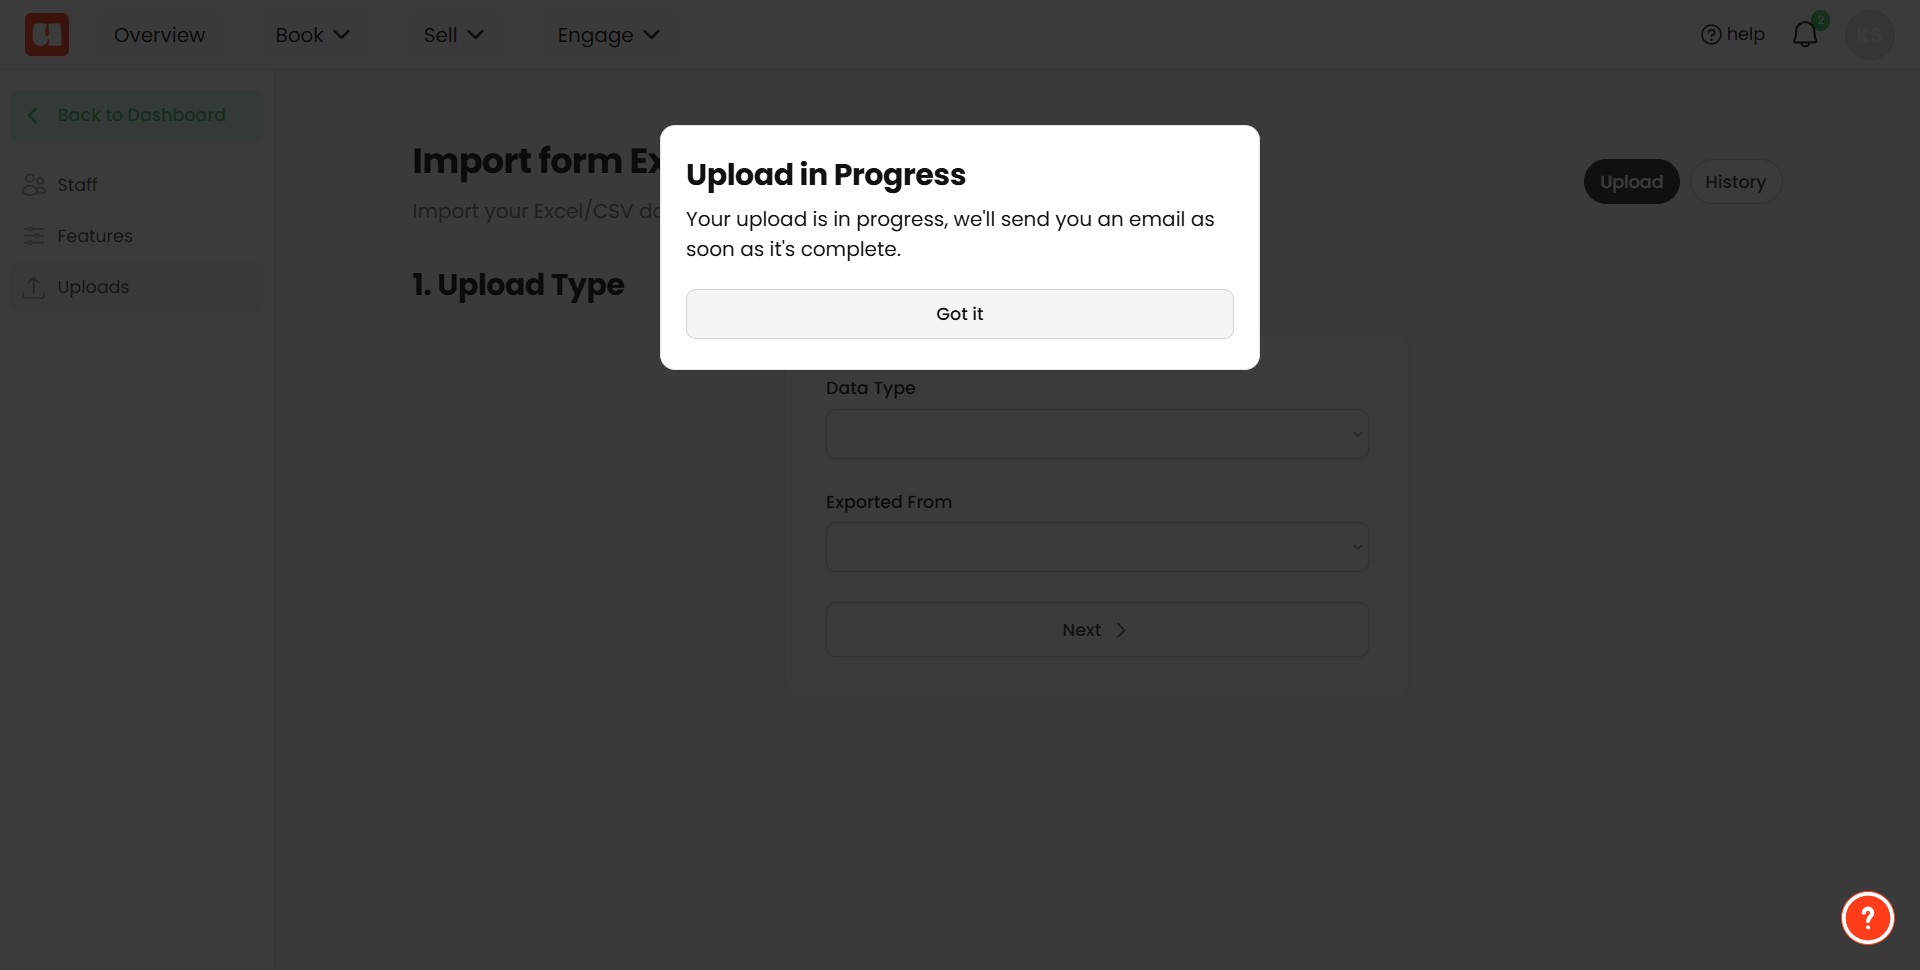
Once your upload has been imported you'll receive an email confirmation.
Note: Rolling Back an Upload
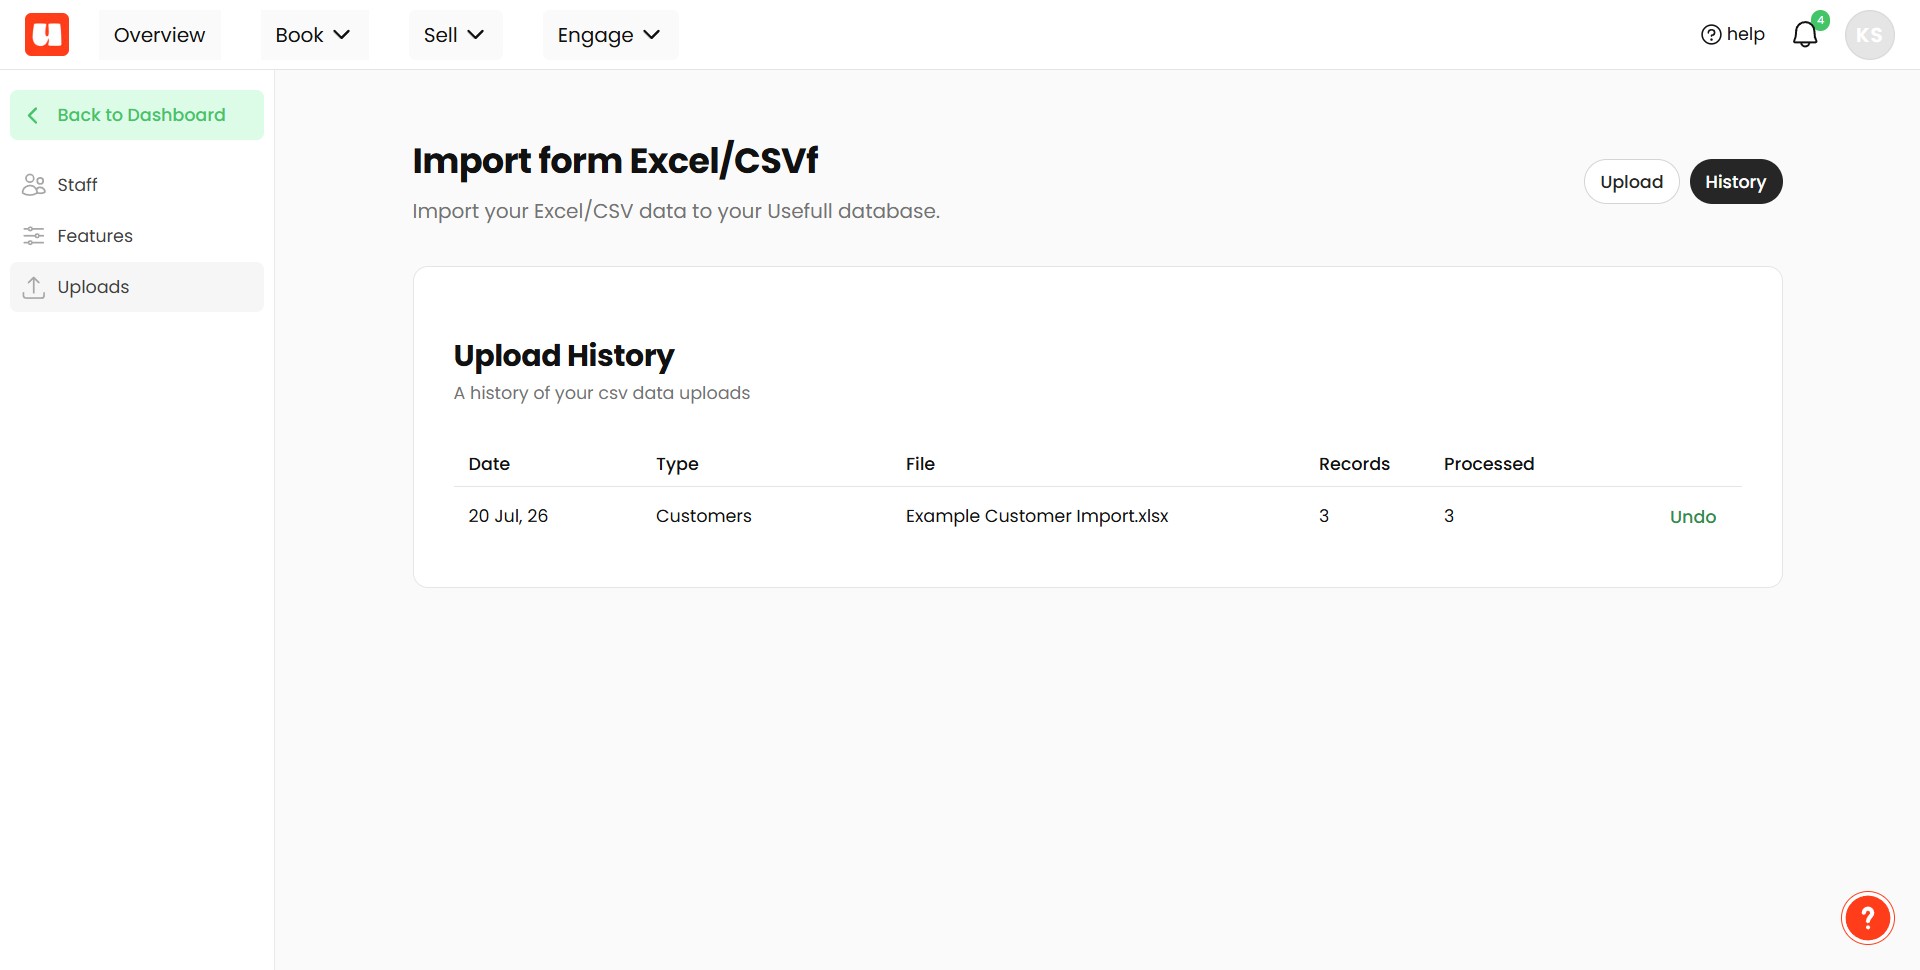
If there are any issues with your upload, you can roll it back. To do this:
- Go to the Uploads area.
- Click the History tab.
- Find the relevant upload.
- Select the rollback option. This will undo the upload if needed.
Frequently Asked Questions
- What columns does my Excel spreadsheet need to include before uploading?
Your spreadsheet must include these column placeholders: First Name, Last Name, Email, Phone, Company. You do not need to have data in every field, but the column headers (placeholders) must be present in the file.
- How do I start uploading my customer list in the Staff Dashboard?
From the main menu click the profile icon in the top-right corner and select Settings. Open Uploads, set Data Type to Customers, choose the matching Exported From option (for example: First, Last, Email, Phone, Company) and click Next. Then choose segmentation (new or existing), upload your file (click or drag-and-drop), wait for the upload to reach 100%, click Next, review the file details, and click Upload.
- How do I create or add customers to a segment during the upload?
To create a new segment, type the new segment name into the provided box and click Next. To add customers to an existing segment, select the segment from the dropdown list and click Next.
- What should I check if my upload appears to be unsuccessful or incorrect?
First confirm your file follows the required format and includes the required column headers. During upload, make sure the progress reaches 100%. After uploading, review the uploaded file details before clicking Upload. If you need to inspect data, click on a row to see more detail.
- How can I undo an upload if something goes wrong?
Go to the Uploads area and open the History tab. Find the relevant upload and select the rollback option. This will undo the upload. You will also receive an email confirmation once an upload has been imported.