How to Create Your First Event
This guide steps through a basic event setup, from start to finish.
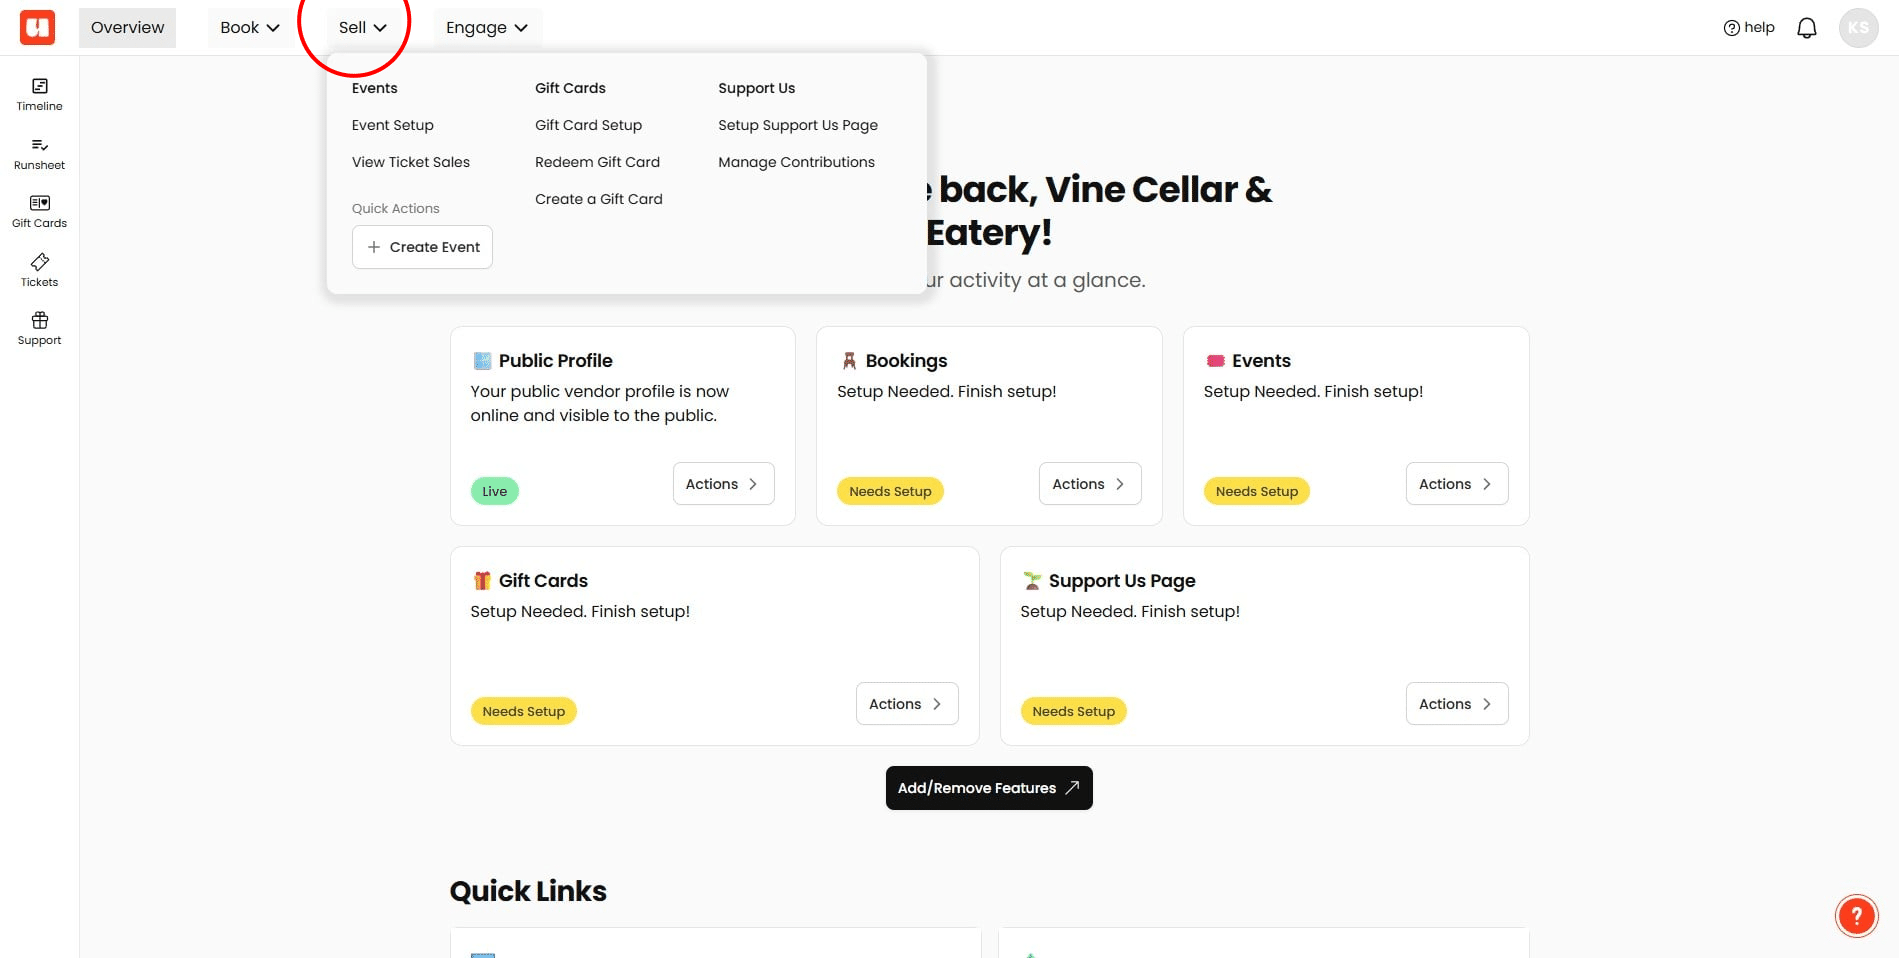
To create your first event, click 'Sell' > 'Create Event'
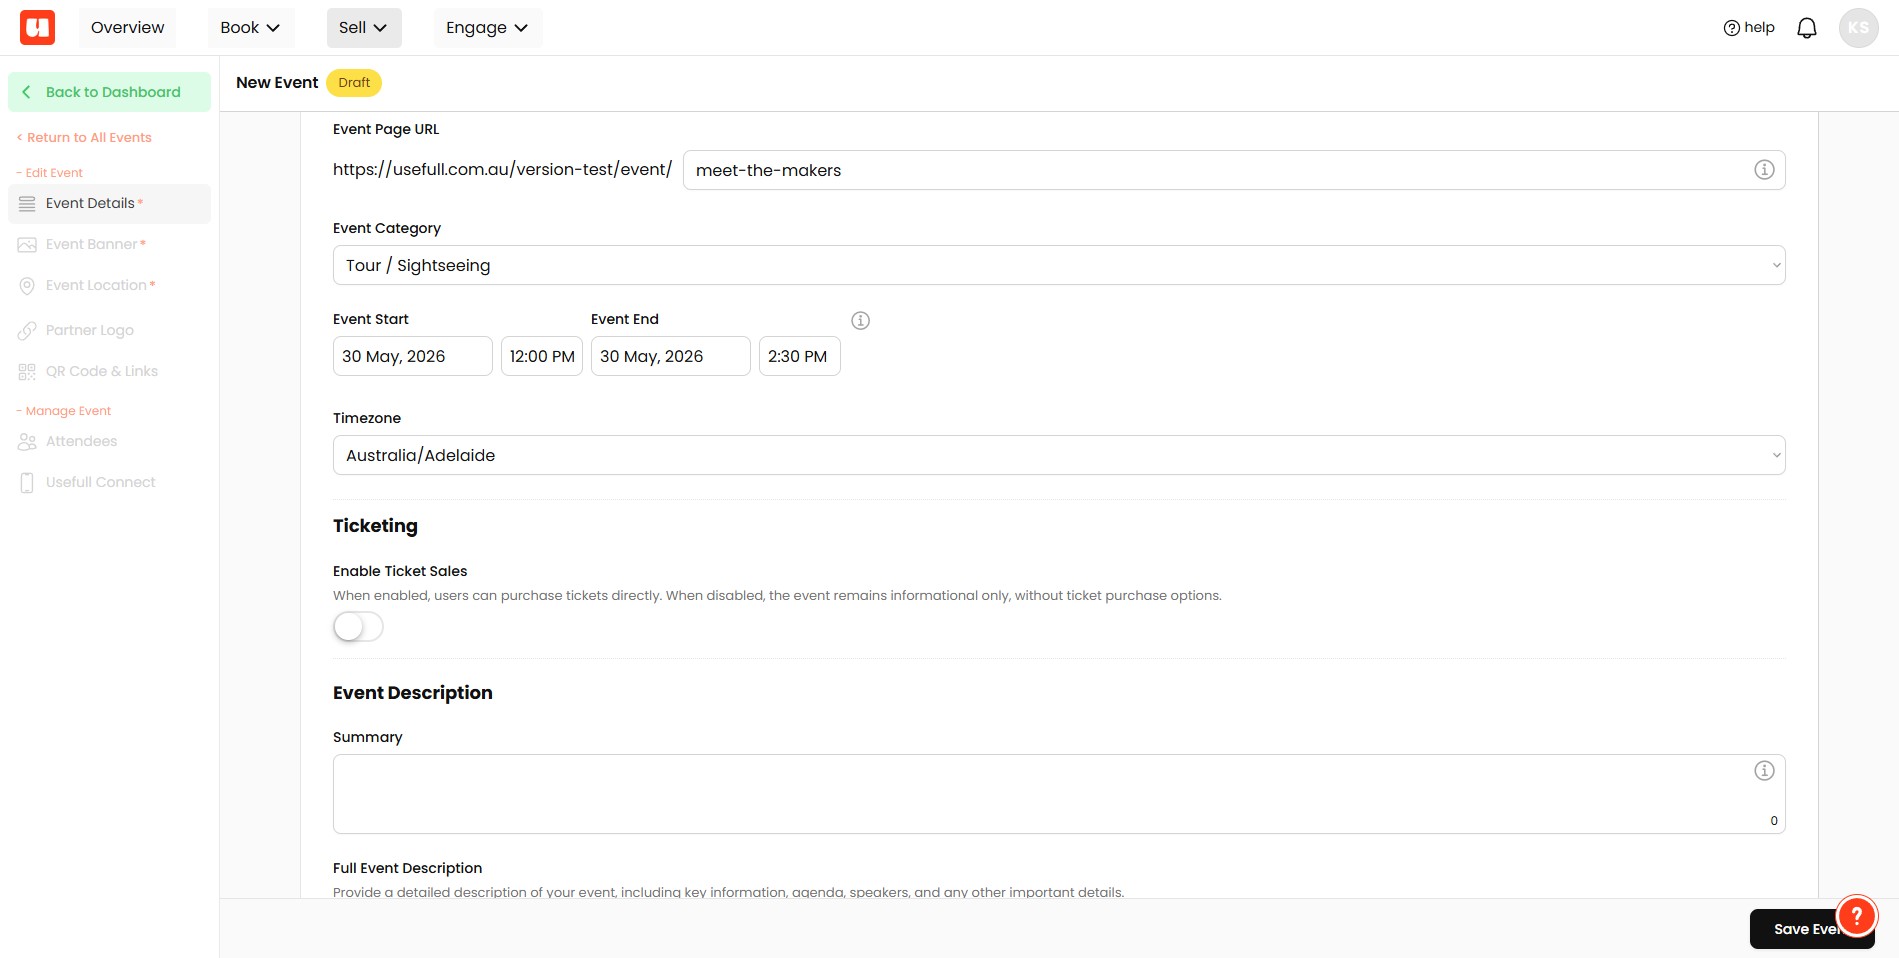
A new event window will open. Start off by populating the main details about your event including name, a url, dates and description.
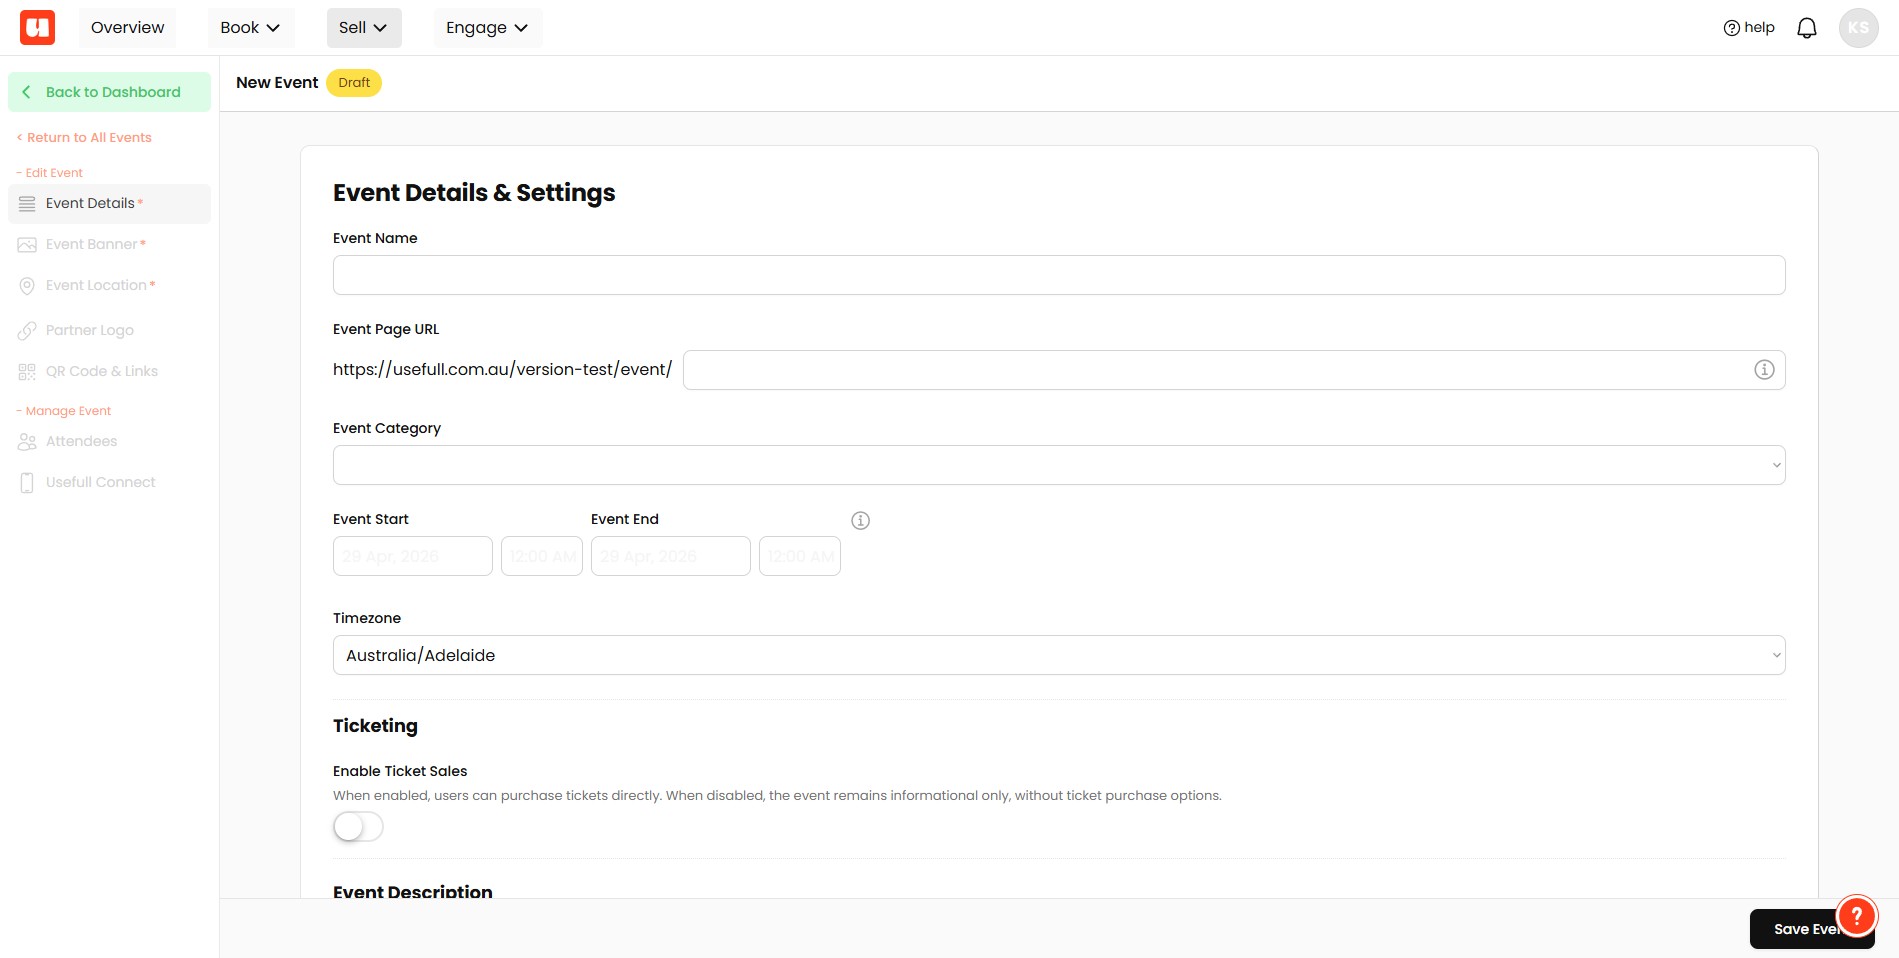
Events can either be Ticketed (i.e., the customer receives a ticket, with a QR code and ticket number). Or Informational only.
If also use Usefull Bookings you can choose to promote your event in your bookings setup. This is an advanced feature and we will cover it in another guide.
Click on "Save Event"
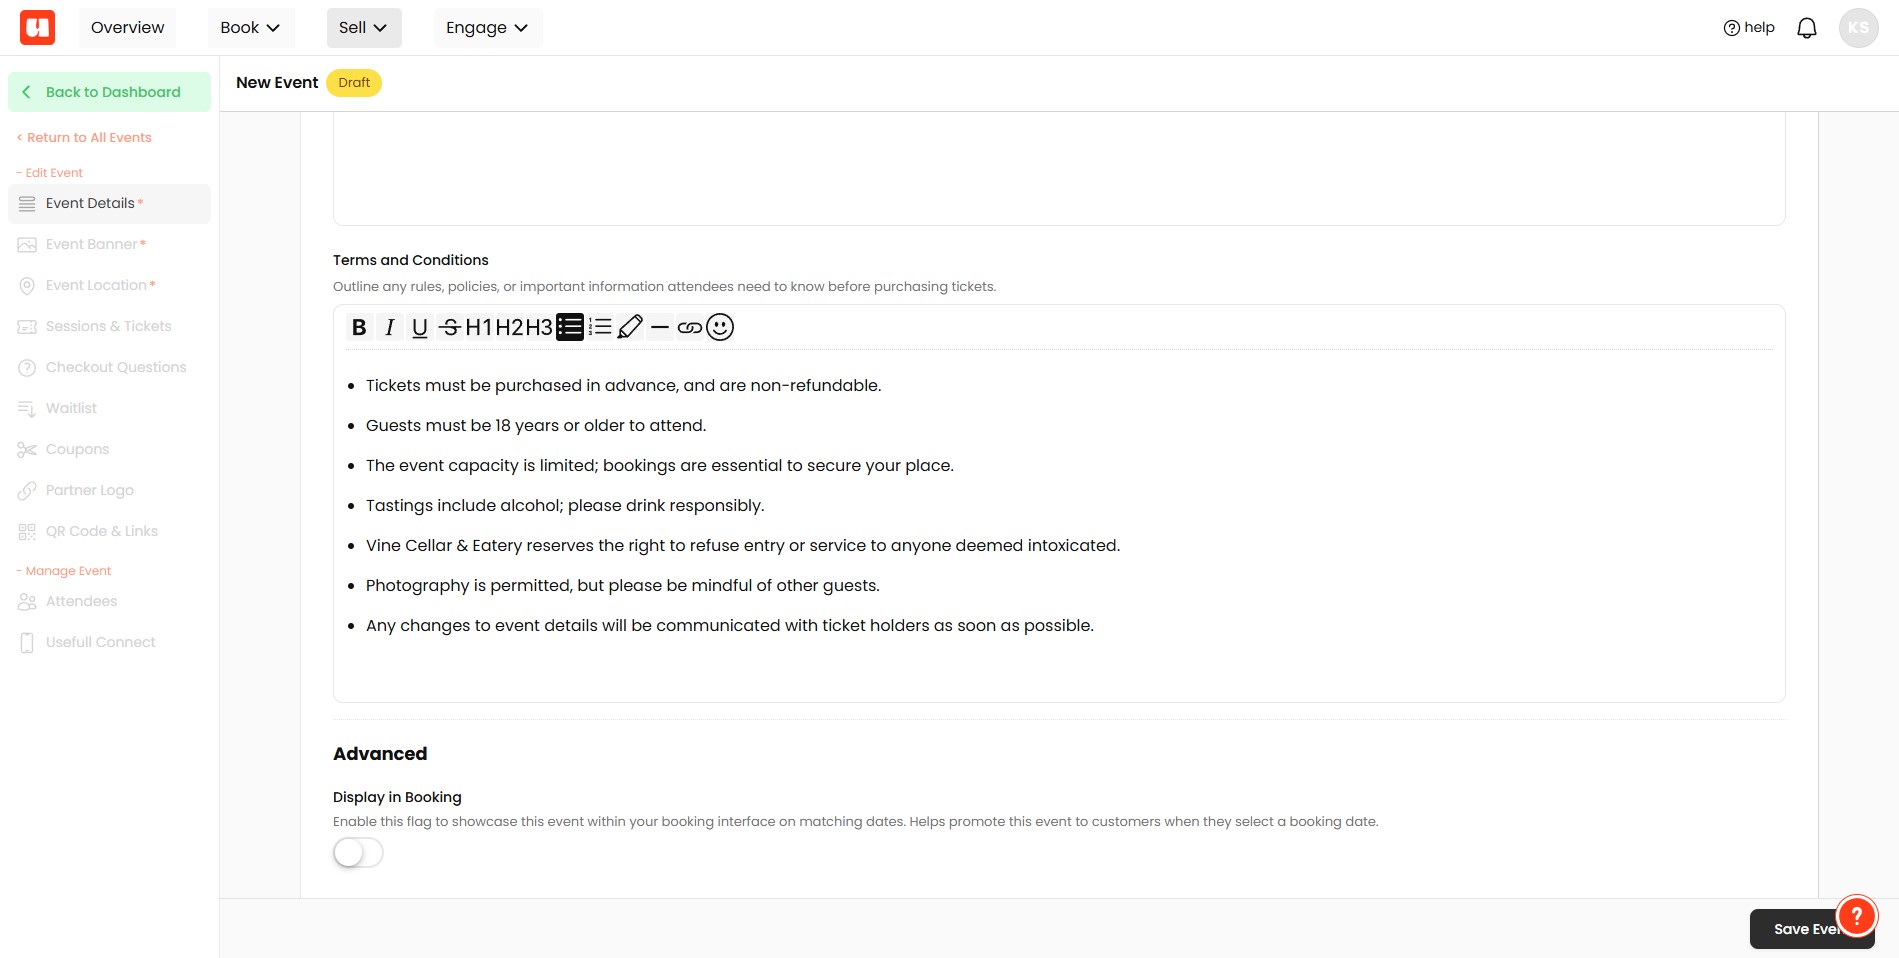
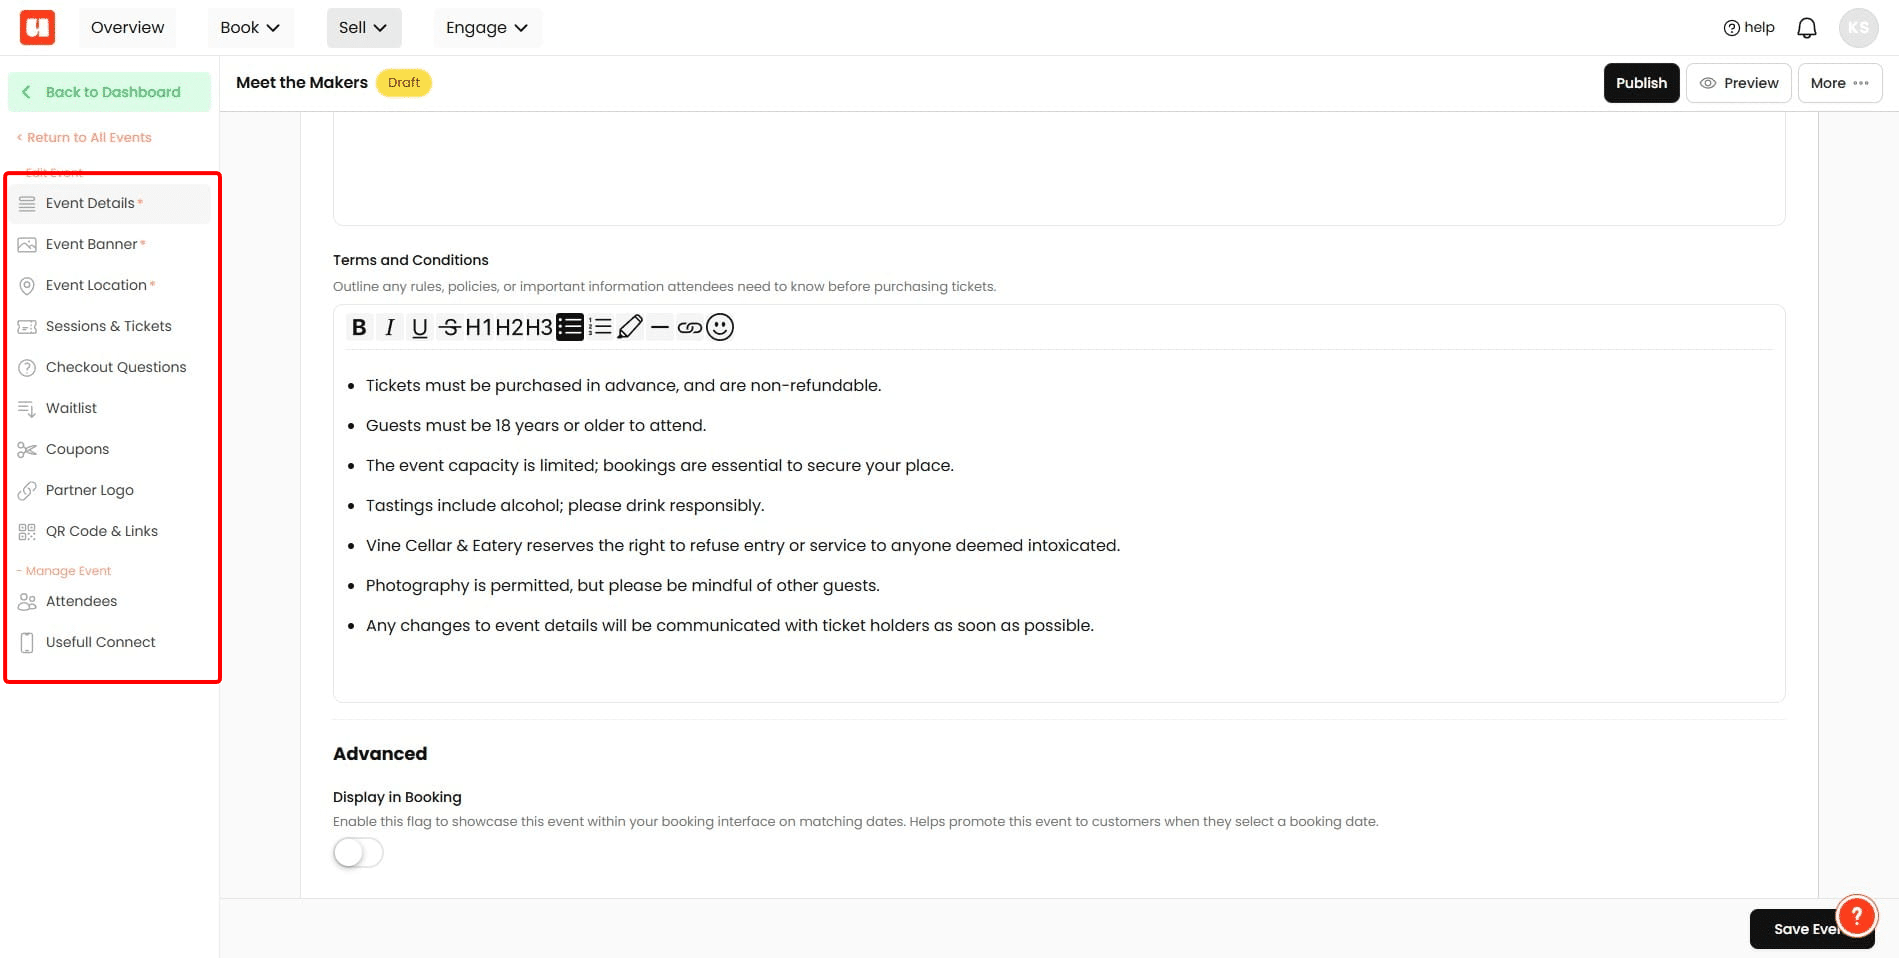
You'll notice that there are a number of additional menu options available for your event once it's saved. Let's look at these now.
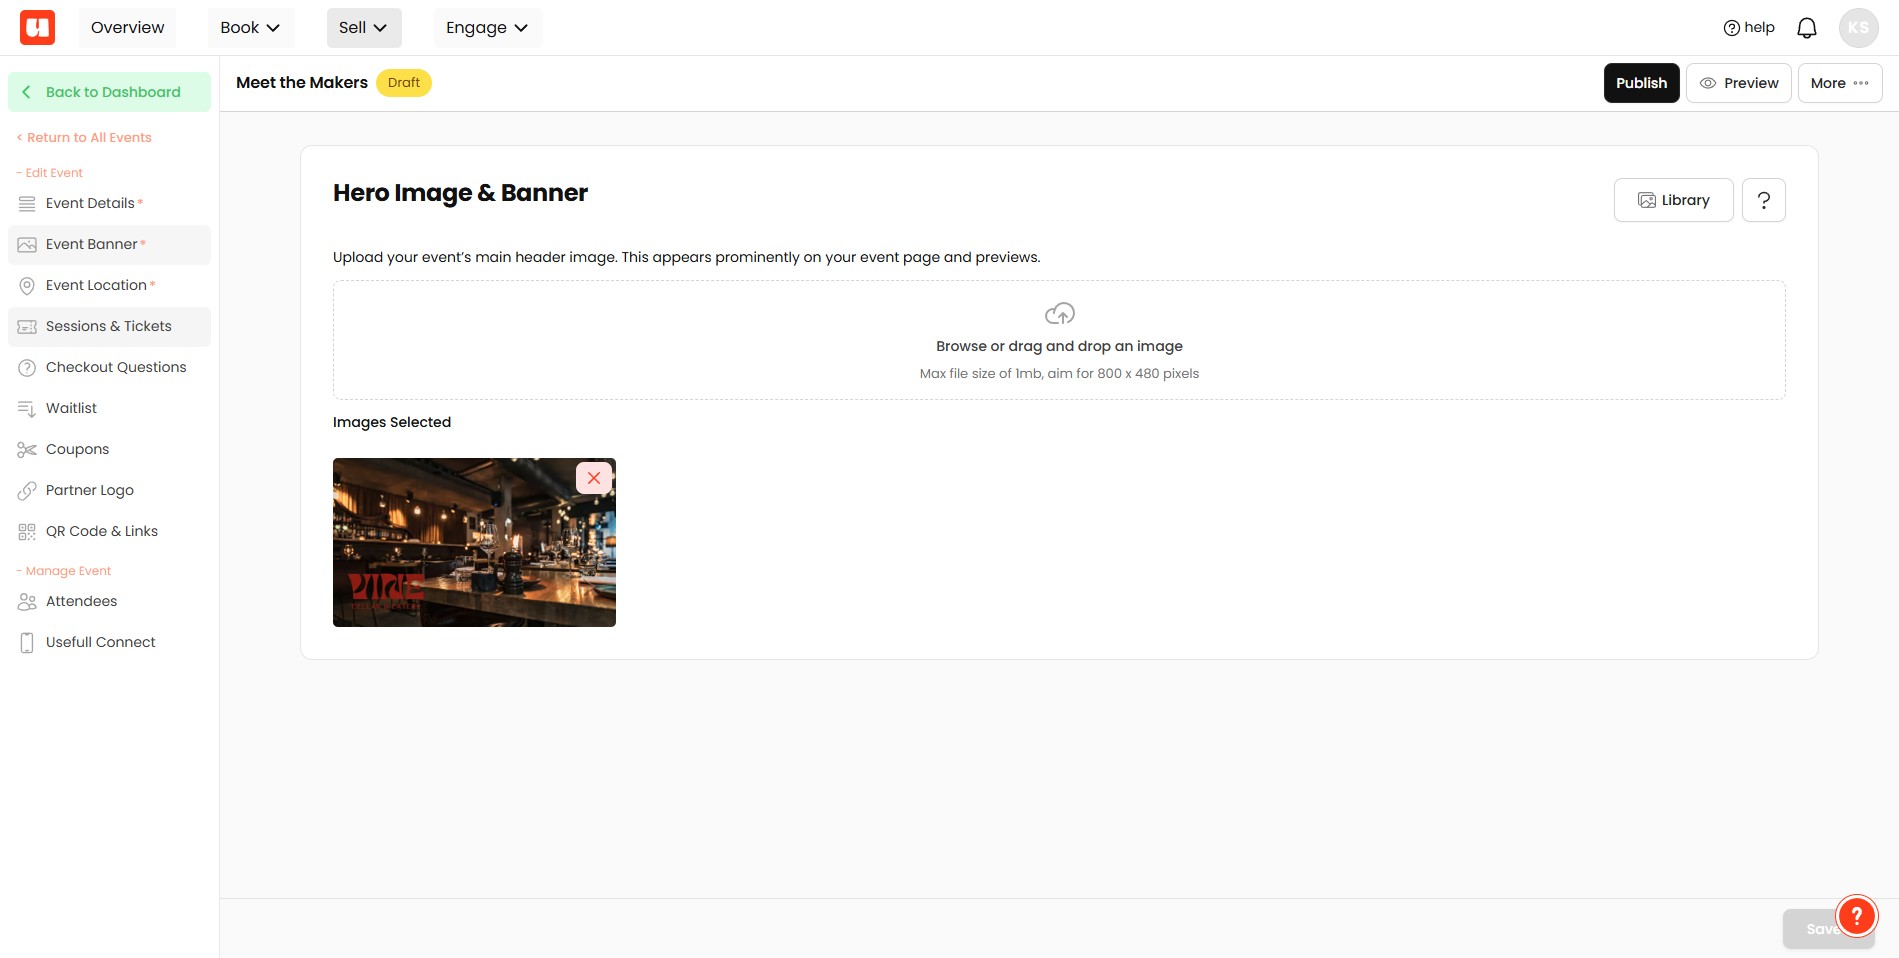
Add one or more images to display in your event via the Event Banner Tab.
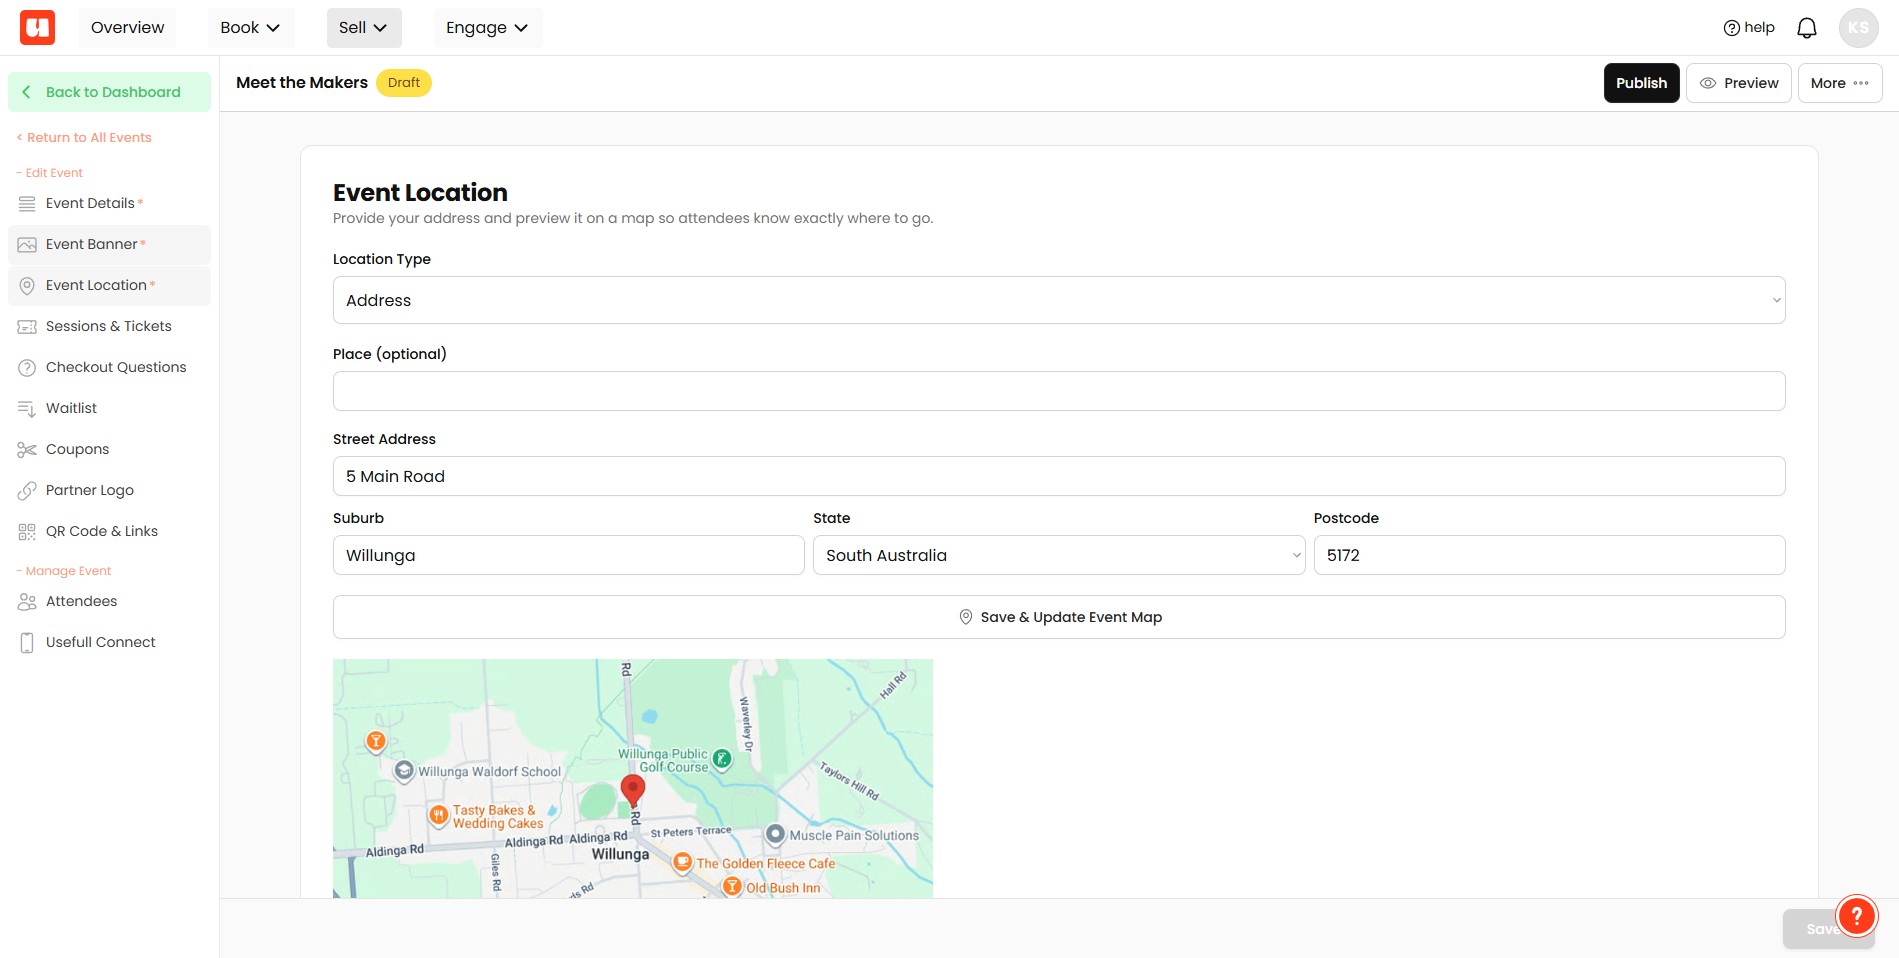
Add event location details. This can be an address with a map, or custom text.
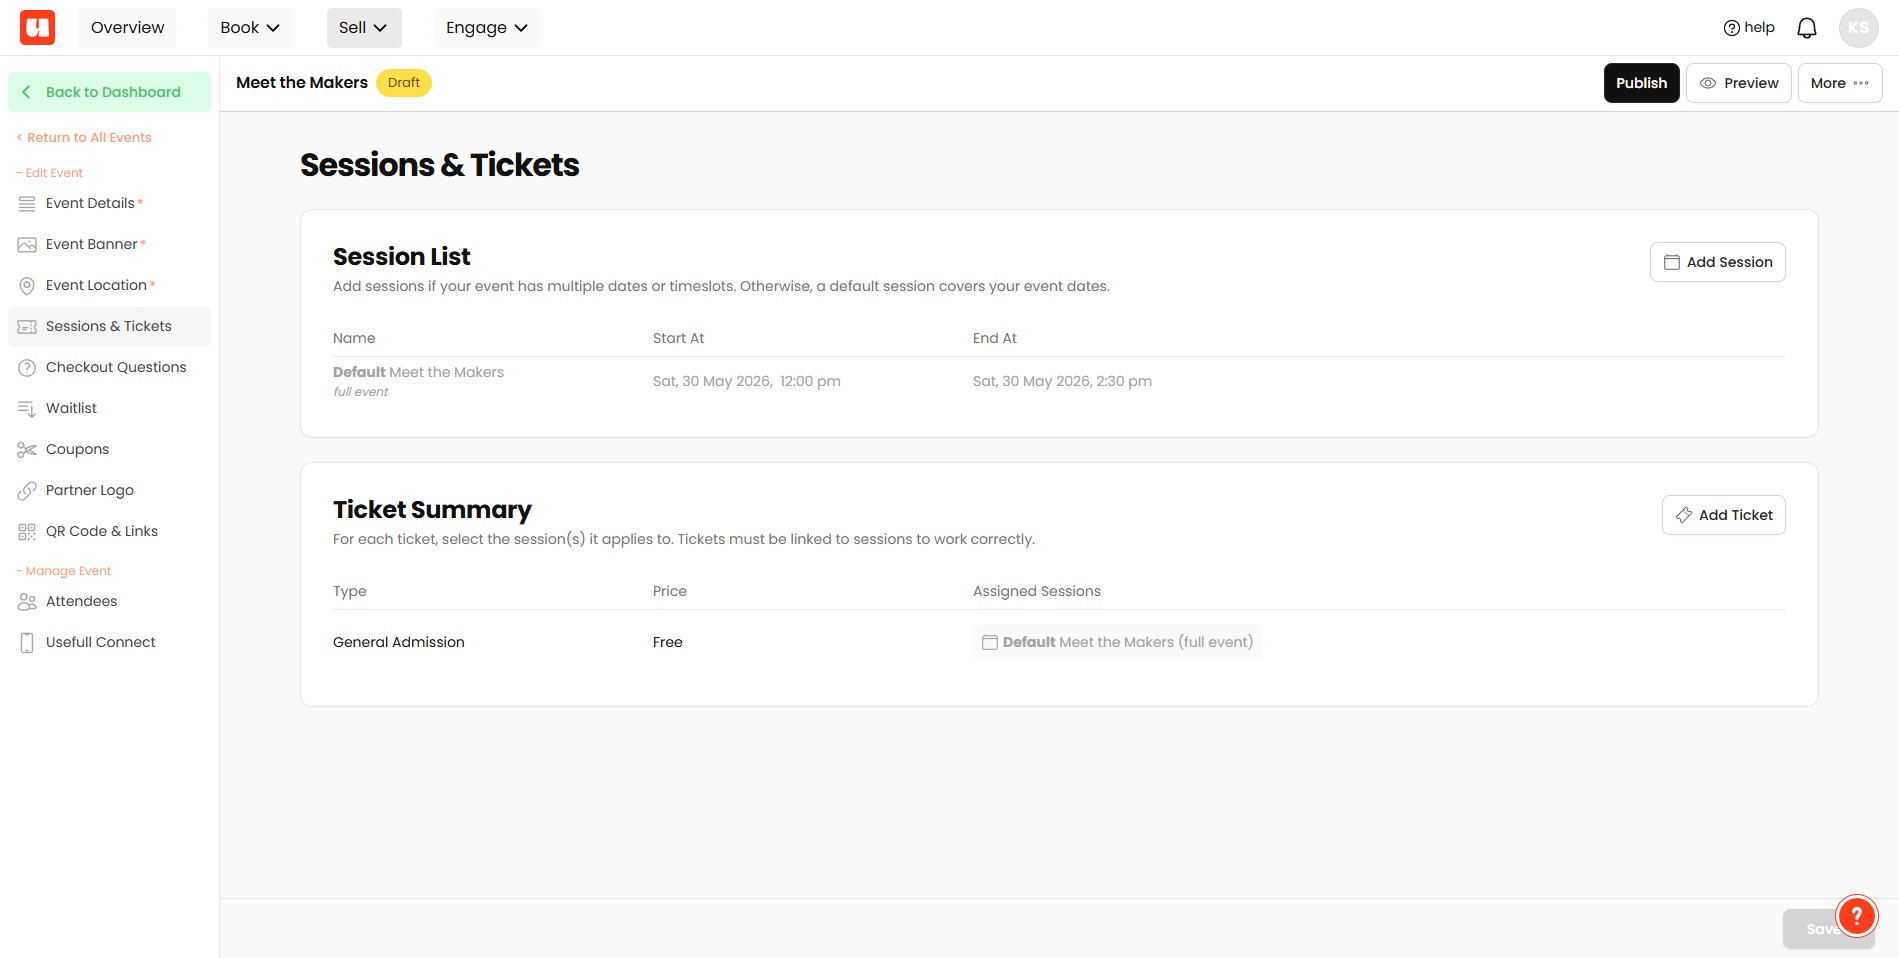
This section allows you to set up individual sessions and ticket types for your event. It can be as simple or as complex as your event requires. We will cover this in detail in another guide. Please note, if your event is for informational purposes only, this option is not available.
Advanced Features:
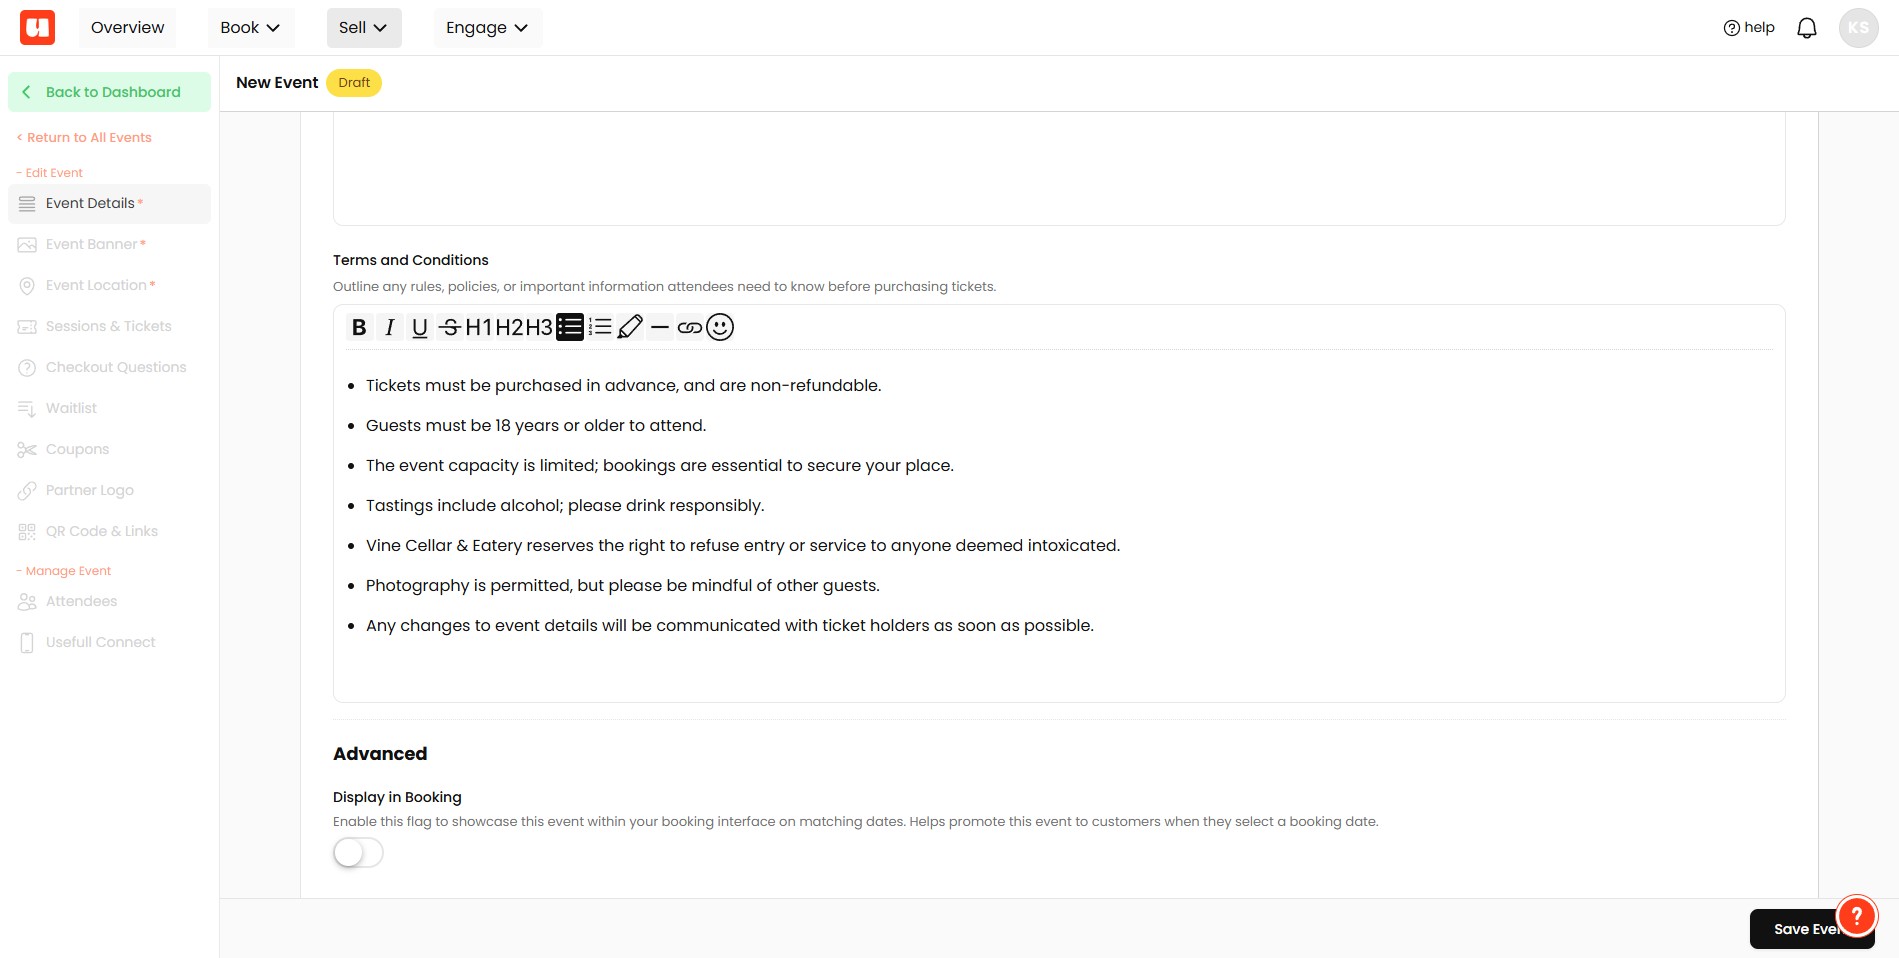
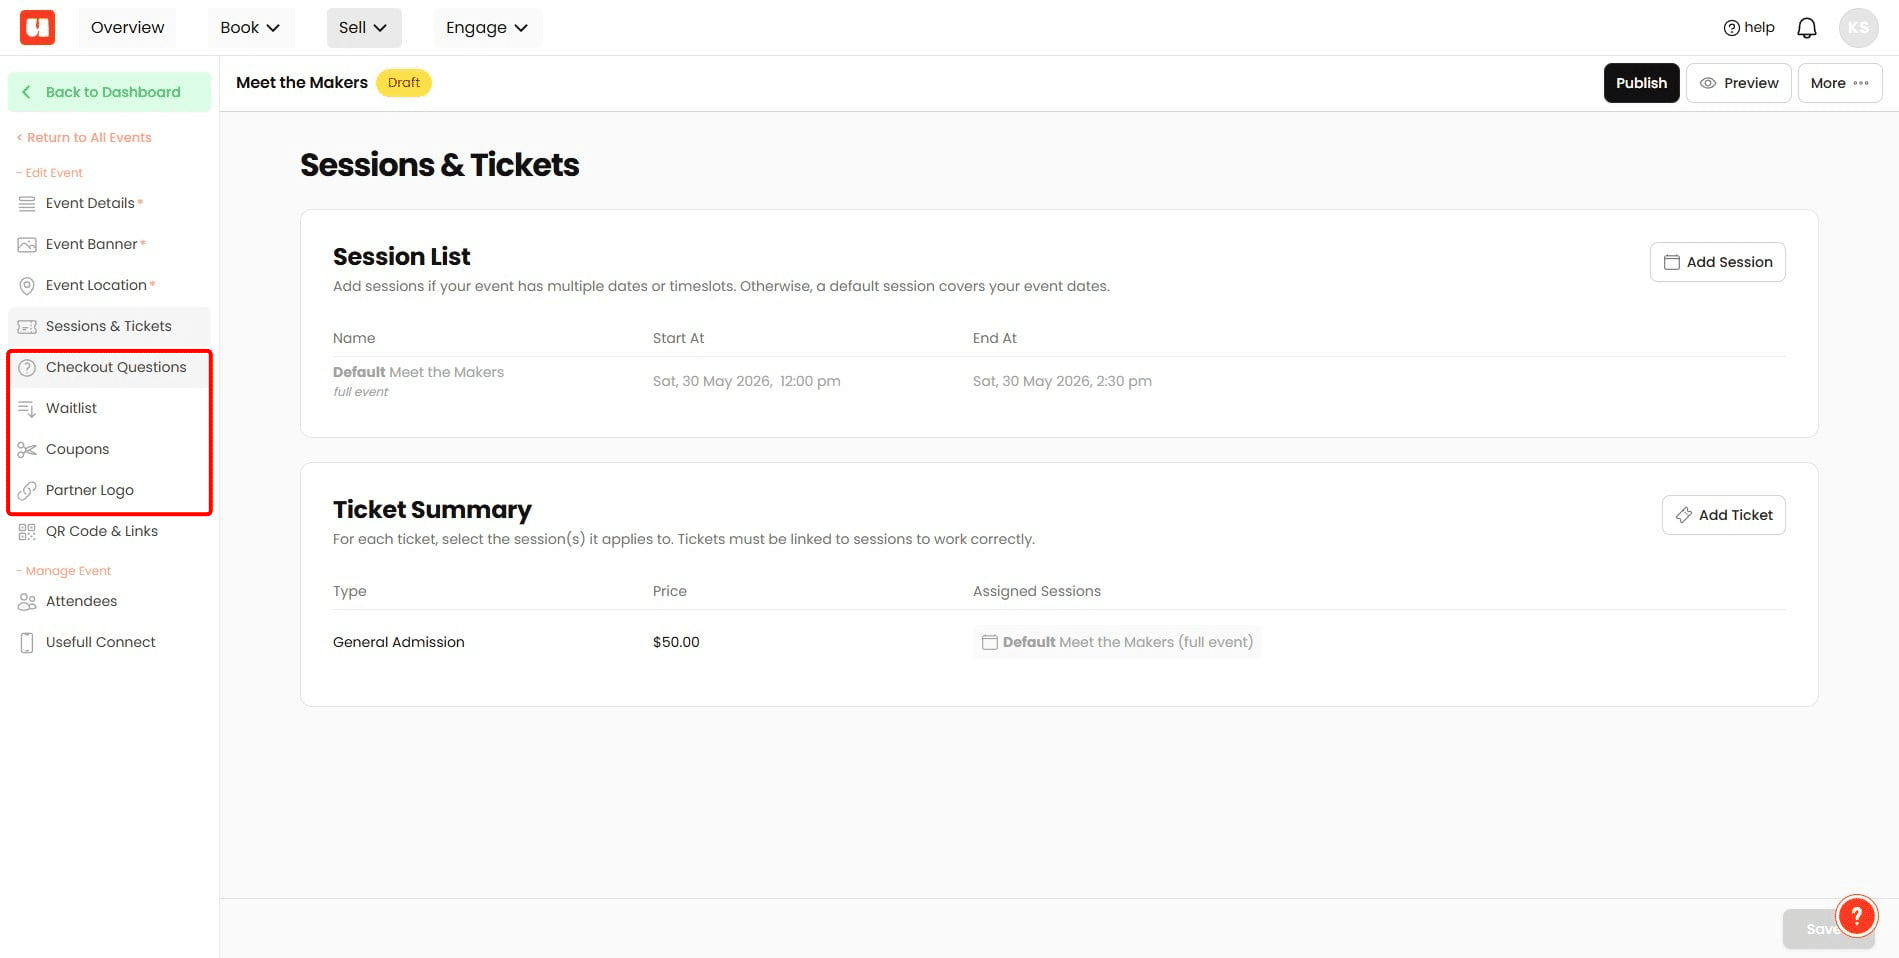
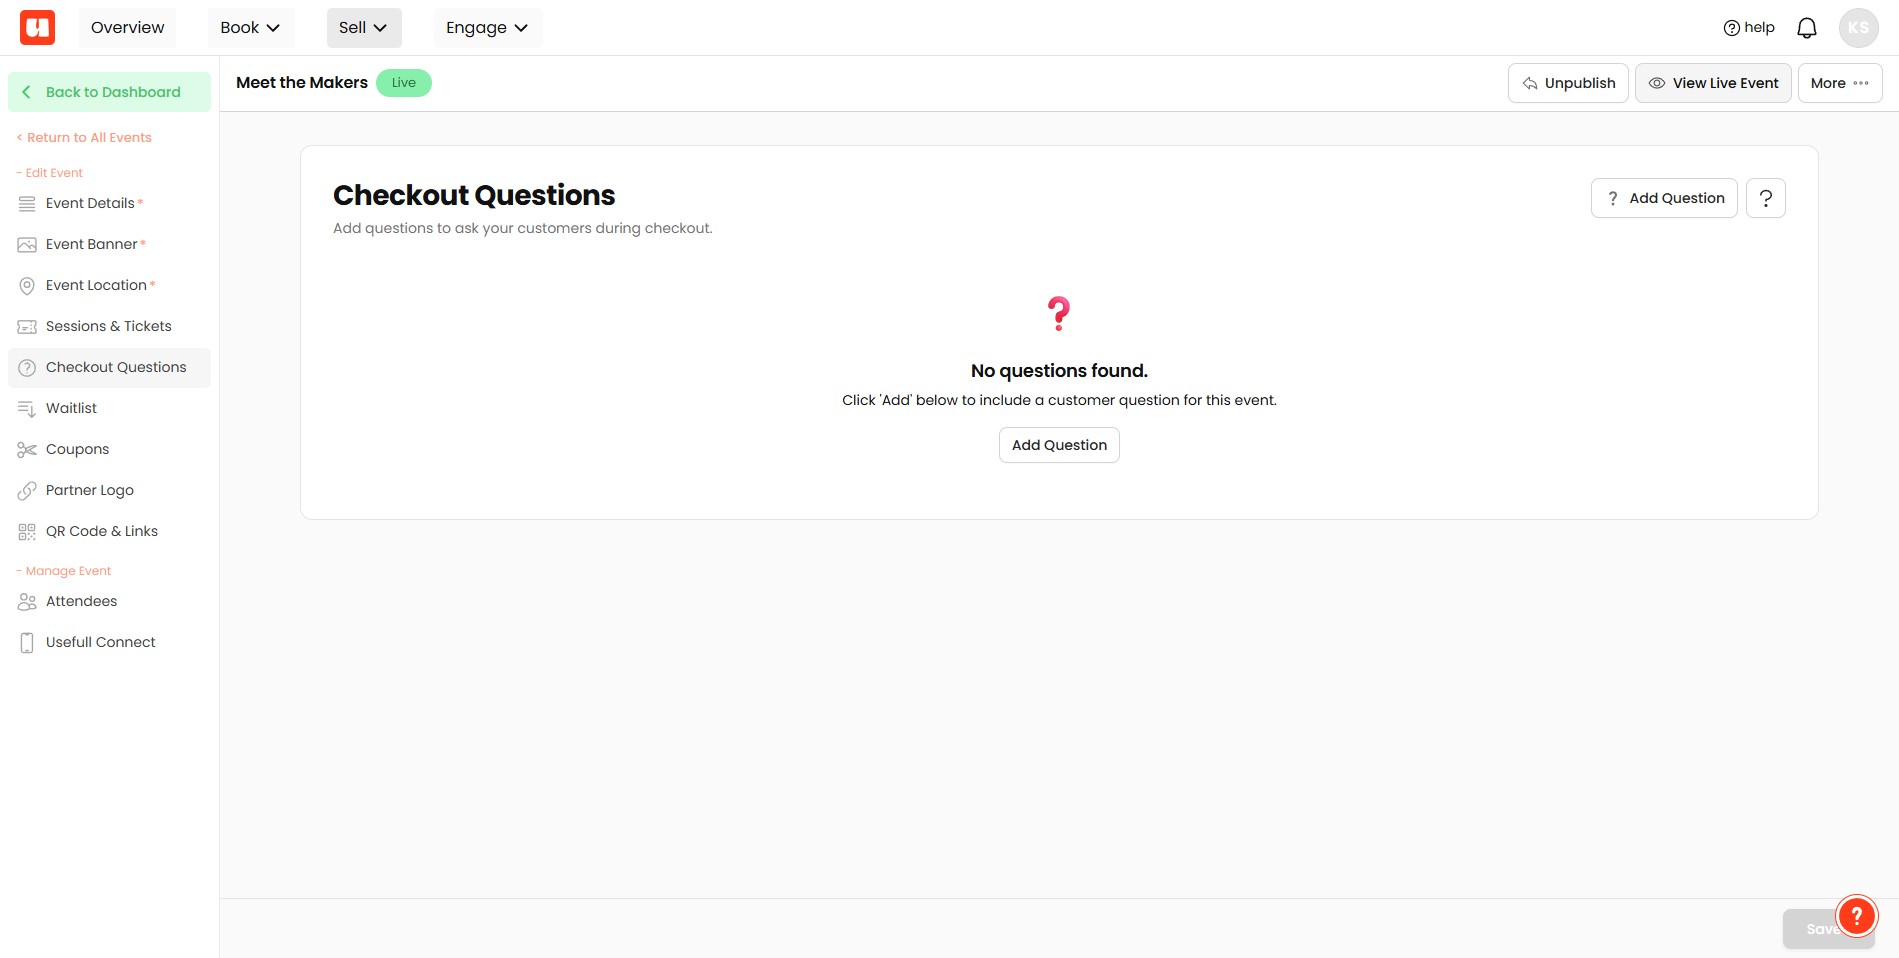
You can also add checkout questions, activate a waitlist, set up discounts and automatic coupons, and add custom branding to your event through these menu options. Please note, these sections are optional.
When happy with your event setup, you can preview it, and also publish it here.
It's a good idea to check everything off before setting your event to live. Use the preview feature to make sure your events, sessions and tickets are displaying correctly.
Click on "Publish"

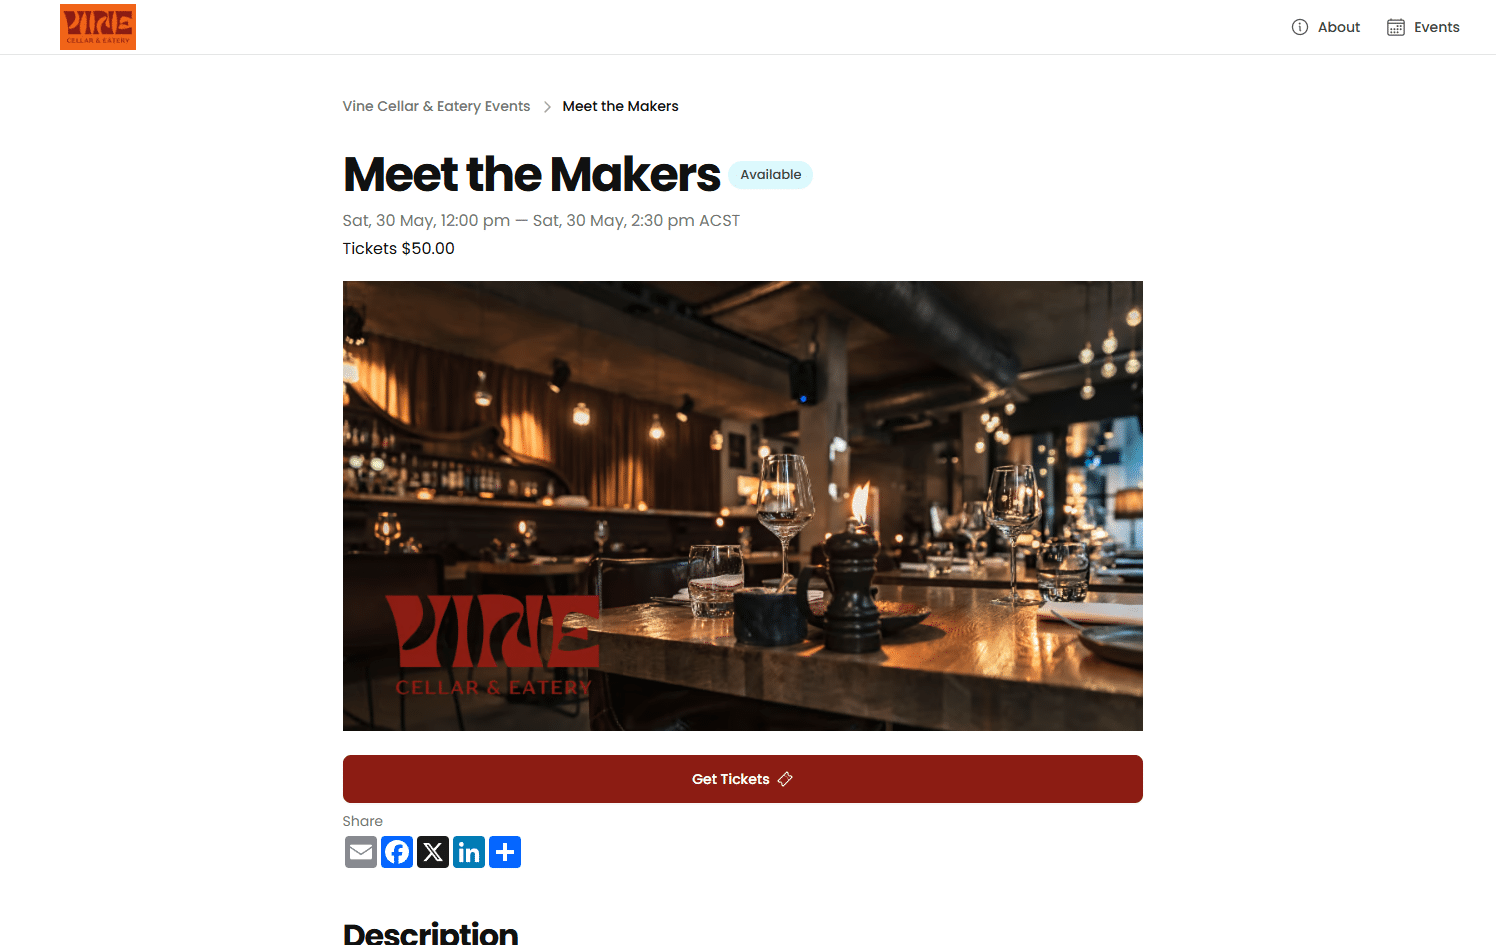
Click on "View Live Event" to see you published event.
Your event is now live and ready for ticket sales.
Frequently Asked Questions
- I don’t see additional menu options for my event — what am I missing?
After entering the main event details you must click "Save Event." The guide notes that additional menu options become available only once the event is saved.
- What’s the difference between a Ticketed event and an Informational event?
Ticketed events issue tickets to customers (including a QR code and ticket number). Informational events do not provide tickets, and the sessions/ticket-type setup section is not available for informational-only events.
- How do I add images and location information to my event?
Use the Event Banner tab to add one or more images for display. For location details, add either an address (which can include a map) or enter custom text for the location.
- What are the advanced features and do I have to use them?
Advanced features include checkout questions, a waitlist, discounts and automatic coupons, and custom branding. These menu options are optional — you can use them if needed but they are not required to create or publish the event.
- How do I make my event live and verify it’s published?
Preview your event to confirm that events, sessions and tickets are displaying correctly (the guide recommends checking everything off before going live). When ready, click "Publish," then click "View Live Event" to see the published event.