How to Schedule Your Event’s Go Live Date
If you have a specific launch date for your event and don’t want it published immediately, follow these simple steps to schedule it for later
Open your event for editing.
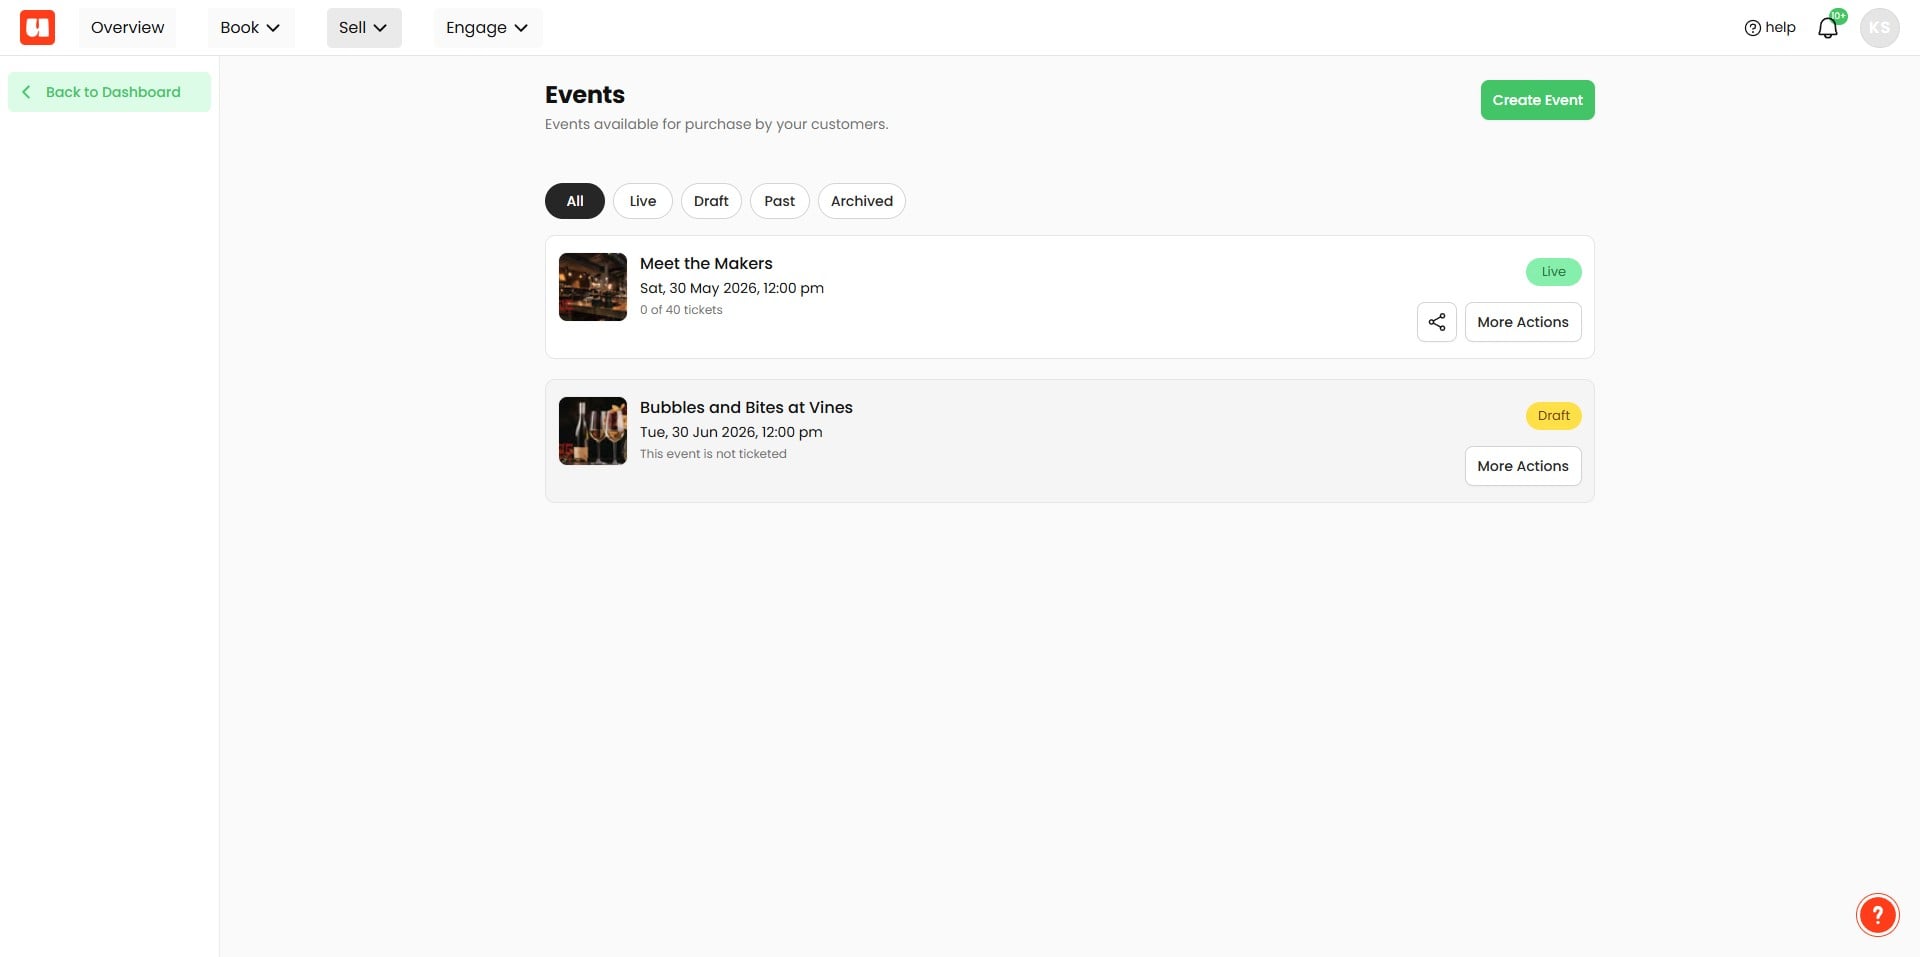
Click the Publish button.
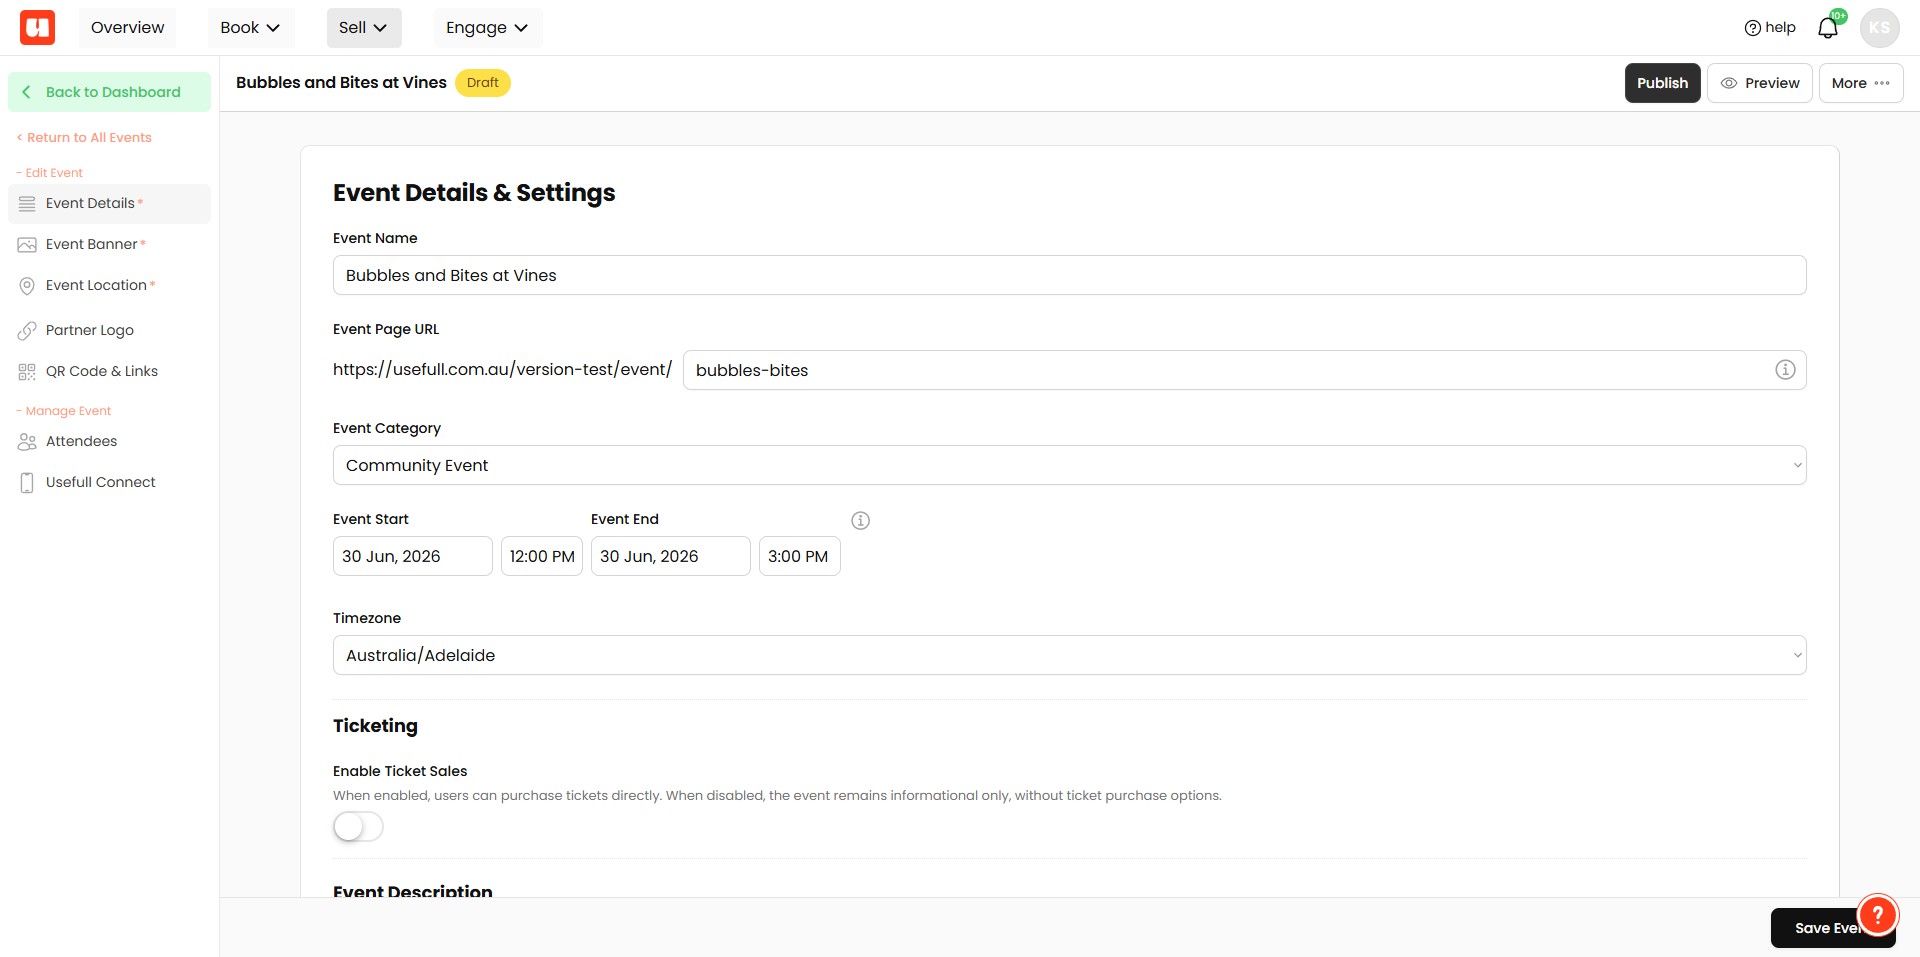
In the Publish Later section, add your desired go live date and time and click schedule.
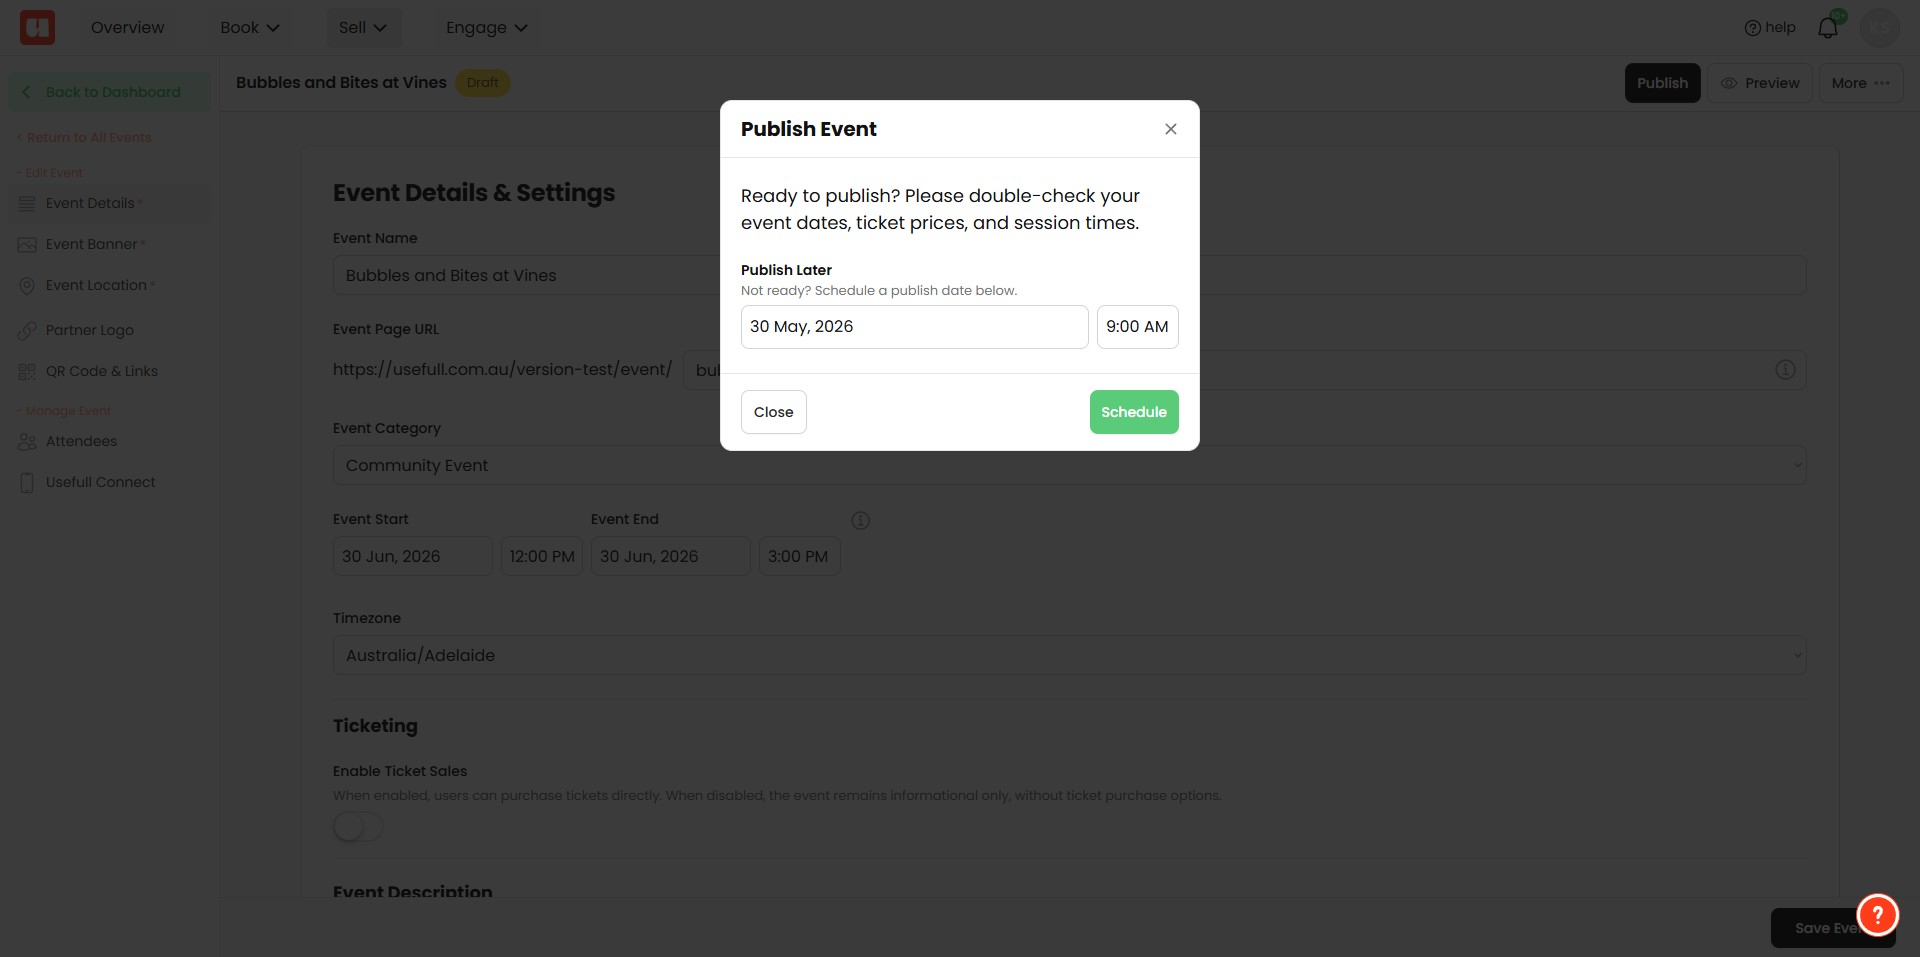
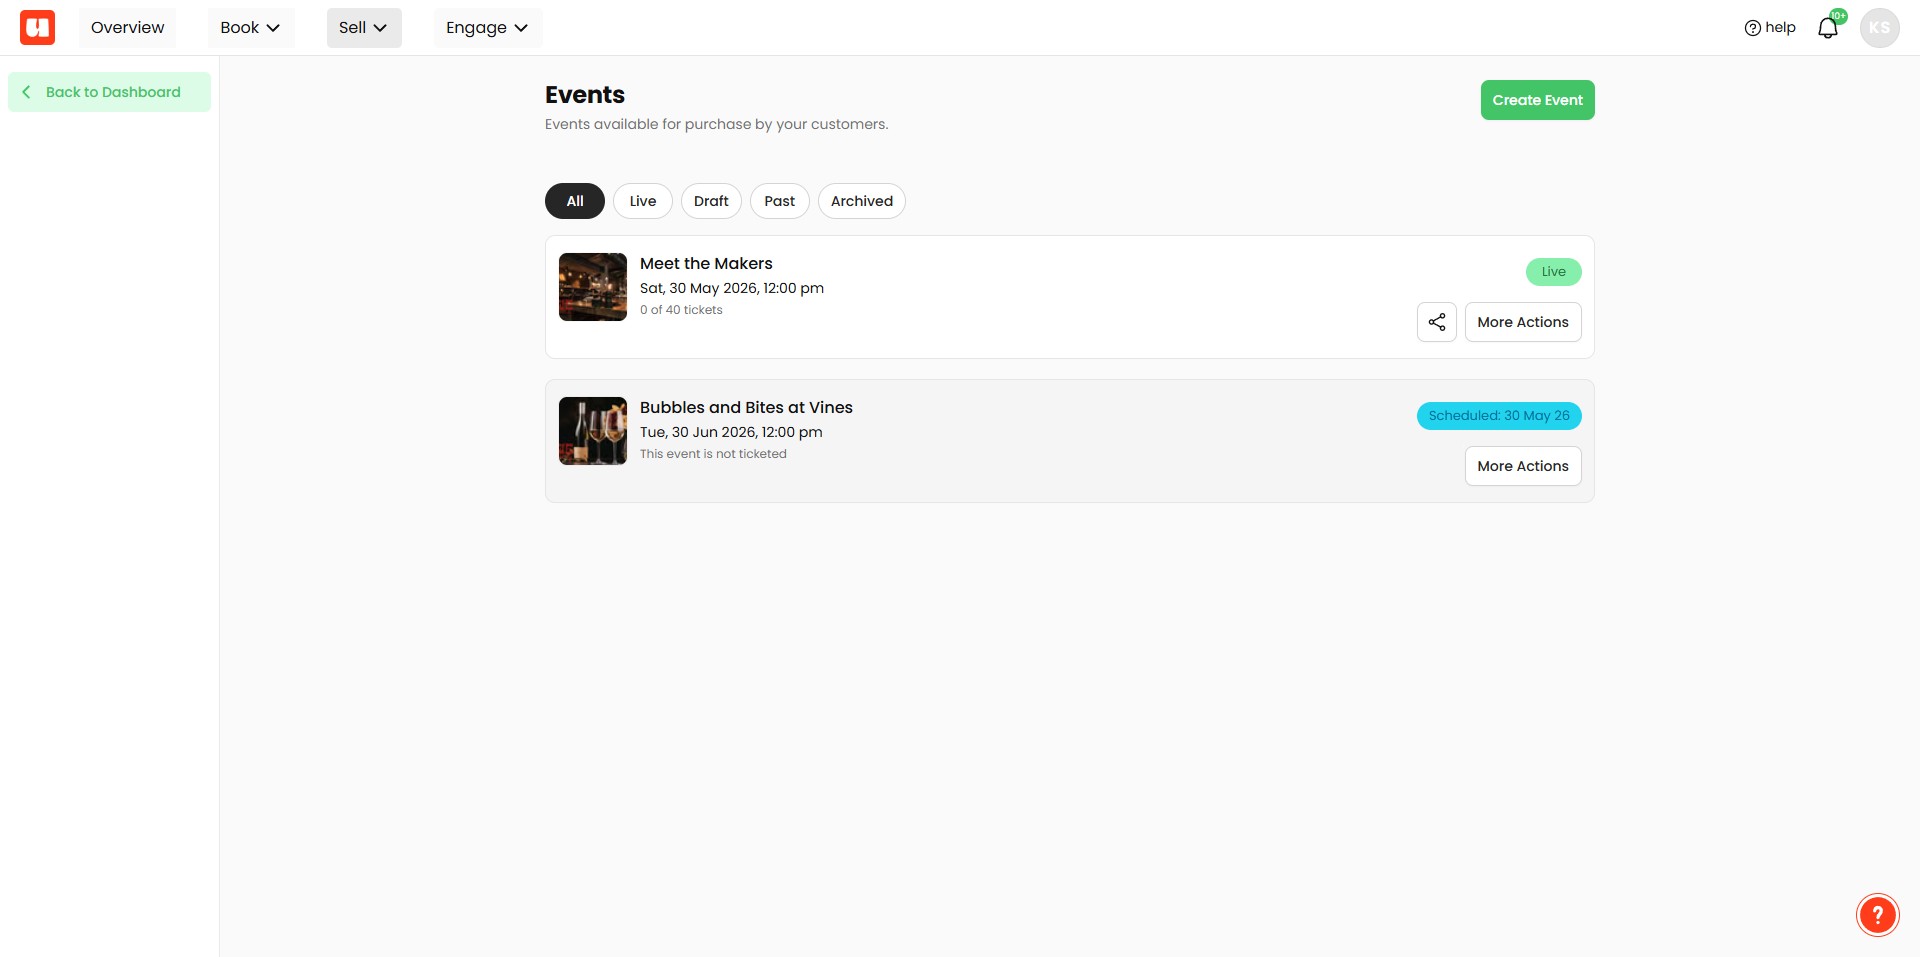
You're event is now scheduled to go live on your specified date. A blue badge will appear showing your go live date.
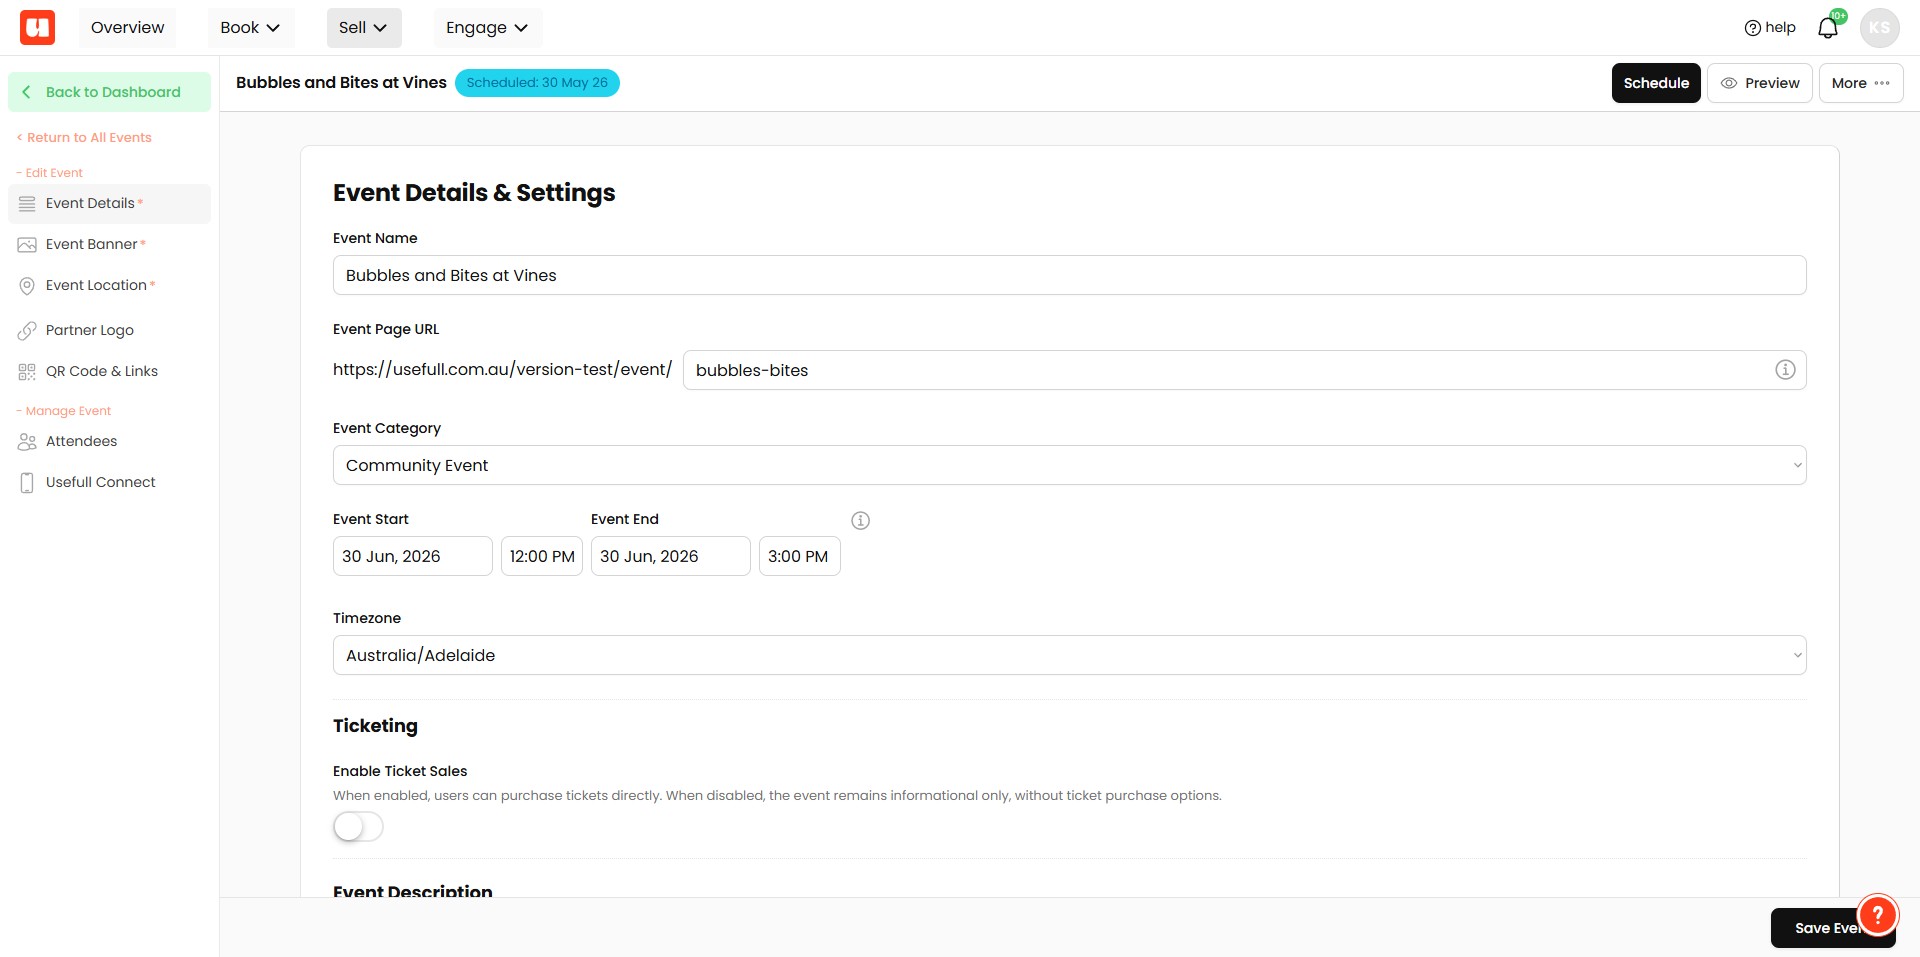
If you need to change the schedule, click on the Schedule button to unschedule and reschedule your event.
Your event's go live date is now set!
Frequently Asked Questions
- How do I schedule my event to go live at a later date?
Open your event for editing, click the Publish button, go to the Publish Later section, add your desired go live date and time, and click Schedule.
- How can I confirm my event is scheduled?
After scheduling, your event will be marked as scheduled and a blue badge will appear showing your go live date.
- How do I change or cancel a scheduled go live date?
Click on the Schedule button to unschedule the event, then set a new date and time and click Schedule to reschedule.
- What happens after I click Schedule?
Your event is scheduled to go live on the specified date and time you entered; the go live date is then set and indicated with a blue badge.