

Create and schedule an email campaign
Create a transactional email campaign for a targeted customer list, and schedule it for a selected date and time.
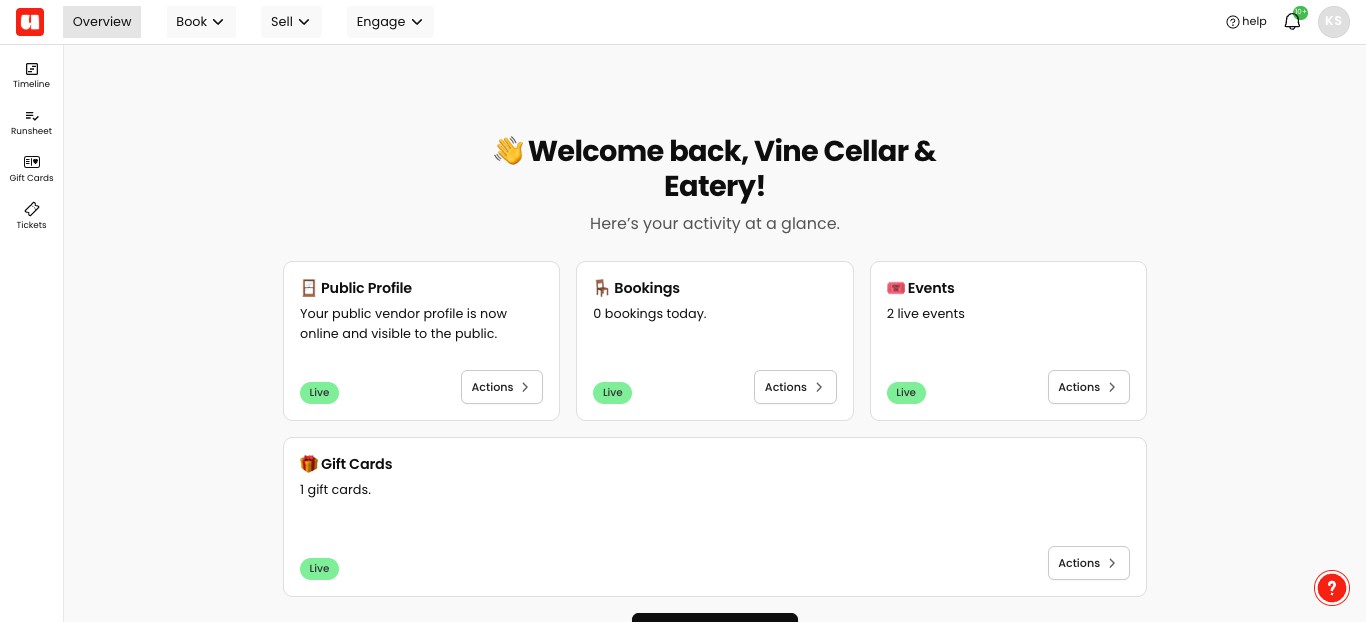
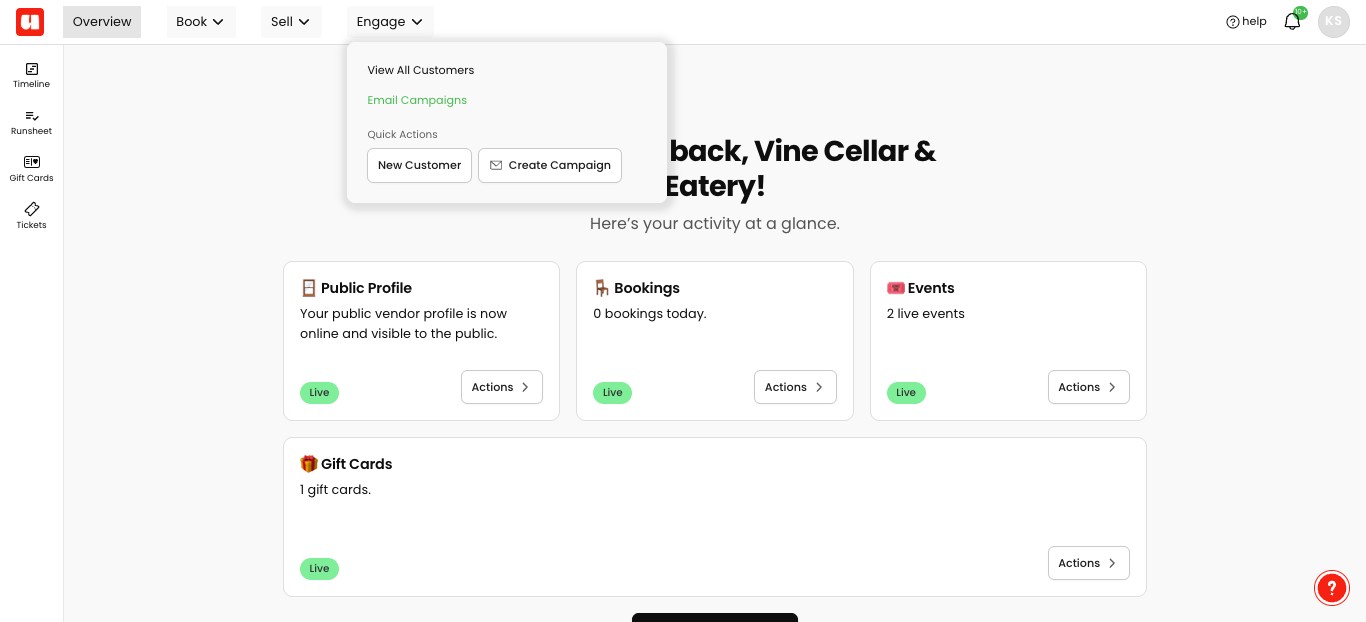
Open the Engage menu
Select Email Campaigns to start you email.
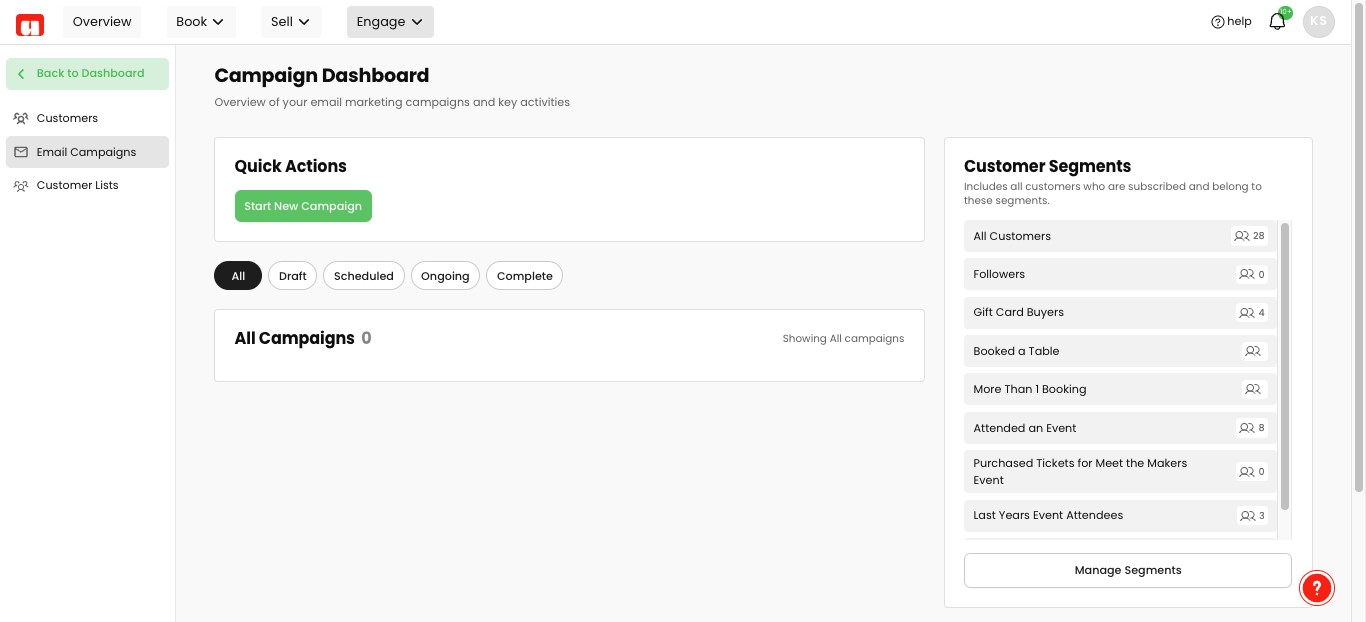
From this window you can Start New Campaign or continue with a previosuly saved one.
Go through the windows and drop downs to create and configure you message. Select the Target Customer List (Usefull segments based on actions and transactions), choose your from email and change the Email Type to Transactional or 'Marketing' for general business or marketing emails.**
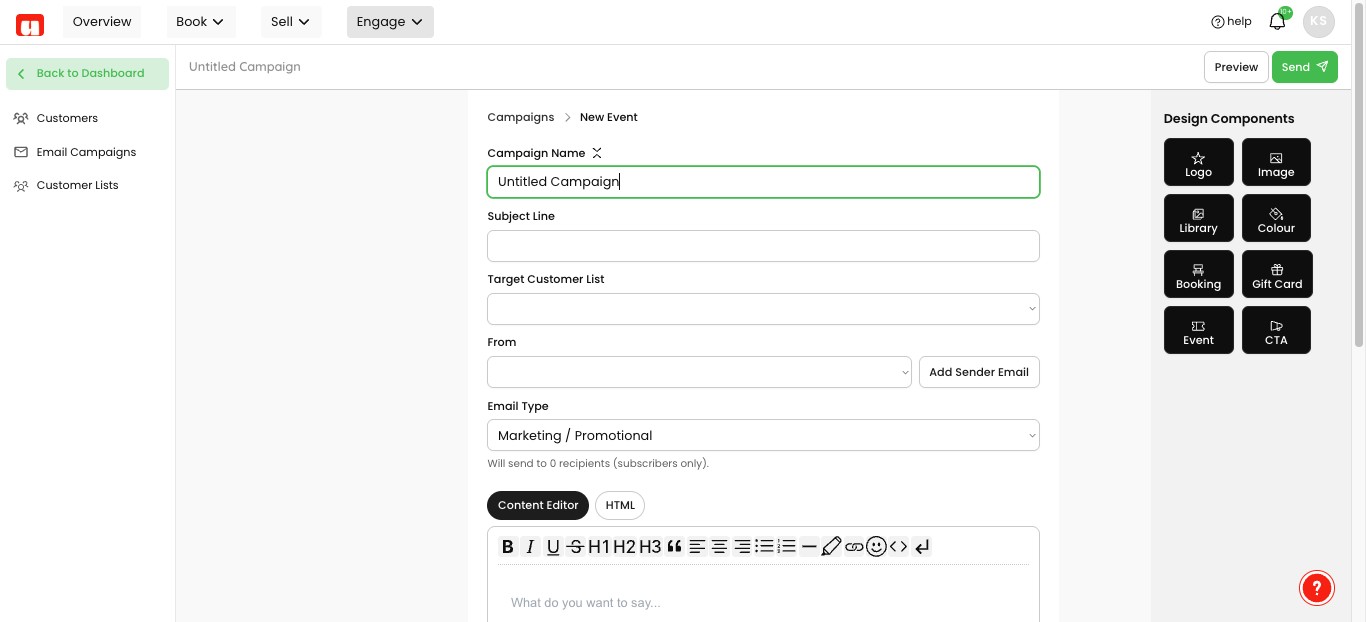
Use the content editor to build your message with the visual editor.
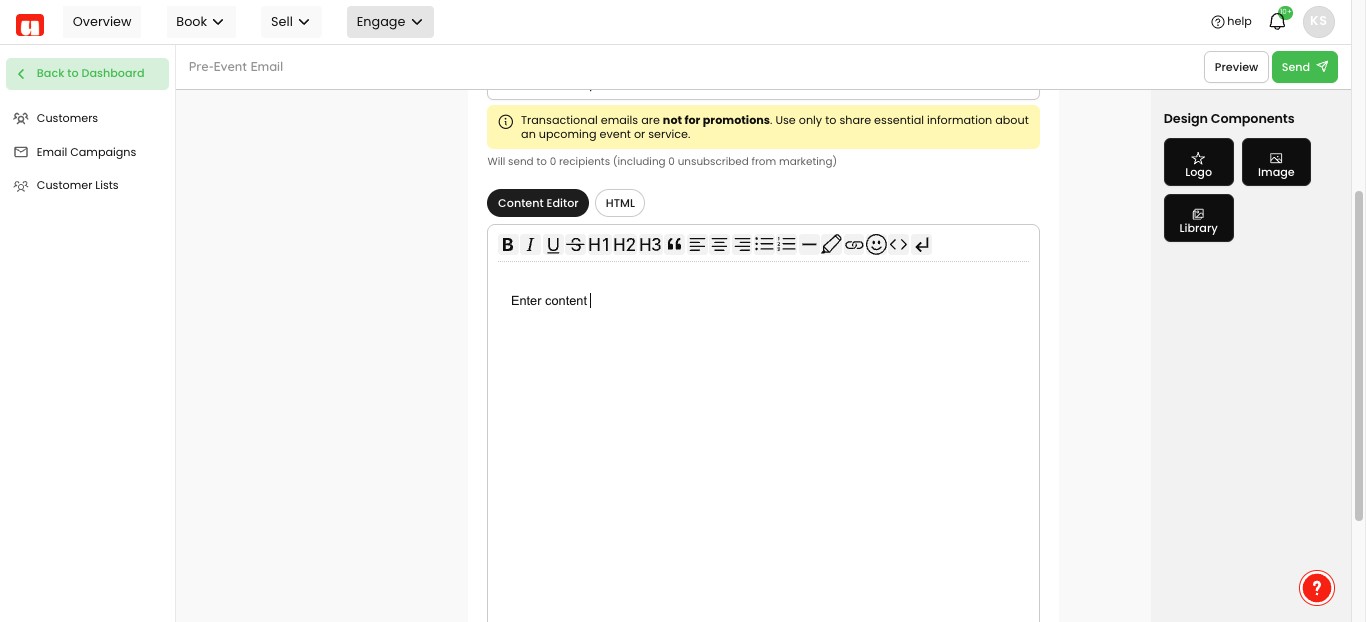
Click in the email body beneath the inserted logo and enter your email content - use the logo, image and library buttons on the right habd side to access or add any images.
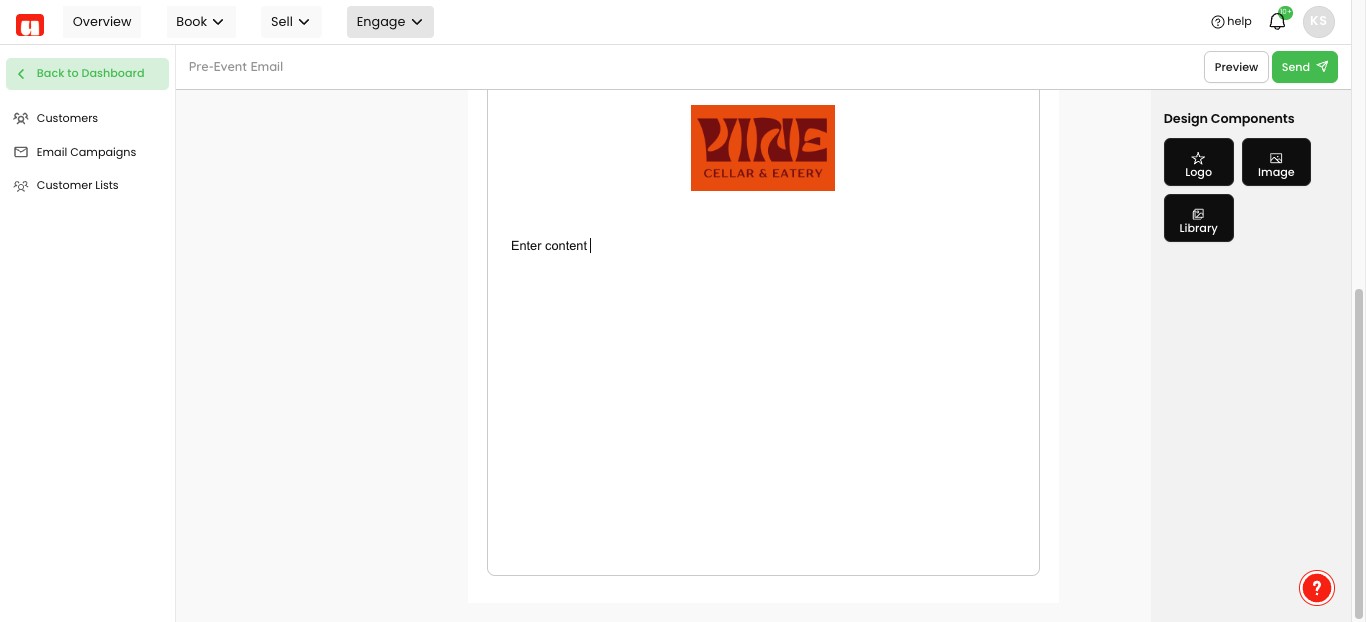
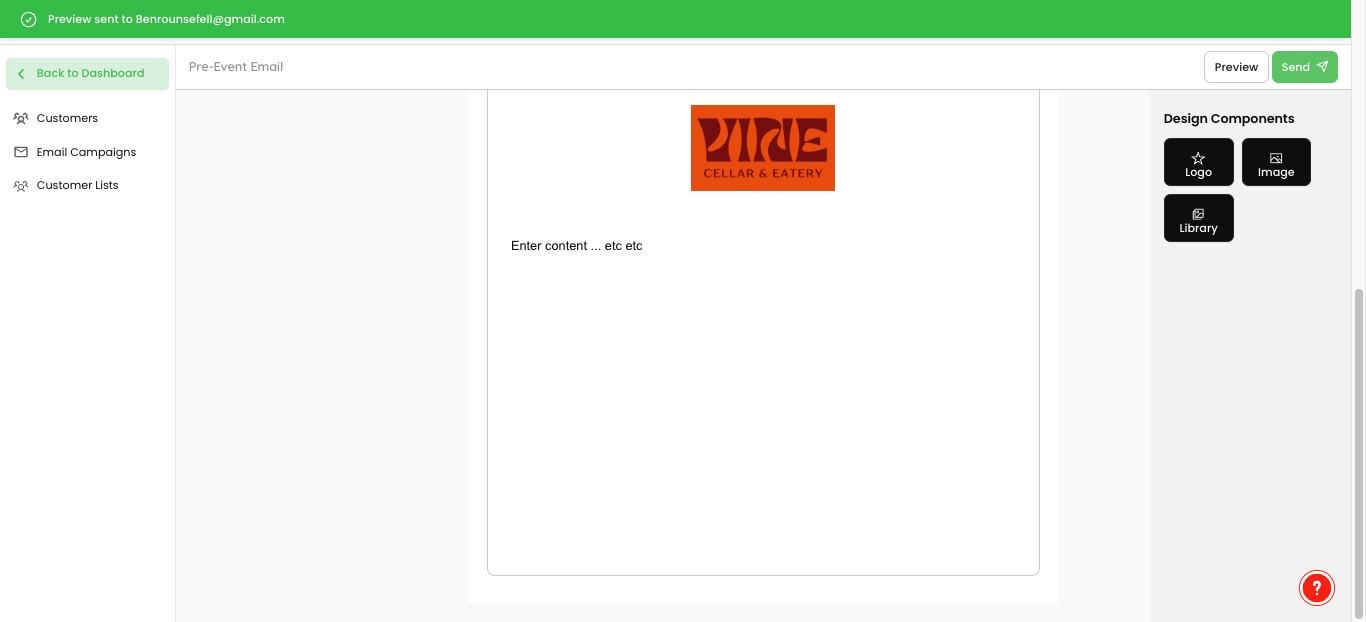
Finalise and review your email before sending. Click Preview to review your email and fill in the review email at the bottom of page to see the finished email cusotmers will receive.
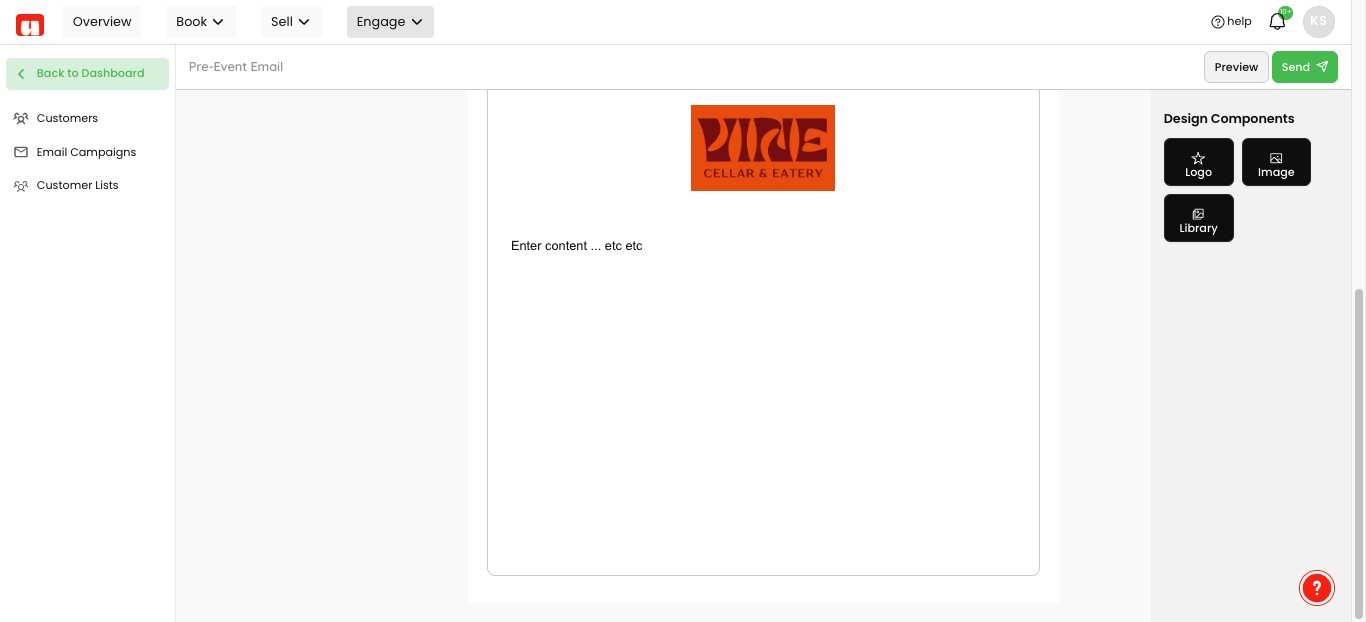
When you are ready to send, Click the green Send button in the top-right corner
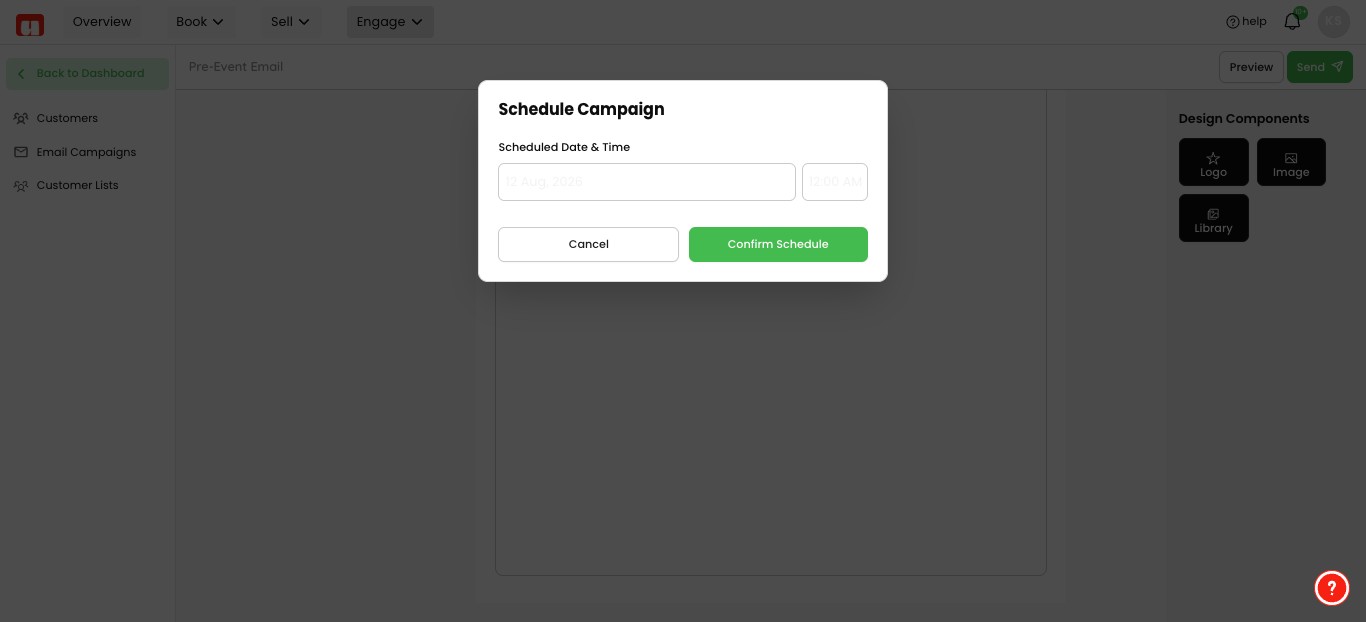
Set the Scheduled Date & Time field in the Schedule Campaign window. Select your sending time, confirm scheduel and you are done.
Frequently Asked Questions
- What is the Target Customer List used for?
It identifies the customers who will receive the email campaign. You can use segments based on customer actions and transactions.
- Which Email Type should I choose?
Choose Transactional or Marketing based on the purpose of the email. Marketing is intended for general business or marketing emails.
- What does the preview show?
The preview shows the finished email that customers will receive. You can send a review email to yourself by filling in the review email field at the bottom of the page.
- Can I schedule the campaign instead of sending it immediately?
Yes. Set the Scheduled Date & Time in the Schedule Campaign window, choose the sending time, and confirm the schedule.