How to Add a Full Venue Blockout
Blockouts are used when your venue is unavailable for bookings, such as for private functions, closures, or special events. There are various types of blockouts — full venue, section-specific, multi-day, single-day, or partial-day. This guide focuses on creating a full venue blockout that will appear at the highest calendar level, helping prevent customers from going through the online booking process only to find your venue unavailable.
Why Set a Full Venue Blockout? Setting a full venue blockout ensures customers see your venue is closed for an entire day before they attempt to book. This enhances customer experience and reduces confusion and potential booking errors.
Step 1: Access the Blockout Settings
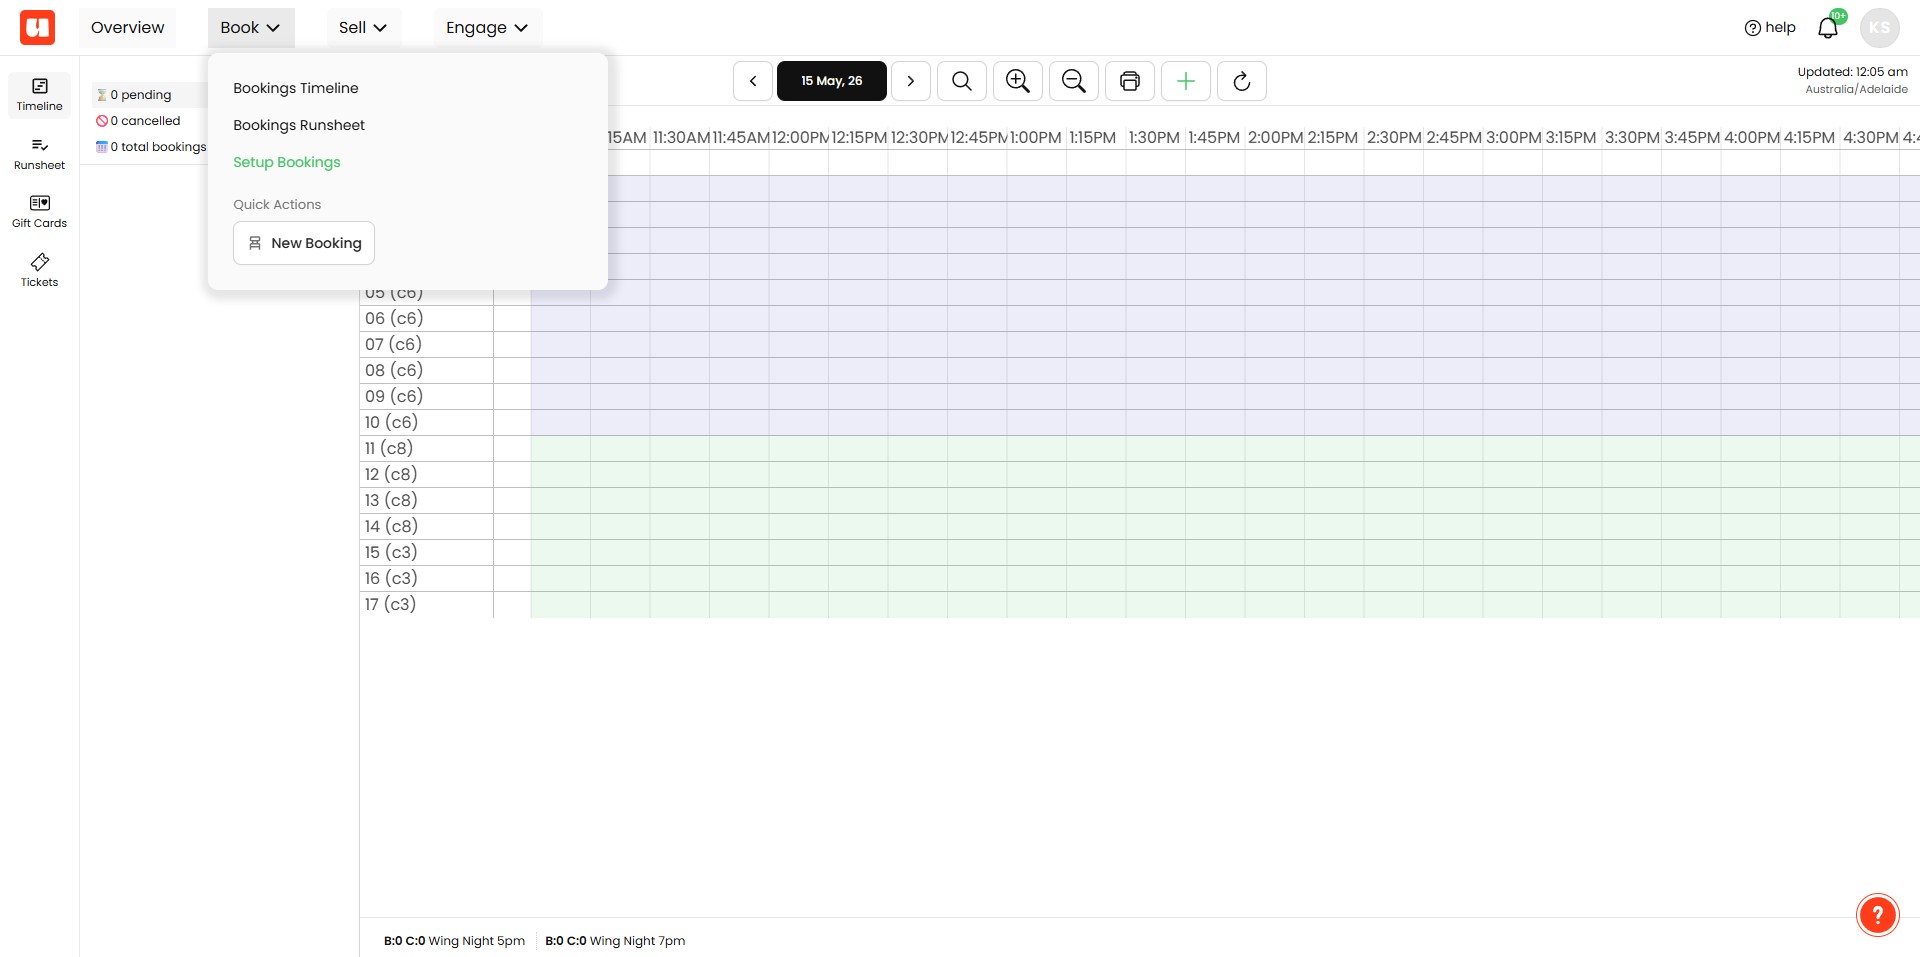
Click on "Setup Bookings"
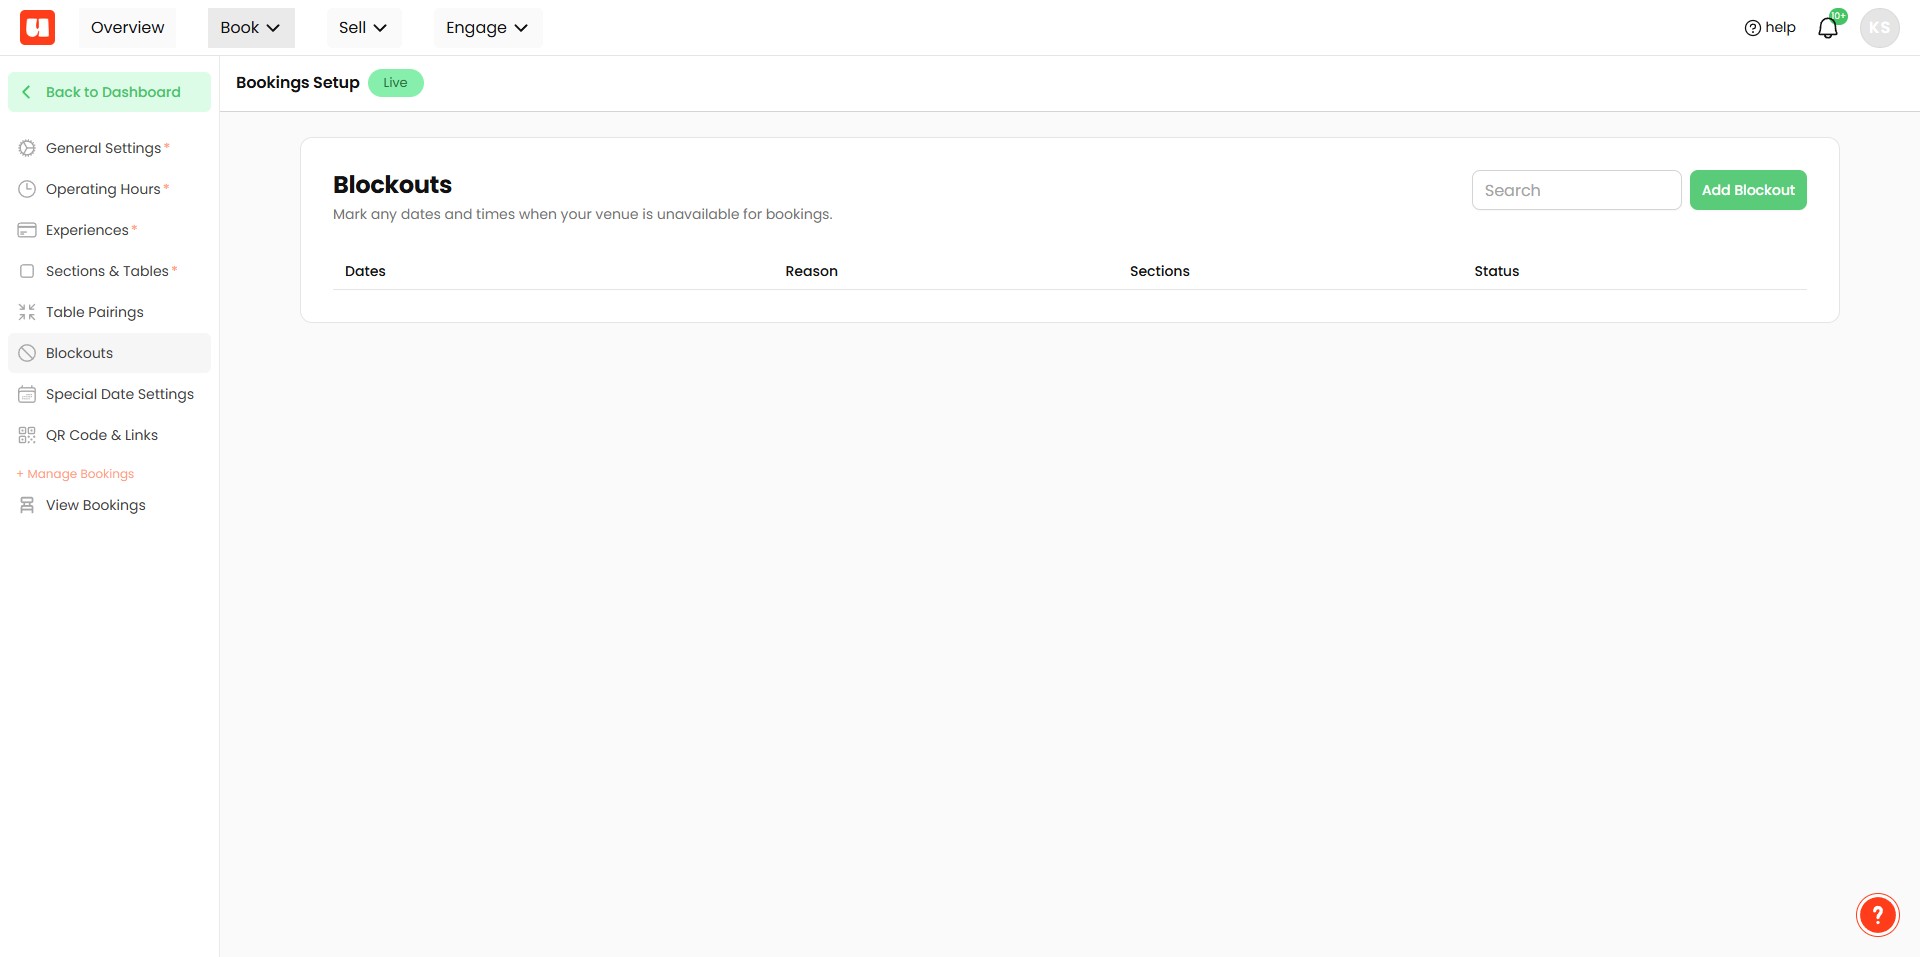
Click on "Blockouts"
Step 2: Add a Blockout
Click on "Add Blockout"
Add a Reason for the blockout (e.g., private event, holiday closure). This reason is for internal use and will appear as a key in your booking management system—it is not visible to customers.
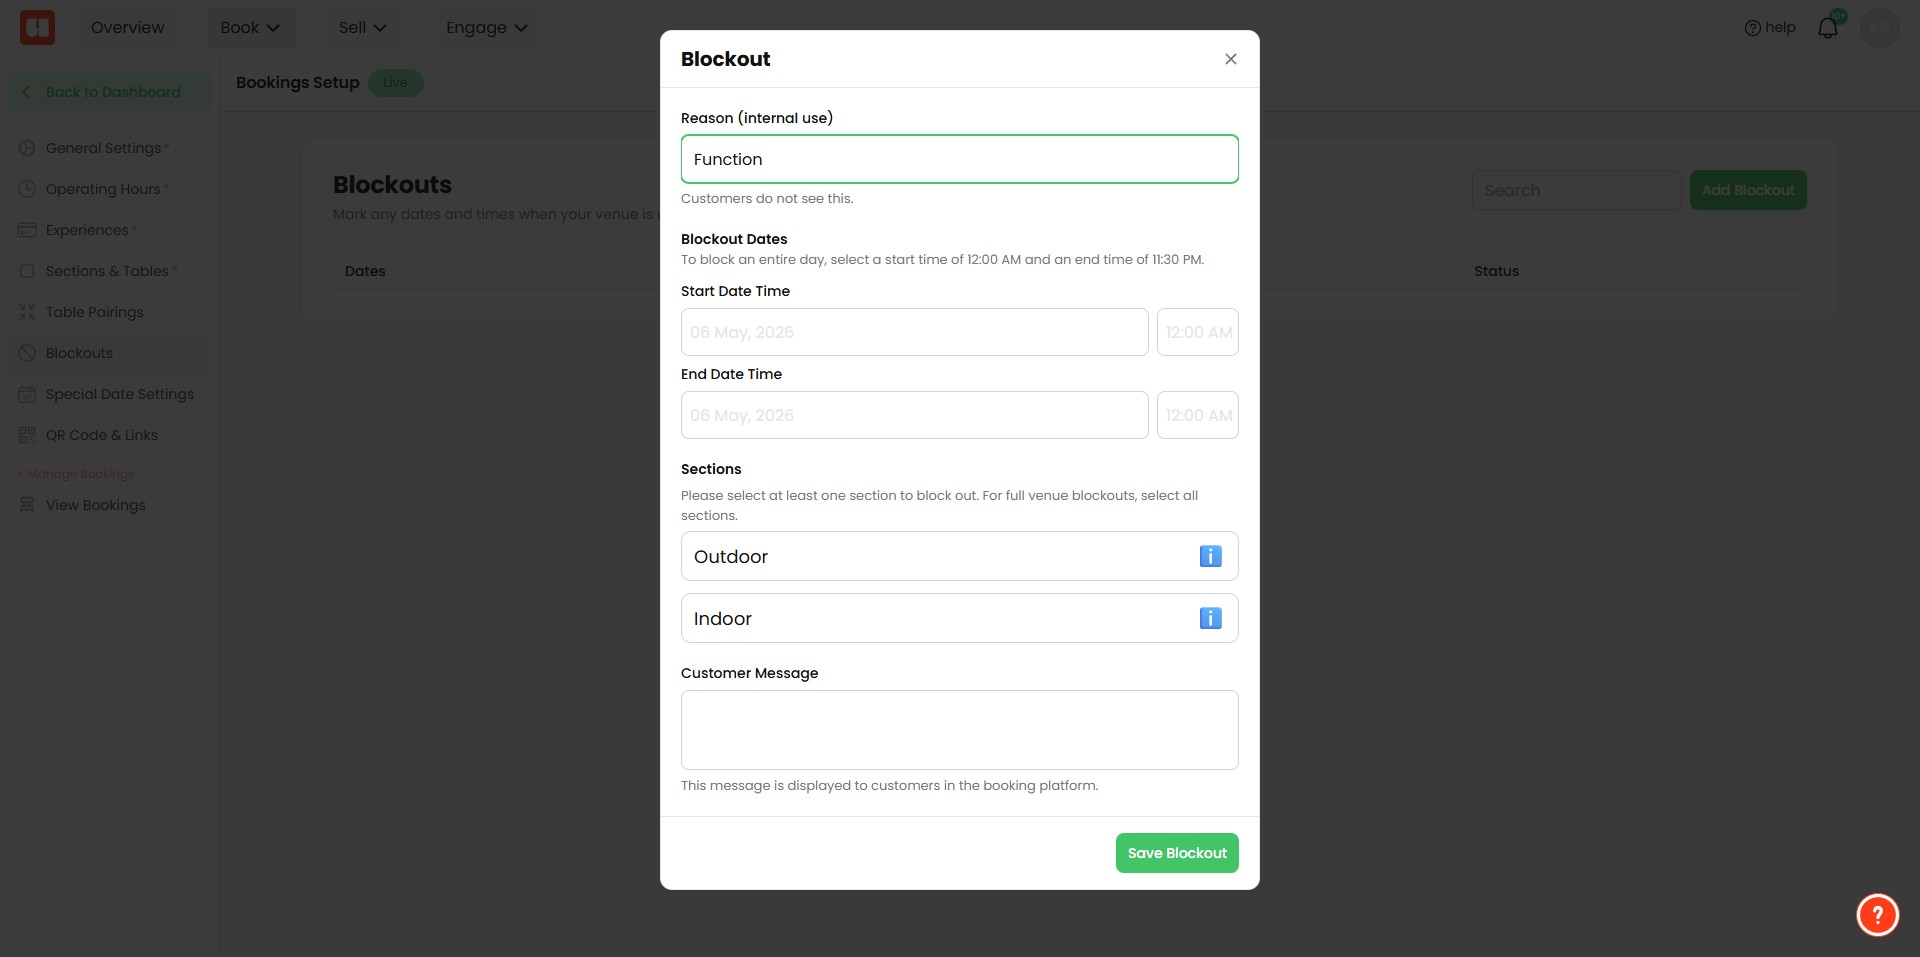
- Choose your Start Date and Time and End Date and Time.
- For a full day blockout, select from 12:00 AM to 11:30 PM. This indicates that your venue is closed for the entire day.
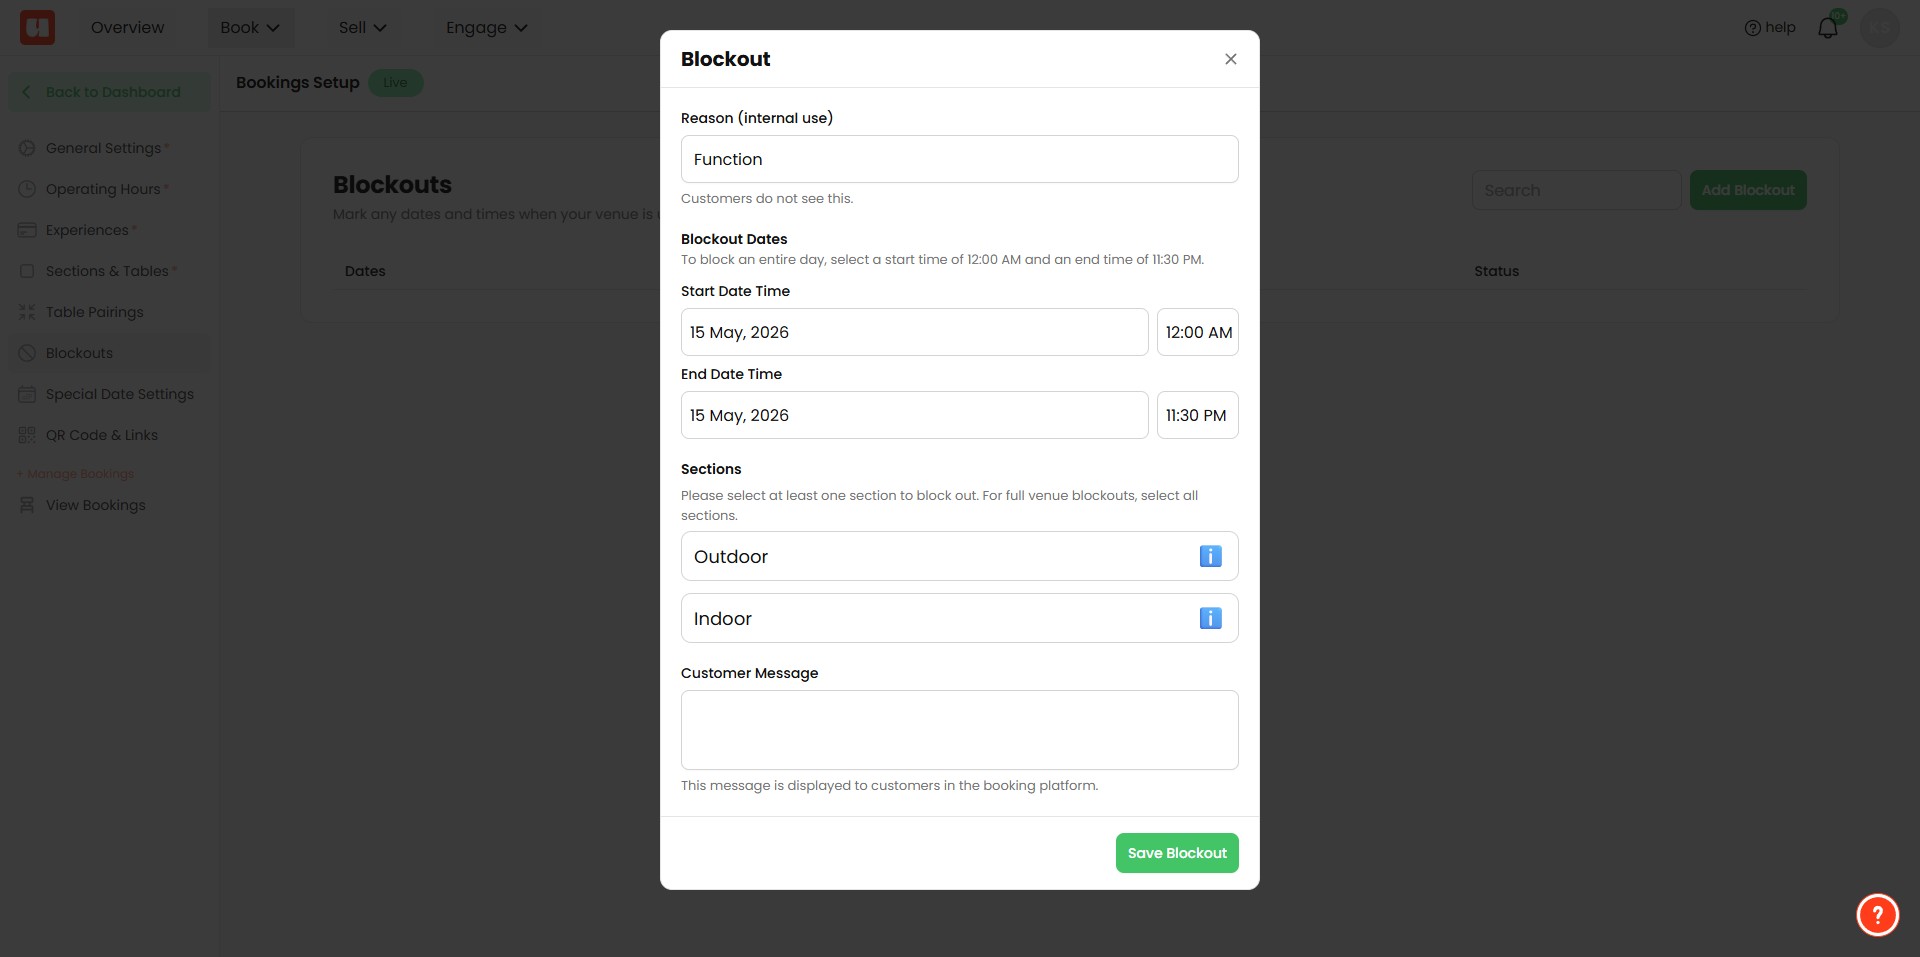
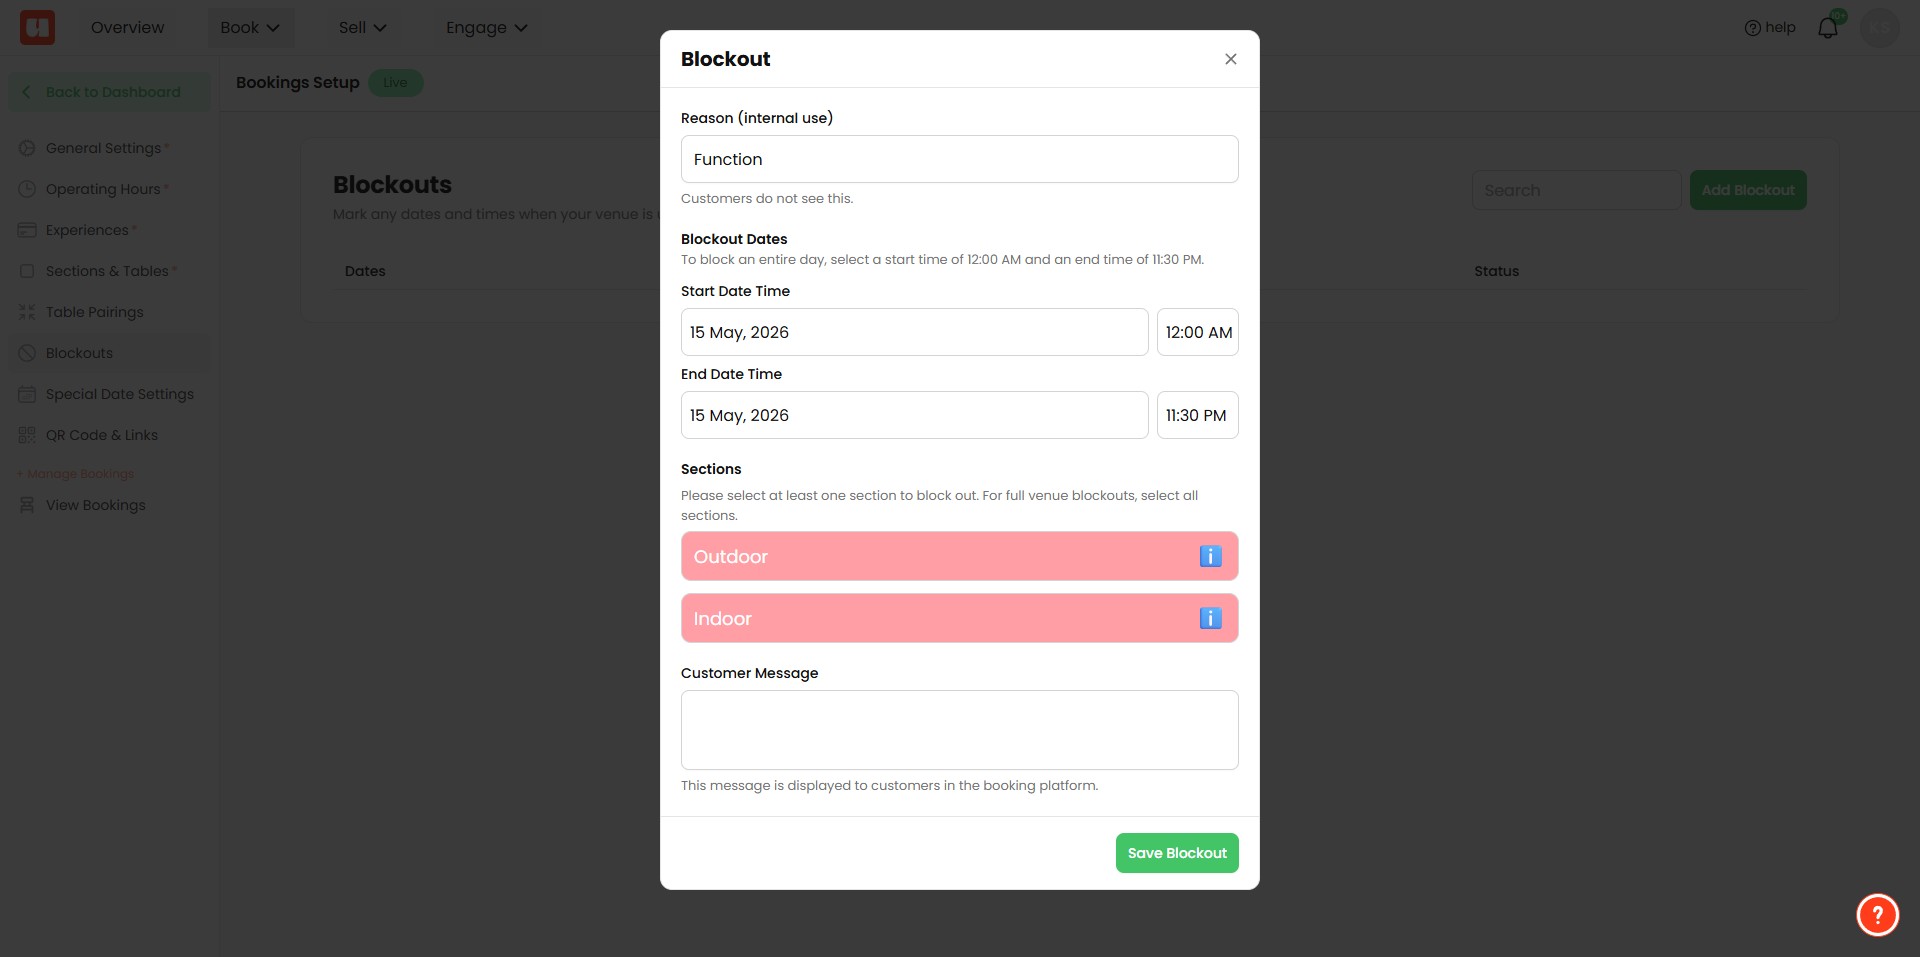
- If your venue has multiple sections, you'll be prompted to select which sections the blockout applies to.
- For a full venue blockout, select all sections (at least one section must be selected).
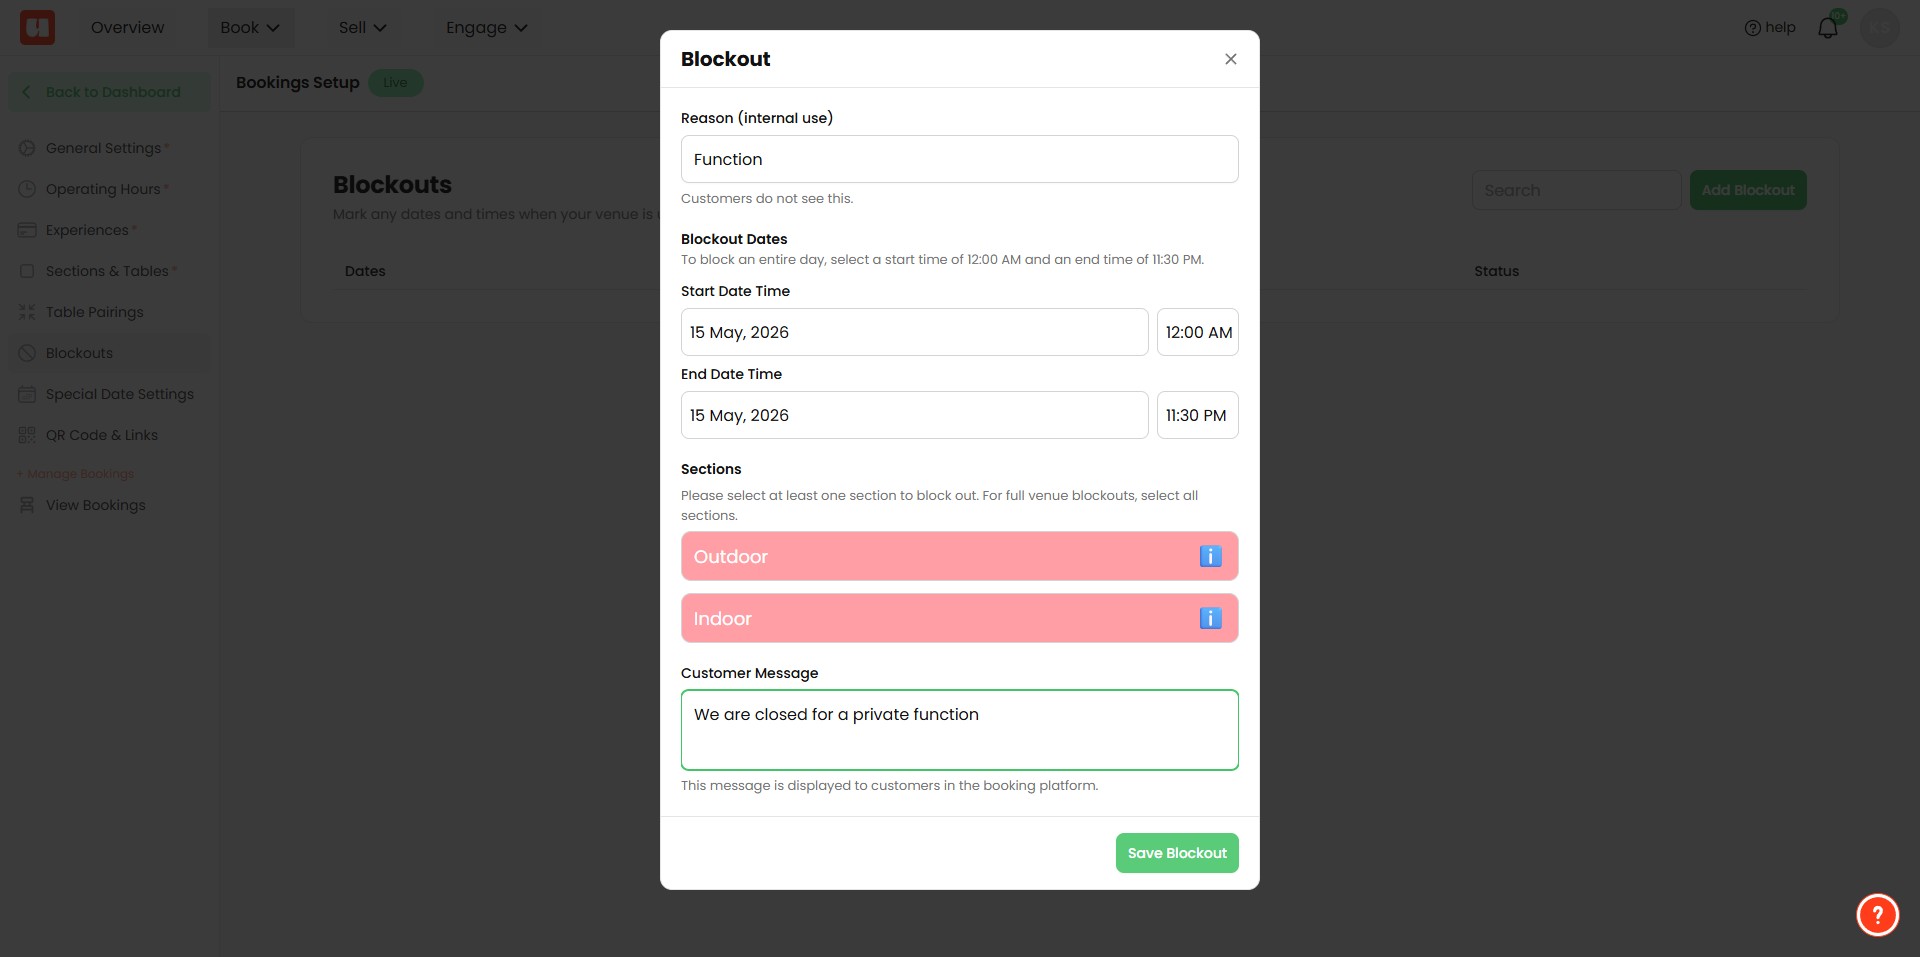
- Enter a message that customers will see if they click on the blockout date during online booking (e.g., "Venue closed for private event").
- This message helps inform customers why the date is unavailable.
- Click Save to finalise the blockout.
After the Blockout is Set
- In your timeline or calendar view, the blockout will be clearly marked on the date(s) you specified.
- As the venue manager, you can override the blockout to add bookings manually if needed.
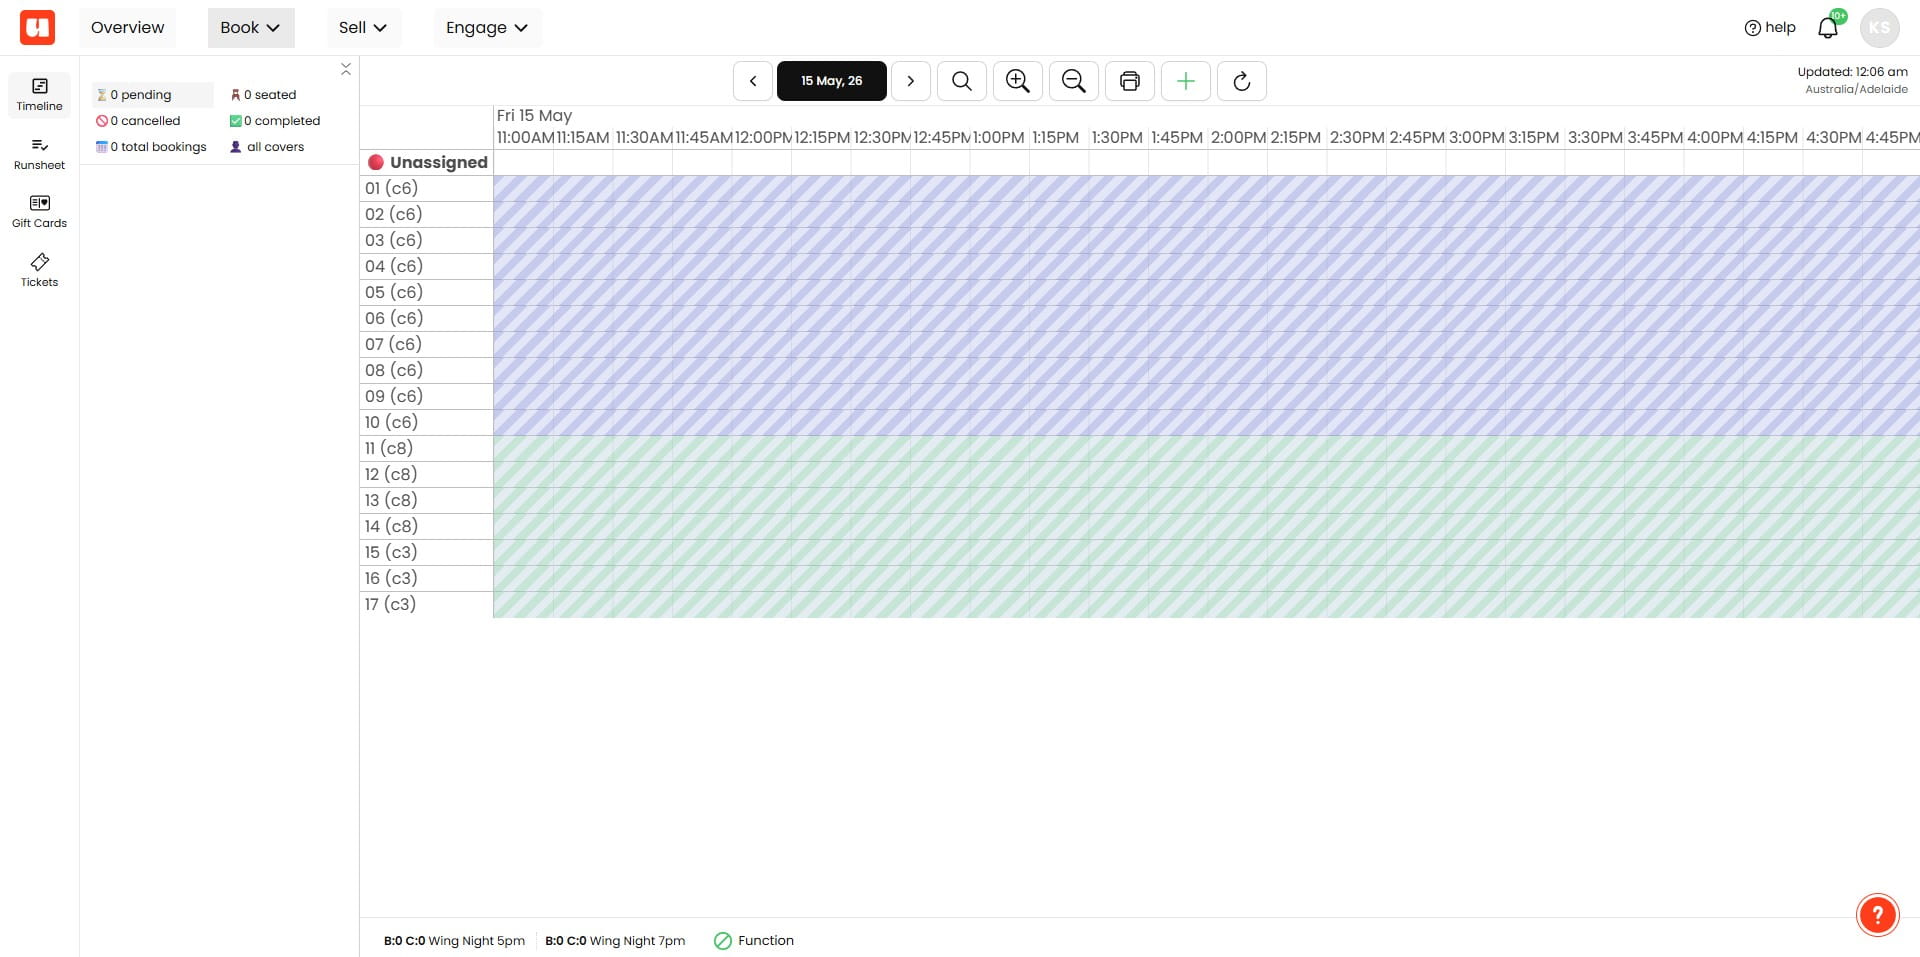
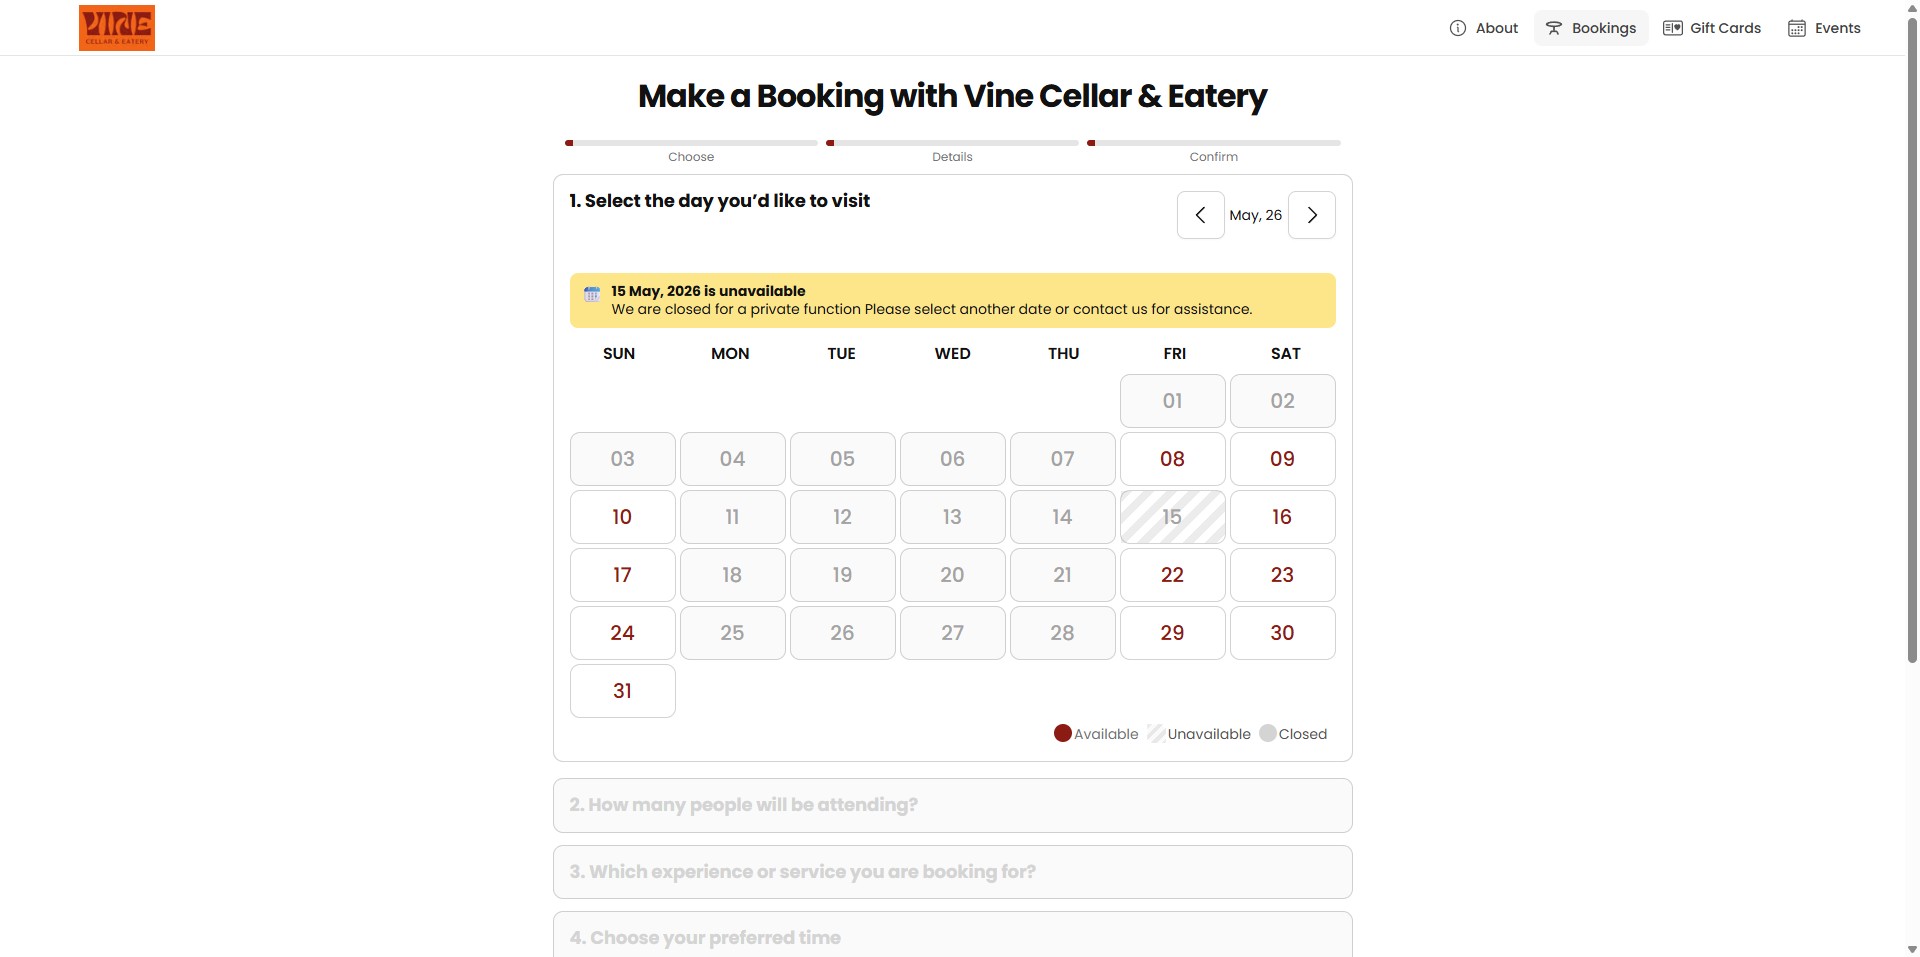
Customers will see that the date is blocked and cannot select or book on that day. If they click the blocked date, your custom message will be displayed.
Frequently Asked Questions
- What is a full venue blockout and why should I set one?
A full venue blockout marks your venue as closed for an entire day so customers cannot book on that date. It improves customer experience by preventing booking attempts on days when the venue is unavailable and reduces confusion or booking errors.
- How do I create a full day (full venue) blockout?
Go to Setup Bookings → Blockouts → Add Blockout. Enter a Reason (internal use only). Set the Start Date/Time and End Date/Time; for a full day select 12:00 AM to 11:30 PM. If your venue has multiple sections, select all sections so the blockout applies to the entire venue. Enter the customer-facing message for the blocked date and click Save to finalise.
- Will customers see the reason I enter for the blockout?
No. The Reason you add is for internal use and appears as a key in your booking management system only. Customers will see the custom message you enter for the blocked date when they click on it during online booking.
- How can I tell the blockout was applied and can I still add bookings that day?
After saving, the blockout will be clearly marked in your timeline or calendar view on the specified date(s). As the venue manager, you can override the blockout to add bookings manually if needed.